






















CNC machine axis calibration involves measuring the actual travel distance of each axis (X, Y, Z) against the commanded distance, then recalculating the steps per millimeter value using the formula: New Steps/mm = (Current Steps/mm × Expected Travel) ÷ Actual Travel, which ensures precise machine movement for accurate cutting and machining results.
How to Calibrate CNC Axis Steps per Millimeter with UGS
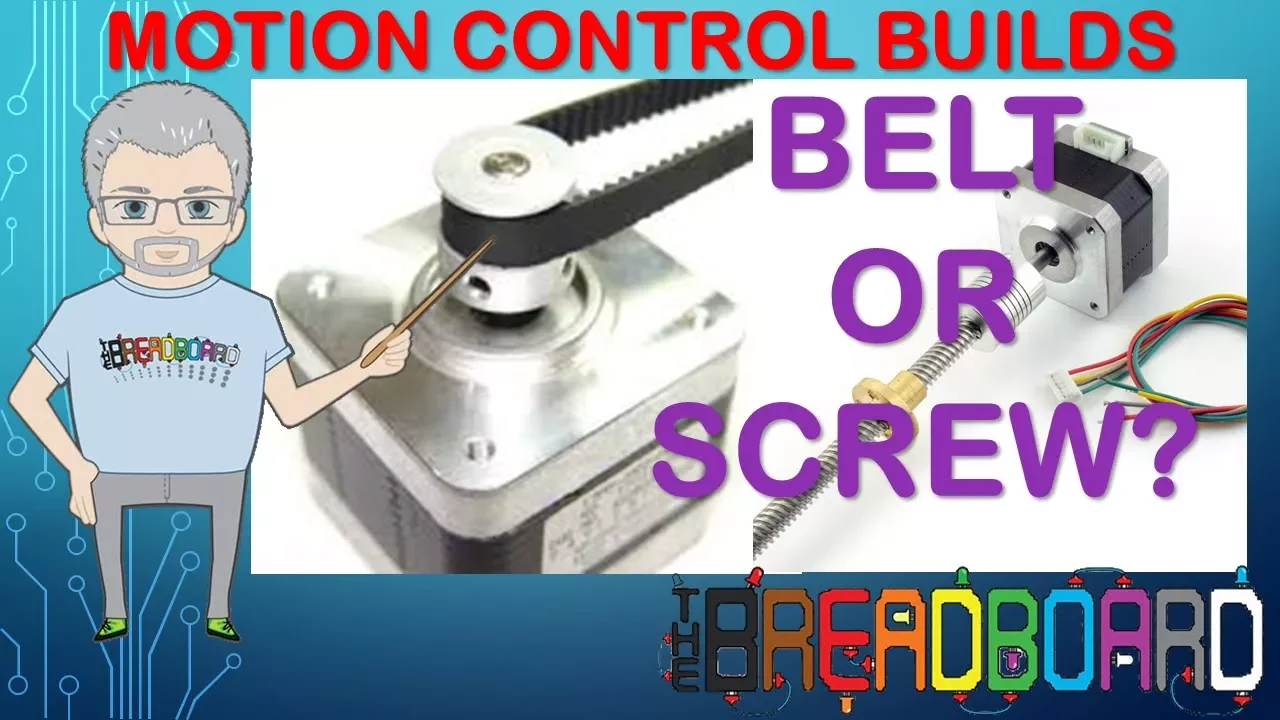
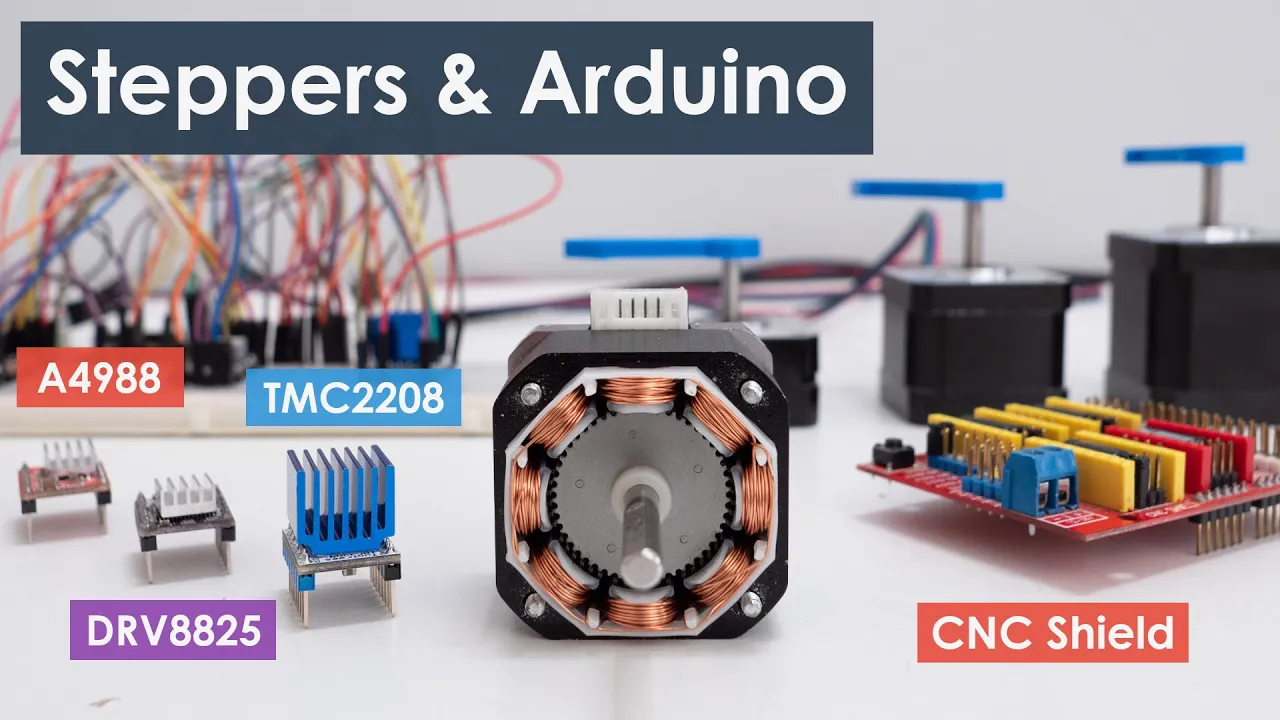
Added:Understanding of basic CNC anatomy, specifically how stepper motors translate rotational movement into linear axis motion via lead screws, belts, or rack and pinion systems.
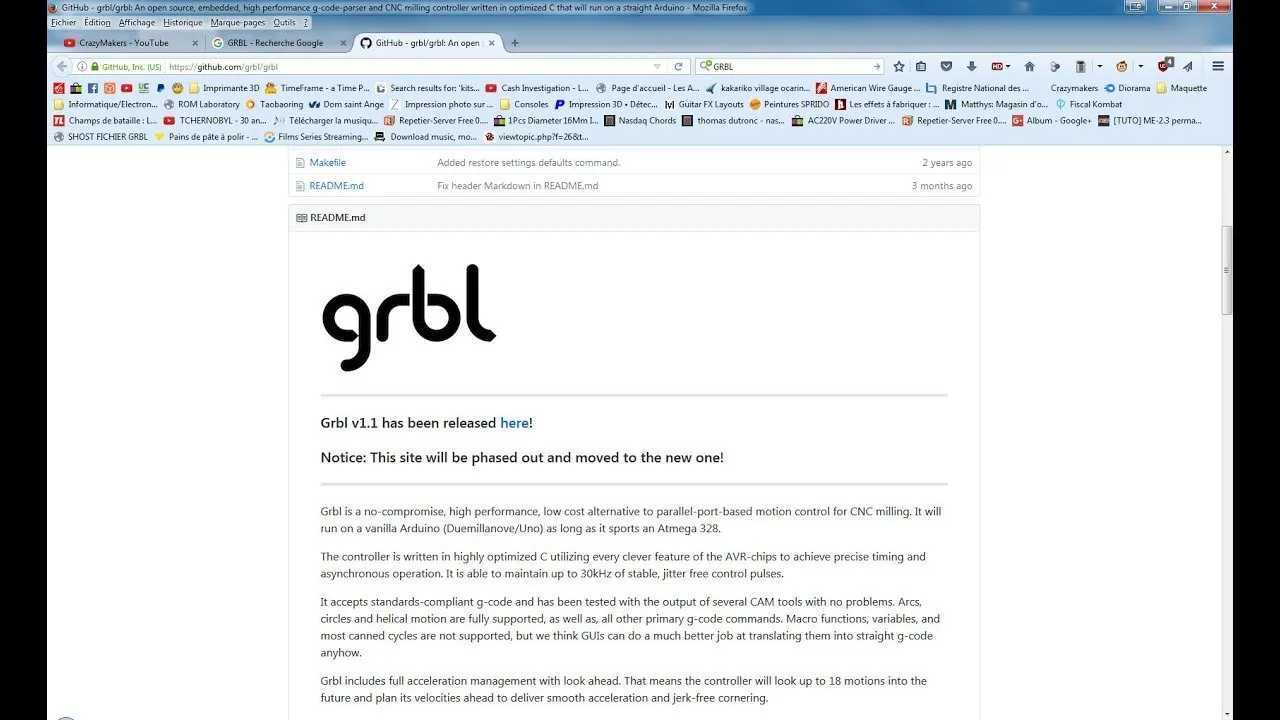
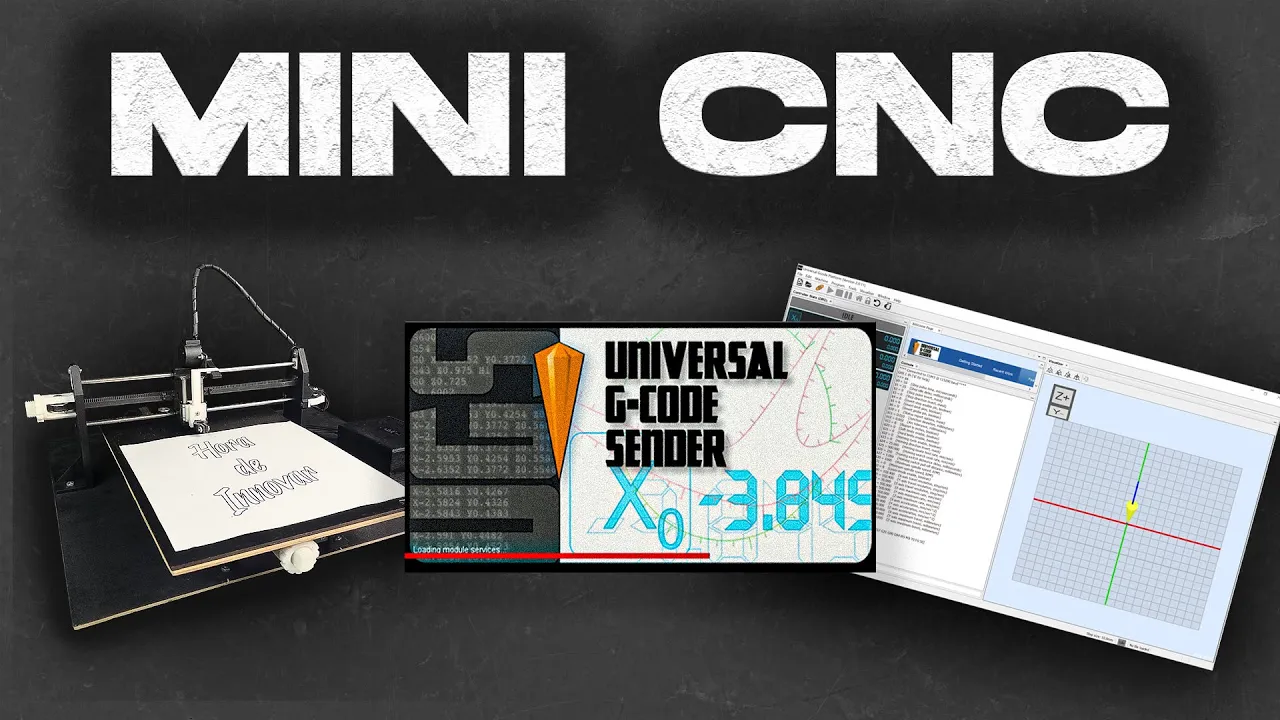
Familiarity with the Universal Gcode Sender (UGS) interface and basic GRBL firmware settings, particularly how to send manual commands (G-code) and access the settings packet ($$).
The concept of stepper motor resolution, including native steps per revolution (typically 200) and how microstepping settings on stepper drivers alter this value.
Basic algebraic ratio calculations, which are necessary to compute the relationship between commanded travel distance and actual measured physical distance.
Identifying and compensating for mechanical backlash in the CNC assembly to prevent bi-directional positioning errors.
Tuning axis acceleration ($120, $121, $122) and maximum feed rates ($110, $111, $112) in GRBL to prevent motor stalling or lost steps during high-speed operations.
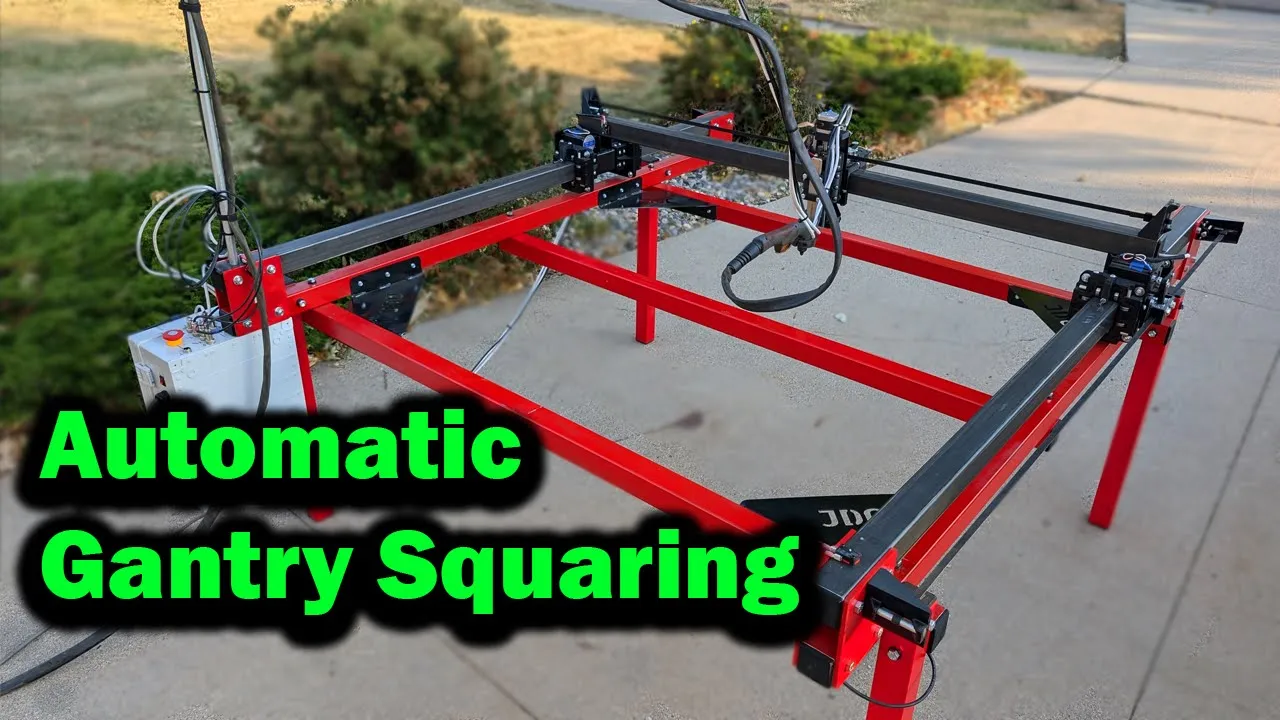
Calibrating axis perpendicularity (squaring the gantry) to ensure that movements along different axes are perfectly 90 degrees relative to one another.
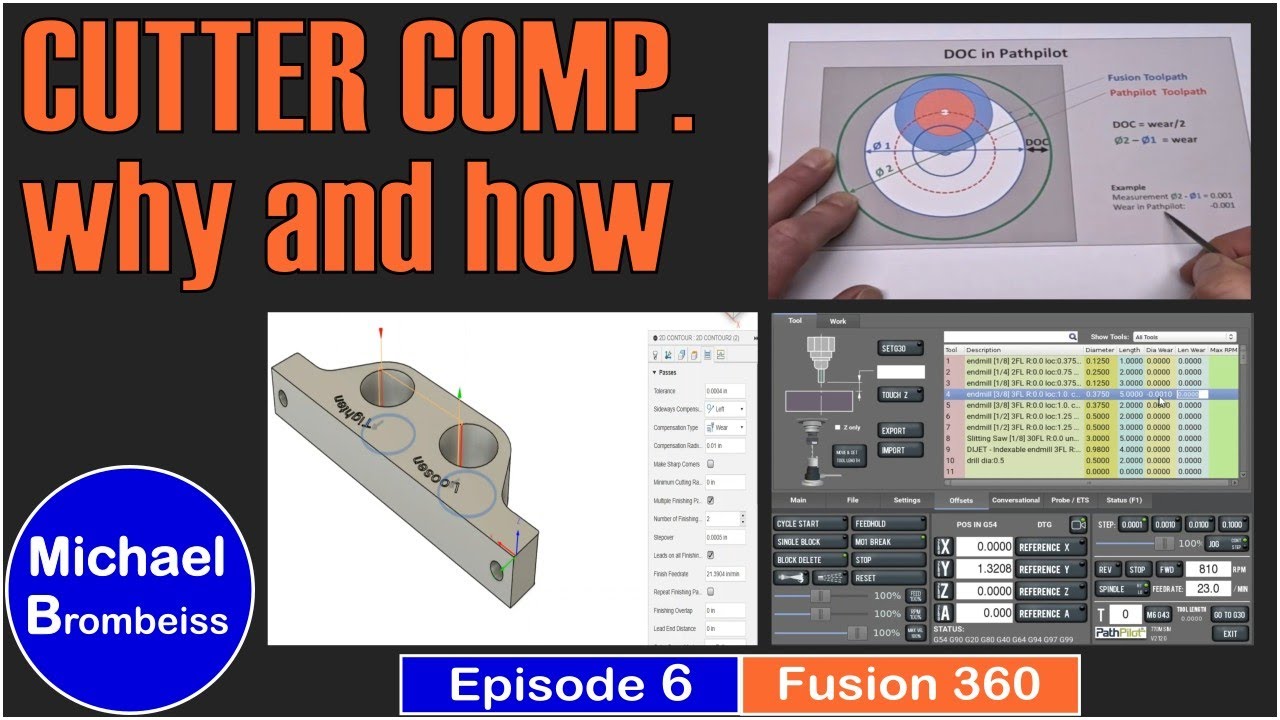
Implementing cutter compensation and finish passes in CAM software to account for tool deflection and physical runout during actual cutting forces.
101.1K views2Klikes22:03Original Release: 2022-02-27
want to calibrate your steps and get more accurate results then keep watching because that's what we're doing today hey everyone and welcome to another episode of james dean designs if you're new to the channel and love cnc make sure you hit that subscribe button in the corner to get all the latest tutorials and reviews in today's episode we're going to be calibrating our steps or our steps per millimeter and what this means in simple terms is basically the amount of times your stepper motor moves to get the distance you're telling your axis to travel so for example if you're telling your x-axis to travel 100 millimeters the amount of that stepper motor needs to move to get you to exactly the point you're after now the reason that this is important is when you receive your machines from manufacturers they put a default value in place but it's not always a hundred percent accurate it will get you close but say not a hundred percent so you might find if you're going 100 millimeters it's actually going to 99 millimeters or 101 millimeters that type of thing so we really want to dial that in so when we tell it a specific measurement to move it gets that the same measurement that we're after now this is also relevant for people who are having sizing issues so if you're trying to do something say as 50 millimeters and it's combinated 100 millimeters or if you're doing trying to do a circle and it's coming out more oval then these are the type of settings that are going to help resolve those issues for you so definitely keep watching i should also say as well it's relevant to cnc and laser machines not just um onecoin so pretty much applies to all of them i'm going to be doing it today on my 3020 pro max but if you have a laser machine having the same issues yeah so it applies to all type of machines now to keep this simple we're going to be using a wizard within ugs ugs is a free control software i've used on many videos before and i'll put links in the description area below if you have open builds controller as well i believe the same type of wizard is in that and you can do essentially the same steps so let's take a look at ugs and see the type of settings that we're going to be adjusting and then the test that we need to do to get things calibrated so in ugs the first thing we're going to want to do is connect the machine we'll come up click connect and we should get the usual alarm message and there we go we'll click unlock obviously if you don't have limit switches you won't get that alarm message so just continue next thing we're going to do is come over to the console panel now if you can't find any of these panels for any reason your ugs doesn't display the same you'll find them up in the windows menu where you can see we've got console visualize and you can turn them on and off as needed we'll also enlarge this a bit as well now the first thing i want to show you is the settings that we'll be editing today we can see them here but what i'll do is just type dollar dollar and hit enter to refresh the settings now the settings that we'll be focusing on today is the dollar 100 through to the dollar 102 these settings right here as we can see next to them it says travel resolution steps per millimeter now the most important thing you want to do before starting a process like this is take a copy of all of your settings so i'm just going to scroll up highlight everything right up to the dollar zero setting press control c come over to notepad press ctrl v and there we have a backup of all our default settings i should also say any machines that i have i try and keep a copy of the default settings on my website for people to use at jamesdeendesigns.com you'll find them in the blog section so now we've got a backup of our settings i'm going to come back down and focus more on these settings that we just highlighted the 100 101 and 102.
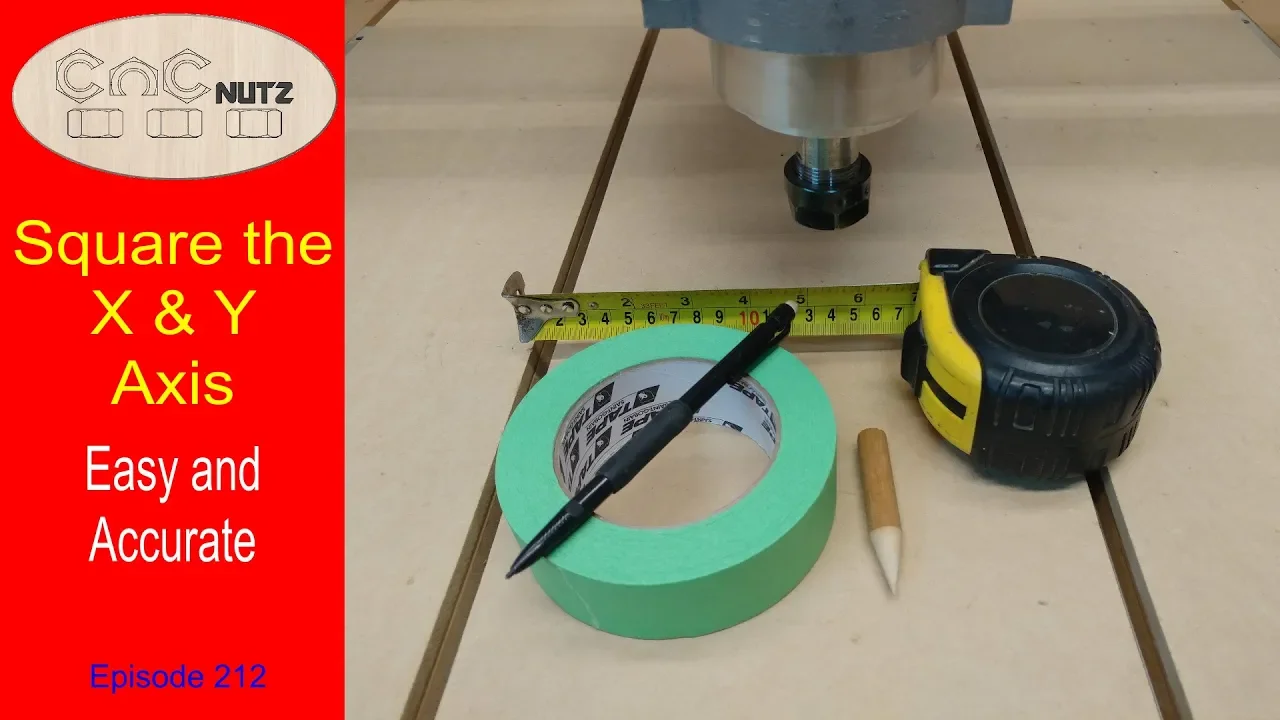
now this is the x y and z respectively now usually machines like the 3020 or 3018s have a resolution of 800. it's not always true but majority of them do and this is the travel resolution in relation to how much the lead screw needs to turn in order to move any particular axis now to emphasize the task we're doing today i'm going to change these values deliberately we know 800 is probably going to be close but we want to fine-tune them but as i say to emphasize the situation i'm going to quickly change these down to 700 so we can just see a bit of a variable in the uh in the test we're going to be doing shortly so as we'll just see i've quickly just entered new values and just as a refresher if you've not done this before to enter in values you simply type the value you want to change so here we have dollar 102 equals and then the new value you want to input and press enter now if we hit dollar dollar again and hit enter we will just see these have now been all refreshed to 700 and as i say you don't need to do this this is just for the purpose of the video and emphasizing the changes that we're about to make with these settings so now we know what settings we are looking at within ugs and your grbl setup let's jump over to the machine and i'll try and explain quickly what we're going to do in terms of the test we're about to put the machine through to calibrate these settings a bit further so the test we're about to do today is very simple we're going to tell the axis to move a certain distance for example 800 millimeters we're going to measure the distance that it actually travels and that way we should have two separate measurements the distance we told it to move versus the actual measurement that it did move we're going to use both of those figures then to do a small calculation within ugs we can either do it manually or using the wizard to get our new steps per millimeter now the way we're going to do this test and actually record the distance it's traveling is as we can see here i've fixed a scrap piece of wood down to the bed just using some blue type and mdf now i've then got two pieces of tape stuck down to the bed one for the x-axis one for the y-axis i'll show you how we do the z-axis a little bit later on in the video what we're going to do is insert our v bit into the collet we're then going to basically lower it down make a small indentation into the bed lift it back up then travel it along that 100 millimeters that we said lower it back down make another indentation raise it back up we then have two points to measure between to get that measurement of actual travel versus the predicted trouble and then those are the calculations those are the figures sorry that we'll then use in the calculations now we'll do the same as well on the y-axis we'll do an indentation move it do another indentation and measure that now when it comes to actually taking the measurements of this the more accurate that you can be the better results you're going to get so if you only have something like a ruler then your accuracy is going to be quite limited i mean these will measure in millimeters maybe half a millimeters at best as i have on this ruler here but you really want something more accurate to judge this now what i'm going to be using is a set of calipers these are a set of stainless steel calipers off amazon i'll put links to everything i use in the description but they are really quite versatile now you can get slightly i mean these were cheap i think these were about maybe 20 pound you can get cheaper ones which are these plastic ones again these are probably about 10 pound my personal preferences stick with the metal ones they are just a bit more accurate and these can be a bit flimsy now the alternative option is using something like a dial indicator now these are probably more accurate to read than the calipers well it depends really which is more calibrated but the dial indicator you really need to have a good length of travel on it mine only has a length of travel of about 12 millimeters you can get some of these which go up to maybe 20 30 millimeters or an inch long those are going to be better but as this is only a 12 millimeter travel i'm going to carry on using the calipers today so before we get stuck in with the testing itself a couple of key important points now only ever test one axis at a time so if you're doing the x-axis do the tests and measurements for that and make sure you've got everything correct before moving on to the y-axis the second point is we need to make sure there is no backlash within the axis so basically what i mean by this is if we're going to move the x-axis from left to right we need to make sure we have moved it a short distance first so maybe 10 millimeters before then moving it the 100 millimeters we need to if we send it that way and then move it back this way straight after it's going to factor in any backlash that is in the um in the setup itself and we want to exclude that so we exclude that by moving it in to begin with then doing the measurement and the same will apply on the y-axis we will move it slightly then continue to move it further to get the actual readings so i'm now ready to do my first test on the x-axis i've installed the v-bit as we can see here and lowered the z down to just lift this slightly above the material we're going to move it across 10 millimeters to take out the backlash lower it down two millimeters and back off this will put on indentation in the painters tape we're then going to jog this across 100 millimeters within ugs lower it down again two millimeters and back up to make another indentation now as we've already changed the steps i'm not expecting this to be 100 millimeters but it's that measurement that we need which will be important in order to do the calculation so let's begin we'll take the backlash out to begin with we're then going to lower it down two millimeters as mentioned make an indentation in the painters tape lift it back up we're then going to jog it over 100 millimeters i did speed that up slightly just for the purpose of the camera we're then going to lower it back down by two millimeters make another indentation in the painters tape lift it back up and now what we should have is two marks on the painters tape it can help to use something like a pencil just to highlight roughly where these marks are because they can't be difficult to see so i've just brought the bed slightly forward to give me a bit of breathing room between the space under the spindle and i'll put the calipers on the two indentations that we made now we've got a reading of 87.10 or 87.1 millimeters this is the new the new figure that we'll need for the calculation obviously we sent that to 100 millimeters travel and it's only come out at 87.1 so we obviously know something is not right so we'll go and adjust those settings now to get them much closer so now we're back over at the pc and i did say there is a wizard to do this within ugs and i'll come on to that shortly but i think it's more important to show you the manual way of doing this so you understand how it's calculated it is not complicated so let's run through it now for minimize ugs and what we can see here is the calculation to be able to get the new value that we're after it is essentially the current steps per millimeter which for us was 700 that's what i inputted into ugs the expected travel in millimeters which was 100 millimeters and the actual travel which was 87.1 millimeters so when you actually translate that what does it look like so it's 700 times 100 and then divide that whole answer by 87.1 so let's walk through this now so we're gonna have 700 times 100 click equals to get 70 000 and then divide that by 87.1 and there we have it 803 803.67 blah blah blah but basically we're after this 803.673 you don't really need to go beyond three decimal places now as we can see if you remember back to the start our original value is 800 so what we can actually see is 800 wasn't far off but we were a little bit out so we'll now go back to ugs and input this new number 803.673 so we're going to go dollar 100 equals 803.673 that was the right number let's just double check 803 673 perfect so we can hit enter and we can check that measurement has been recorded by typing dollar dollar hitting enter again and now we can see 803.673 now i mentioned earlier about the wizard and i'll quickly show you this now so if we come up to machine and come down to setup wizard some of you might already be familiar with this but we're going to skip through to the step calibration number four so just click next next next until we get to the step calibration now what you do here is use these controls to do the test that we've just done by moving it a hundred millimeters now these plus and minus arrows move in one millimeter increments so obviously to do 100 millimeters using the wizard will take quite some time you can maybe use a smaller value such as 20 millimeters but just to prove the point about getting the calculation i'm going to quickly jog this all the way up to 100 millimeters there we are so that was the expected travel of the axis now we're going to put in the actual travel that it did which was 87.1 and what we can see over here is it's calculated at 803.7 now our setting was 803.6 something 803 67. so what ugs has done is rounded it up to the nearest decimal place you can override this if you want to be more specific with your decimal place but what we can see is they are both aligned there in their measurements and then you can click update to apply that and it will install those settings into your grbl list and do basically what we've just done in the manual method as i say the the wizard there is to do the calculation for you and make it easy but i think it's good for you to know the manual method to do it as well because in some cases it can be easier to do it than using these one millimeter increment jogs so if we come back out of this nail we'll just click cancel and so how do we know if that's worked well we're going to go back to the beginning and do that same test again and take another measurement so back over to the machine we're going to do exactly the same again bring it across 10 millimeters down to mark it up back across 100 millimeters down to market and then we'll take that new measurement obviously i'll speed this up for the camera because it can take a minute or so so we did the same test again we've moved the bed forward to give us that bit of clearance again and the reading is coming out at 100.07 so that means that the travel is now within seven hundredths of a millimeter of what we expected now i could take that reading again and go and calibrate the settings once more and do another test to try and get it as close as possible but i think seven hundredths of a millimeter accuracy i am more than happy with that so i'm going to leave that one as it is and we'll now move on to the y axis so exactly the same test again we're going to bring this in 10 millimeters to take the backlash off down touch the material make a mark back up travel an expected hundred millimeters down touch the material again make a mark measure that distance and do the new calculation so slightly more difficult me to show the reading in place on this example but that came out at 87.3 so not far off what the original reading was on the x-axis which was 87.1 so we'll move over to ugs put this new measurement in for the y-axis and then do a second test again so exactly the same process again current steps per millimeter multiplied by expected travel in millimeters and then all of that divided by actual travel in millimeters so the same calculation again but with the updated volume 700 as our original step value times 100 which was the expected travel and then all that divided by 87.31 which was the actual travel so we'll put that in now 700 multiplied by 100 equals and then divide that by 87.31 that gives us the new value of eight zero one point seven four zero to make it slightly is i'm just going to highlight that click control c then if we come back over to ugs we can go dollar one zero one equals and that new value 801.740 hit enter and as usual just type dollar dollar to check that has been received and there we can see we've got new values so we'll run that same test again go back over to the machine and see we should get a new measurement all being well at 100 millimeters travel so again take the backlash out lower it down to touch the material back up then we're going to jog it 100 millimeters lower it down touch it again back up and then move it out the way and take a new measurement so we can just about see on the board the two markings there for the second test that we did and the measurement from that came out at 99.95 so that's one is within 500 of a millimeter so even better than the last result and again i could now put this new value in but i'm more than happy with that accuracy on this machine so with the x and the y done we're now going to move on to the z-axis now obviously because we can't mark a piece of tape in this way we've set the caliper up just by clamping something onto it to hold it vertical and what we're going to do is exactly the same process lower the z axis down to take the backlash out of it i'm going to touch the caliper to the carriage itself reset the zero and move it down by 40 millimeters and we'll then see what that reading comes out at so let's do that now so that's the backlash taken out of it if we come up touch the carriage also that move a little bit touch the carriage reset the zero now we should be able to lower that down 40 millimeters and get another reading so there we have 34.8788 millimeters so we can go back over to ugs set that into do the calculation and set that as our new 102 value so let's do this one using the wizard so we can see that the movement we set it to go was 40 millimeters the actual movement it did was 34.
sorry 34.88 millimeters and we can see there that is showing a new step setting at 802.8 so we'll come into the box below it type 802.8 and you can now see the update button has come to live so we'll click update and that has recalibrated that step we can now close this down just click next all the way to the end click finish and again we can say that reference has just gone in there but just to double check we'll go dollar dollar hit enter and we can now see 802.8 so we've now got new settings for our 100 101 102 and these are you know there wasn't close from the original 800 values but we can see they did needed calibrating and now they should be within a much closer measurement as a final test we will do that z travel again and just to see what that comes out at same principle again let's lower it down five millimeters to take the backlash out now we'll lower it down 40 millimeters again but before i do this i'm going to reset the zero again on this so touch it up to the top make sure it's not wobbling and reset the zero now one thing i should point out if you're using your caliper vertically like this make sure you put some tension on with the the adjuster obviously there is gravity so that will naturally pull it down and you want a little bit of resistance not too much because you don't want it um you know needing to force itself down but enough just to hold itself in place so if we now click down on the zed for 40 millimeters again and minus 40 millimeters point zero six four zero point zero six so that is a live example of that working and is now within six hundredths of a millimeter of the travel distance again that is within a tolerance that i'm more than happy to work to and one last thing i just wanted to say before i forgot the uh the method i've used today for testing this the painters tape and stuff i've got this inspiration from techydiy voice channel so credit where credit's due he has a great channel and definitely checking out so it really is that easy to calibrate your steps especially when we're using inbuilt wizards in the software it makes our life so much easier now if you're doing this on a bigger machine for example consider using larger measurements or using the small measurements but do it at different areas on the machine what i mean by that is for something like the 6060 behind me i might do a hundred millimeters travel at one side of the axis move it over to 100 millimeters at that side of the axis and just make sure the settings are lined up and that there's no discrepancy between them at the end of the day the more accurate we can make our machines the better results we're going to get and when you can combine calibration steps like this with the tuning grbl steps that we've done previously you're really going to have a machine that's dialed in now i hope you've enjoyed today's tutorial if you have please give it a thumbs up make sure you subscribe if you've got any questions and comments let me know down below and i'll do my best to get back to everyone my final thanks always goes to my patrons if you want to get involved check out the patreon links in the description area and i'll see you all on the next episode you
Up Next

42:10
G-Code Basics for CNC Beginners: 11 Essential Commands
@weitlingD3P
463.1K views•2022-11-12

12:54
Triumph of Orthodoxy Icon: Byzantine Art & History Explained
@BenCallan
2.1K views•2024-08-06

9:49
FastAPI vs Flask vs Django: Choosing the Right Python Web Framework
@TechWithTim
302.5K views•2024-05-26

1:42
Game of Thrones Opening Credits: A Cinematic Analysis
@gameofthrones
46.3M views•2011-04-18
Related Study Plans & Knowledge Roadmaps
Structured learning paths in General & Interdisciplinary Studies
general-studies
Elevator Engineering: History, Physics & Cities
01From Hoists to Safety Brakes: The Dawn of Vertical Lift
02Hydraulic vs. Traction: The Engineering Physics of Elevators
03Modern Speed, Safety, and Algorithms
+ 2 more learning modules
12h5 modules
Explore Roadmap
general-studies
Rubber: Material Science, History & Geopolitics
01Origins of Natural Rubber & Mesoamerican History
02The Chemistry of Natural Rubber & Vulcanization
03The Geopolitics of the Rubber Boom & Colonization
+ 2 more learning modules
12h5 modules
Explore Roadmap
general-studies
Containerization: Evolution, Logistics & Trade
01Ancient Trade & Bulk Cargo: Amphorae to Barrels
02The Industrial Revolution & Cardboard Packaging
03The Containerization Revolution: Malcom McLean
+ 2 more learning modules
12h5 modules
Explore Roadmap
general-studies
Textile Tech: Evolution, Labor & Global Impact
01Pre-Industrial Textiles: Handloom & Cottage Industry
02Mechanization: The Spinning Jenny to the Power Loom
03The Factory System & Global Labor Transformation
+ 2 more learning modules
10h5 modules
Explore Roadmap