





















Industrial X-ray tomography machines work by rotating an object between an X-ray source and detector, capturing thousands of 2D projection images from different angles; these images are then reconstructed using mathematical algorithms (including back-projection and ramp filtering) to create detailed 3D voxel models that reveal internal structures with resolutions down to single-digit microns, enabling non-destructive inspection of manufactured products and scientific specimens.
X-Ray CT Scanning of Heat Shield Tiles: Microstructure Analysis
Added:Basic principles of X-ray physics, including attenuation, absorption, and how 2D projection images are acquired.
Fundamentals of Computed Tomography (CT) reconstruction algorithms used to create 3D volumetric data from 2D projections.
Introduction to materials science concepts, specifically microstructure features like porosity, fiber orientation, and density gradients.
The purpose and operating environment of spacecraft Thermal Protection Systems (TPS), including the extreme thermal and mechanical stresses during atmospheric re-entry.
Advanced digital volume correlation (DVC) and image segmentation techniques to quantitatively analyze porosity and micro-cracks in 3D datasets.
Microstructure-based Finite Element Modeling (FEM) to simulate thermal conductivity and mechanical stress directly on the CT-scanned geometry.
Ablation and thermal degradation mechanics, exploring how the tile microstructure changes during actual high-temperature exposure.
Industrial quality control and non-destructive testing (NDT) standards for aerospace-grade composite materials and additive manufacturing.
139.9K views9.4Klikes25:33Original Release: 2025-06-10
Hello, it's Scott Manley here. A couple of months ago, I invited myself to a party at the offices of Lumaf Field.
Partly because, well, they said they had free beer, but mainly because they make industrial X-ray tomography machines, which make some pretty cool scientific images. This, for example, is a Romanesco broccoli, as you've probably never seen it before, unless you happen to have an X-ray tomography machine and you put, you know, vegetables in it. And you may well have seen other people on YouTube sharing uh videos of this kind of stuff. But it was when I saw this micron resolution image of a Thunderbolt cable that I realized that I had something very cool and very unique from a space flight that I wanted to take a look at. But equally, I thought that you guys might actually be really interested in how these machines work. How they can take a series of two-dimensional images made up of pixels and turn them into a three-dimensional volutric projection using voxels. Hall of Scanners. Yeah, that's right. Let's go in the hall of scanners. All right.
Oh, wow. Yeah. So, this is this is what we do. This is the this is how we scan.
This is how you scan. This is how we do it. This is how we do it. Yes, we scan.
Hello, it's Scott Manley here and today I am with John Bruner. That's right.
From Luma Field. That's right. So nice to see you, Scott. Thanks for coming.
I'm so glad to be here. I didn't realize you're just like up the road from where I work. And I've heard seen so many cool videos about what you do here. What is it you do here? We make industrial CT scanners. So, this is similar to what you'd have in a hospital to get a CT scan of your head or your shoulder or whatever, but these are made for engineers to look inside manufactured products. And I see like someone has been looking inside what looks like a game controller right here. Yeah, that's right. This is a Nintendo controller, right? And I see this one says 120 KV.
So, that's 120 kilovolt X-rays you're shooting through this. Yes, that's right. These yeah these come in three different configurations that have different characteristics as far as the power of the X-ray source and the the size of the the focus that it's so depending upon your application you might have different requirements on what you're going to do. Right. Yeah.
Exactly. So you have like an X-ray source on one side and it's shooting through to a detector on the other side.
That's right. And then we rotate the object between the source and the detector and capture thousands of different images of the object from different angles. Right. So now I have a gizmo that I want to I want to put in this machine. Beautiful gizmo. Let's do it. This is this is actually uh from a friend of mine. It's a Syuse clock. And you may have seen these elsewhere on the internet. I'm not sure if this is flown, but it is an awesome electromechanical gizmo. And I'm not going to open it up because it's too special. But I can look inside it using this. So I guess we just put this on here. Just rest it in what we call the Lazy Boy fixture there. Lazy boy. Okay, that's right. But uh yeah, we should be able to just turn it on and shoot it. Let's see it. So, we just use the touchcreen here and switch on the X-rays. Okay. And now we're going to It's already coming through. Cool. First radio graph. Yeah. Wow. So, if I do I move this or what? You can rotate it this way. I see on the So, you're starting to see it rotate. I'm going to I'm going to move it down slightly so that it's more in the field of view. The deal with a two-dimensional X-ray image like this is that a dark area could be either a thick part or a part made of dense material. You can't really tell.
It's only when you can rotate the part that you can start to differentiate thickness geometry from the density of the material. Yeah. And so we are seeing like through this back panel, we are seeing some of these details in here like you can see the pins that come from the socket and some of the electromechanicals in the relays that get triggered to move this clip forward.
Right. That's right. Yeah, exactly. And you can even see some details here like I see a little uh cavity in the plastic hat on top of this uh knob here. So probably you know Soviet uh ejection molding technology ejection molding. Yeah. I bet you if you look on this, there'll be like all sorts of like Soviet quality seals and things like that. Exactly. Exactly. Some of it is very good, but Oh, I you know, it's uh got its own aesthetic, let's say. And I'm glad that this aesthetic has been pulled out. But look, yeah, we are able to basically rotate this by hand here, right? We're shooting X-rays through it and some of the X-rays are coming through and where lots are getting stopped, that's where it looks dark, right? That's what we're seeing. So, it's actually the reverse of a normal X-ray that we see where the bones are white because they're stopping more, right? Yes, that's right. This is a more uh sort of low-level representation of what's going on. The kind of X-ray you're used to seeing is that the color is reversed. Well, it's just that it was a negative and so they keep it that way because bones are white. Yeah, that's right. And that's right. And that's what doctors want to read. But this is actually what the detector is seeing.
So, the the denser areas and the thicker areas are attenuating more X-rays and they're darkening the image. It's like casting a shadow, right? And so the thing is as we rotate it, we are sort of like building up our mental model of what it looks like on the inside. You know, we've turned it this way so we can see a slice through it. We can see the front off it and the stuff coming back.
But the beauty of this gizmo is this is fully automated X-ray tomography. That's right. And that means what? Computed tomography means that we can reconstruct these multiple two-dimensional images taken from different angles into a single three-dimensional model that encompasses all the geometry and the density information that we're getting from. So, how many images does it take to build up a 3D model? Typically, we run between 900 and 2,000 of these images. Okay. So, now let's go into a little more detail about what exactly we're doing here. So, this is your images that are being taken. As we said, where it's dark, more of the X-rays are being stopped. You see this is projection X-rays just like you would get on a broken bone or something. You have the X-ray generator and it shines the X-rays through and then there's a detector on the other side. The image we see is because different paths of the X-rays have different amounts of material scattering and absorbing them.
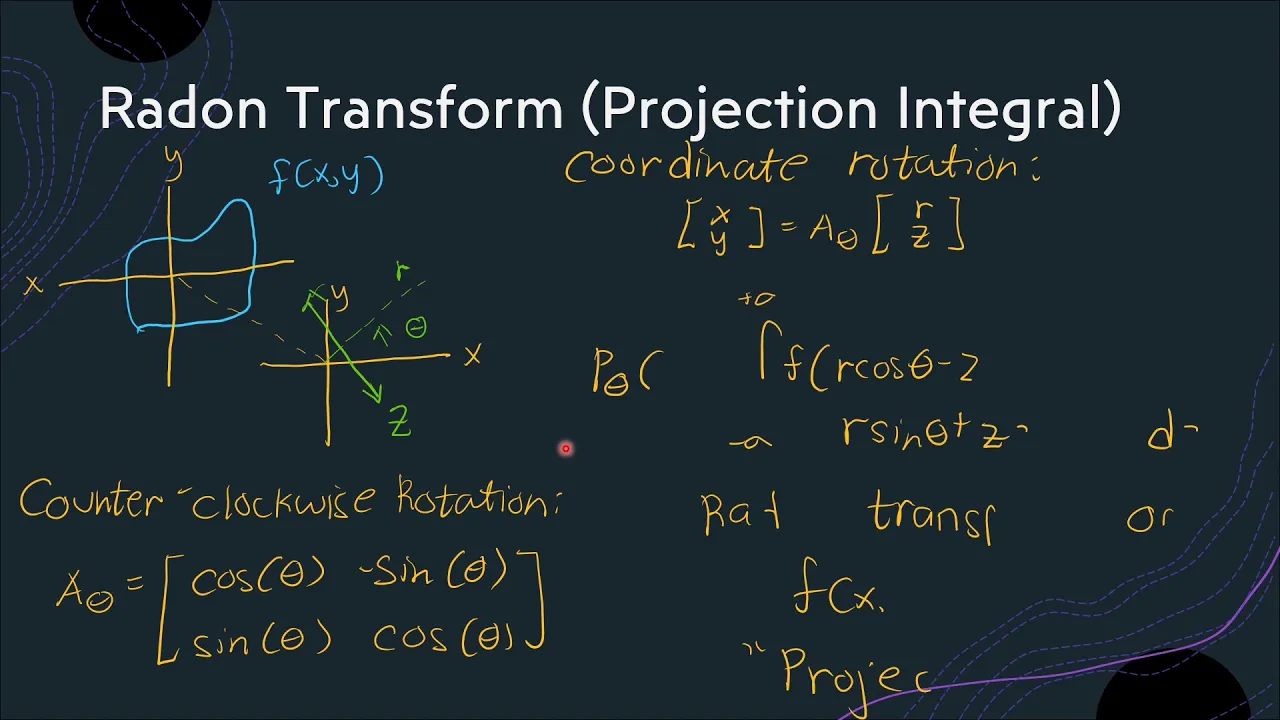
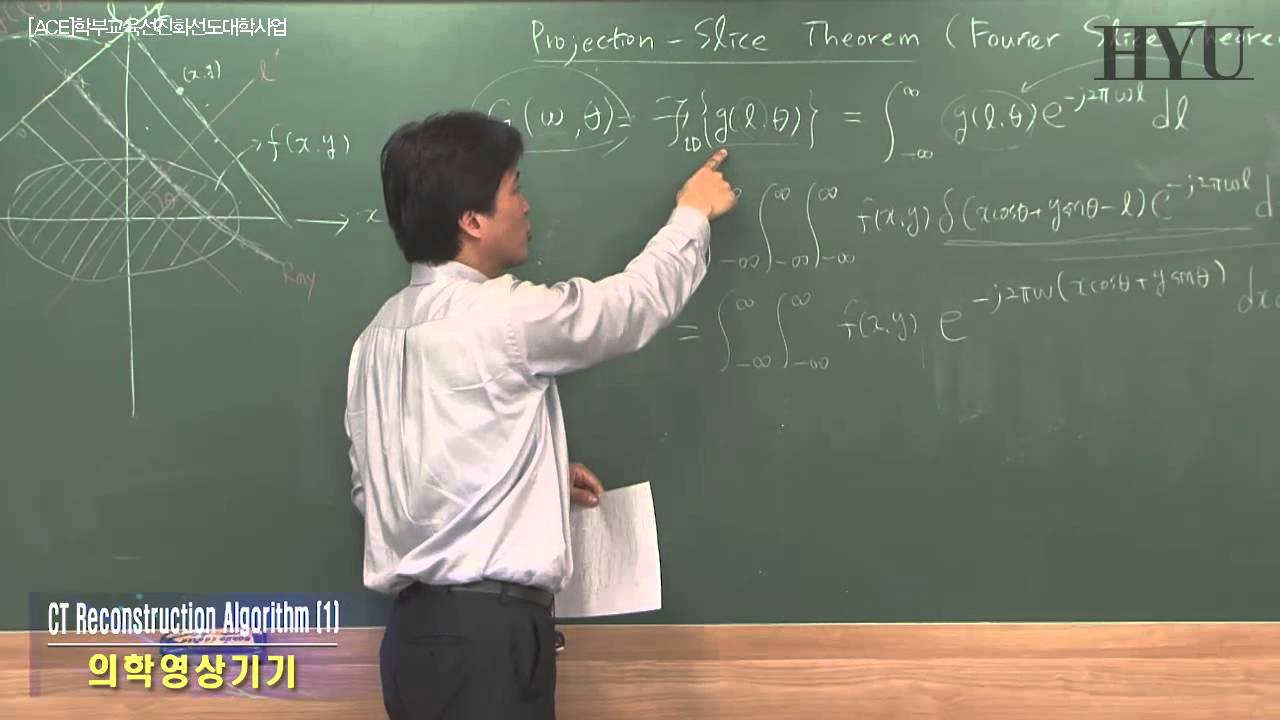
And you saw that we were able to move and rotate the object inside the machine. So it could be scan or imaged from multiple angles. But the machine is able to scan the object by taking images from a whole bunch of different angles and then doing a mathematical process on it which takes all those images and turns it into a 3D voxal model. And that voxal model can then be manipulated on the website long after the sample has been removed from the machine. So we can zoom in, adjust the density, we can take slices through the object, see all sorts of detail which you know would otherwise be invisible to a regular X-ray. And to do this we need to understand that as a beam of X-rays goes through an object there are different objects at different depths that are scattering in different ways and when we rotate them we get different angles on that. Now reconstructing the positions of those within uh that beam is called an inverse problem. It's something where we start with the effects and we try to find the cause and for what's called computed axial tomography. Uh the guy that figured it out was a mathematician called radon. No relation to the gas.
Now the version I'm going to explain is the two-dimensional version. But I'm sure if you know about 3D printing, you can make any three-dimensional object by a series of two-dimensional slices. So here is my test slice here. This is a grayscale image with uh different levels of brightness representing different levels of stopping power or opacity. And you can imagine the X-rays shining through this slice and getting stopped and leaving a shadow so that it's darkest where there is the most density, the most material getting in the way. So we can pretty much just flip that around and you can get a density profile for that slice at that particular angle. Now you can repeat this for all the angles and you can see how the bright and the dark areas kind of shift around as the angle of illumination is changing over time. And if you take all these density profiles and plot them versus angle of rotation, you'll see that it's actually made up of a bunch of sine waves. This is called a syog. And the trick is to then use this data to reconstruct the original image. That is we have to take the intensities of those X-ray beams and project them back into the solid object.
That is back projection. And this is what happens if you naively add all those X-rays back onto each other. You actually do recreate something that looks like the original, but it's really blurry. And I think this is where Johan Raidon came in. He proved that when you sampled an image like this and you you know look at the transformation in frequency space that you sample the low frequencies more than the high frequencies. So the way to fix this is to apply a ramp filter. That is a filter where the signal passed through linearly increases with the frequency. And this is what happens when you do that. You see the sharp features get enhanced. And when we use that to perform our back projection and recreate the image, suddenly everything looks a whole lot clearer. Suddenly everything comes into focus. All of the features now become visible. Now in real life, you don't use a perfect ramp filter because that will tend to amplify any noise. But I think it's incredibly elegant that the filtering is only done in one dimension.
And that made the math accessible to computers from the 1970s. And so in 1971 we got the first computational tomography image or CT scan of a human.
And this would end up winning the 1979 Nobel Prize in Physiology for Alan Mloud Cormarmac and Godfrey Newald Housefield.
And since this channel likes to talk about rockets, this guy almost killed himself as a child when he was building a water rocket propelled by acetylene.
And of course, the state-of-the-art machines from 1971 were pretty primitive by today's standards. This one featured floppy disc storage and image resolution of 80x 80 pixels, which translated to 3 mm elements and a slice thickness as low as 8 mm. Things have moved on in the last 50 years. So, yeah, if you're wanting to do a full 3D scan of this, right, how long does it take and what are the things you have to consider, you know, depending on what you're going to get out? Yeah, it really depends on what you're scanning. It's a lot like exposing a photograph. So, the the darker the image, the longer you need to expose it. Something like this that has a lot of copper and steel and some brass gears inside is going to require longer exposures. So, something like this might take several hours or even overnight.
But most things that uh people use these for can take uh as little as you know 15 minutes to an hour if it's a piece of more modern electronics or a plastic assembly or something like that. And we even have some technology that lets us run scans in less than a second for for things like lithium ion batteries that have to go through at really high volumes. Oh, so this would be like if you've got a battery production line, you could have one of these machines like look at the cell, spin it, scan it, and then send it on. Exactly. We have a machine called Triton that goes in factory lines. So this this one's called Neptune. It's really for uh And the difference is I guess it has two doors in and out. It has a continuous process in and out. That's right. And no sliding door whatsoever. So it can run continuously. The the part goes through kind of a maze to reduce to to eliminate any, you know, x-ray radiation that might escape. And it's just running continuously. The source is always it goes in, spins around, goes out. And yeah. Yeah. And so people are installing these to, you know, scan whatever is coming out. Yeah. All sorts of stuff, including some things that you would expect like lithium-ion batteries, very high stakes, right? You don't want them to explode. Oh, I certainly also some surprising things like consumer packaging, you know, things that have always been too too inexpensive to be able to scan on a CT scanner now make sense. And you can So these are like really cost effective compared to, I guess, the existing state-of-the-art.
You went Yeah, exactly. This is this is a lot less expensive than not just old CT scanners, but also less expensive than having a human being sit there with a saw, you know, cutting something open and seeing what's inside.
I mean, just like roughly like what what is the price of these things? Are we talking like car plane, you know? Yeah, it's in the car uh in the car category or cheap plane. Neptune CT scanner starts at $75,000 a year, but it's it's hardware as a service. So that includes the software, the service, the support and and so on. And then the Triton scanner software updates and everything.
Yeah, that's right. That's right. And we come out and fix it for you if anything goes wrong with it. You don't have to keep buying replacement X-ray sources and that type of thing. I mean, is there are there like life limited parts? You have to like replace the X-ray source or something periodically. Yeah, occasionally X-ray sources can wear out.
Um, but because they're just like vacuum tubes shooting electrons and stuff.
Yeah, that's right. There is there is some natural wear to running an X-ray source. Um, we've developed our own X-ray detector technology that's not susceptible to wear, but in older CT scanners, the X-ray detector is a consumable. It's a u, it's getting bombarded with X-ray radiation and it's kind of wearing out over time. You have to replace that. It's very expensive.
You don't end up with like a a burn-in a shadow. If you're imaging say the same shape of object like a, you know, a lithium cell over and over again. Not not on this scanner. No. Okay. No, that's I you think about these things, right? Sorry. It's a bit like a phosphor on a old TV screen, but you know. That's right. Yeah. Design for a material a material in there that does the conversion. Yeah. I'm sorry. I'm just like I want to turn this. I want to just like turn this make it happen. It we do this all day long. It's beautiful to watch. It is. And I've been using the website to look at this in far more detail. Yeah. Yeah. Now look, I really want to stress that while you can rotate the object to the machine, the point is to scan it and then you upload it to their data management system is they have a web interface called Voyager and you can see some stuff that has been previously shown by other creators on YouTube. You can go in and look at some of the cool space artifacts that Curious Mark brought out or some of the things that Adam Savage brought in to show off.
Let's come right in here. Yeah. So, what we have over here on the right is the X-ray source.
a scannable light range. And then you have a camera that's picking that up, I guess. Yeah, there's a digital a digital um detector behind that, right? And uh that's capturing the the images. So this this is the source here, right? That's right.
And uh does that that produces like a a wide spread, I guess. Yeah. So there's a there's a cone that's coming out of it and it's coming out to the detector. And so you asked about different resolutions. The way that we can see more or less detail is by moving the part closer to the X-ray source or farther away from it. And it's just like making shadow puppets in front of a slide projector. So the the image on the detector becomes larger the closer you move the the object to the X. If I zoom out, will this move here?
There it is. So it starts to zoom out.
Now obviously we're not going to see the response here, but that's what's going on inside it. And then typ typically the rotation Yeah. We'll also move this around. Show the rotation, too, if you like. Yeah. This is like a, you know, we've seen these kind of uh systems on a 3D printer, right? Come on. There we go.
That's right. Yeah. What kind of resolution can this machine get down to?
So, these machines, depending on the the source and the way that you have the scan set up, can get down into the single digit microns, you know, around three three microns. Three microns. Wow.
Yeah. Uh and I've seen some amazing images of like modern electronics with that kind of resolution. That's right.
Yeah. I I love that stuff. I mean, I love the fact that, you know, you can see that those AirPods that you bought off the street were not in fact authentic uh pods, right? Cuz the PCBs aren't fine enough in the giveaway.
Chunks of metal in there to make them feel heavy. That's right. That's right.
The fakery is amazing. The fakery is indeed.
So to make these scans at resolutions which are comparable to optical microscopes, you have to be able to put the X-ray emitter as close to the sample as possible and then you have to use a very small aperture on the emitter so that it doesn't produce blurred results.
Consider that the sun is half a degree across in the sky and the shadows it produce seem sharp up close, but once you get further away they tend to get softer at the edges. And the same is true for imaging with X-rays. So now if we're going to go for the super micro focus, this is the machine, right?
That's right. This is our 130 KV micro focus scanner. The difference here is that we have a different X-ray source in it. It looks a little bit different inside, but this is the X-ray source here. It protrudes a bit and that lets us get parts extremely close to it in order to scan them. So we have like a smaller shoe, right? And I see it here, right? Let's grab this. And you would get a tiny tiny teeny teeny micro SD card. 512 gigs. That's right. Amazing what they have on that now. Yeah. How does that go in? I don't want to break your machine. Put this in here. It's a little bayonet mount. What I'm getting is the X-ray source, it puts out a cone, right? It's just like a projector in a movie theater. So, if you put your thing as close to the source as possible, you will get the biggest image and the highest resolution. Exactly. And that's why we're using this like really small object here, you know. Yes. And the reason that we have different X-ray sources that have these different capabilities is that as you as you go to more powerful X-ray sources, you tend to have larger spot sizes. The the X-ray uh source size itself is larger. So if you think about this in terms of making uh you know finger puppets in front of a a projector beam, uh the the shadow becomes blurriier as you move closer to the light source. Right? If you because there's an aperture on there, so you need a really tiny aperture. It's like a pinhole camera. There's no focusing on these optics. Right. Exactly. And as by the time you get to, you know, an infinite decimal spot size, you have a completely sharp image over here. Right.
But then you have almost no flux. Yeah.
Exactly. So, is there a way to adjust the aperture of the beam that's coming out of this? Yes. this one uh on this particular source as we uh draw down the the brightness of the source the the spot size gets smaller. Right? So if you want to get the best most detailed you have to deal with very low fluxes from a very narrow spot. Yes. And that takes a very long time but you can see a lot more detail. Exactly. Yeah. And but the machine the machine configures itself.
So it kind of like finds its own ideal uh spot size and flux and it'll warn you how long it's going to take. It will.
Yeah. It'll you'll you'll know before you start. What's the longest scan you've run on something like this?
Something like this. I mean you can configure a scan as long as about 24 hours. Oh, okay. So if you got like something that's like really dense and is uh you know there's structure in it, but there's a lot of dense material.
It's going to attenuate. Exactly. You can just keep throwing X-rays through it until you get enough flux to reconstruct your image. Basically, yeah. This is the kind of thing where you would start it on a Friday evening before you leave for the weekend. You've got a beautiful CT scan ready for you when you Exactly.
Right. Who doesn't want a beautiful CT scan first thing on Monday morning, right? I That's how I like to start my weeks myself. Oh, I do like me some CT scans. Here we go. There it is. Yeah.
512 gigabytes. Isn't that amazing? It just blows my mind you can put that much data into that small a space. I know right.
Okay. So you say this does micron resolution like three to three microns.
So I have something a very special space related thing that I know has micron scale structure and I would love to put it in your machine if you'd let me.
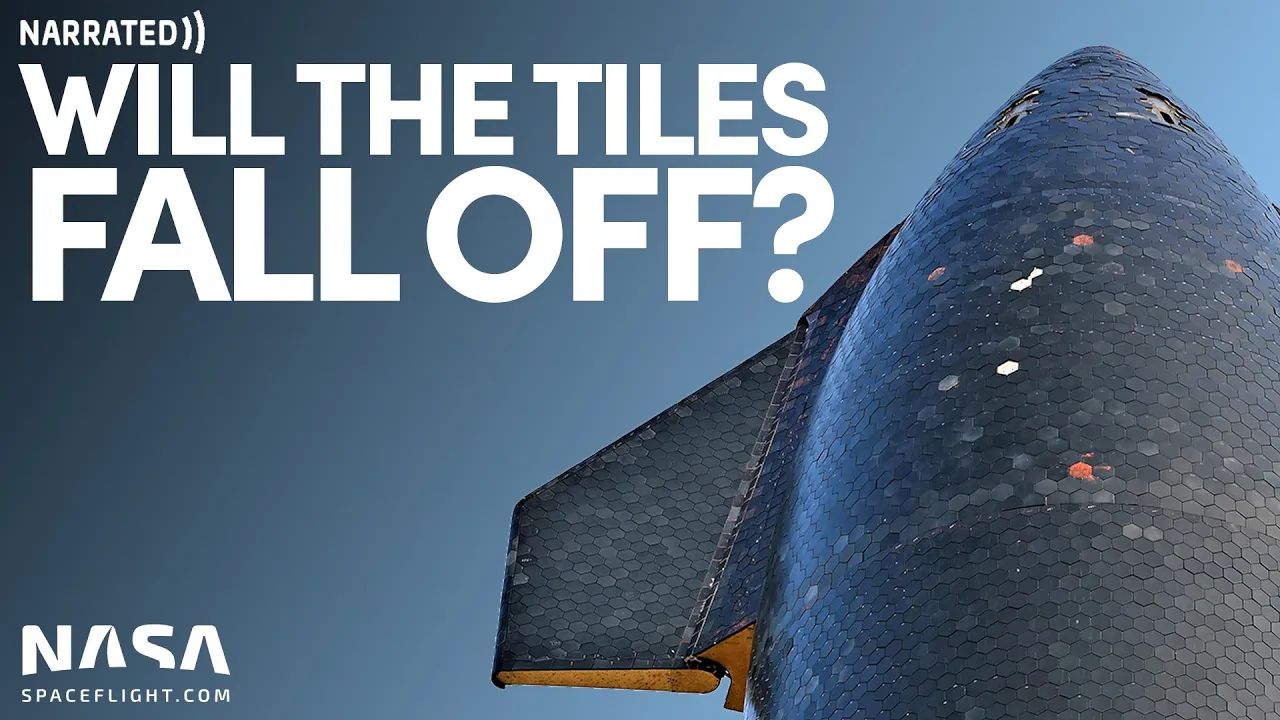
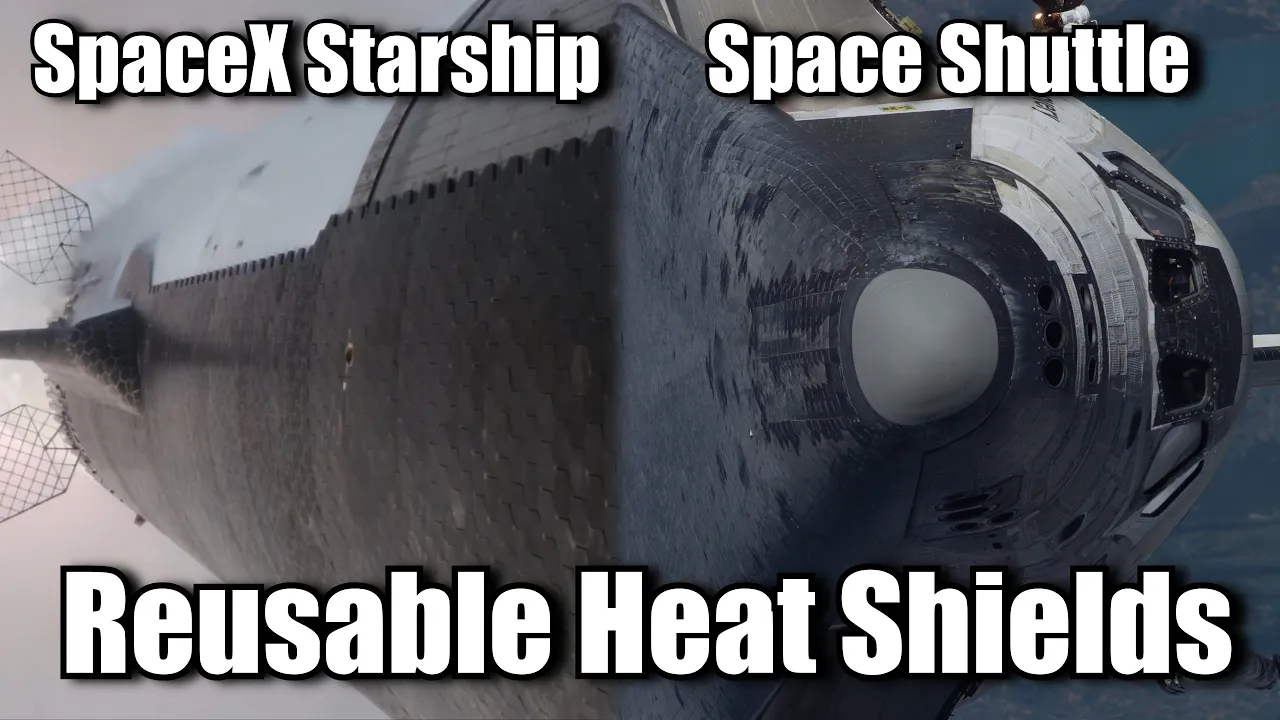
Let's do it. I would love to see what's inside. So, what I brought with me was a piece of heat shielding tile that was made of microscopic glass fibers. This was given to me by someone at Astrowards, who also gave me his business card, which got lost. So, I don't know who you are. Thank you very much. Though, I'd previously looked at these through an optical microscope, but it's very hard to examine the 3D structure. That's why I wanted to use this to actually look at it in 3D. Okay, so we have this. It's in a little sandwich baggie to protect us.
because it uh it's made of glass. Um might be a tile from something. Somebody found this on a beach somewhere apparently. But no idea what it could be. I I don't know what it could be.
Well, let's put it in the scanner. We could put it in the scanner and see how it looks. But I guess if you wanted to get it really close, you would have to like cut a tiny piece off, right? That's right. Yeah. But yeah, we can put that on there and it fits almost perfectly.
Look at that. The notch is just right.
Look at that. Who would have thought?
Shall we see? Yeah. Let's just close it up. This is cool. You can you can see the uh you can see the skin glassy layer attenuating a bit more. I guess we rotate it a little. Yeah, you can sort you can see the structure there. But to get like the detail of the like the micro structure of this, you're going to need to put this in for hours or whatever. A long no long not hours, but long time. Well, something like this that's a a really really low attenuation object, maybe maybe just a few hours, not you just need to get enough photon.
Again, like the more photons equates like brightness and resolution and signal to noise. It's all an equation.
Um, and to get it really detailed, you need to move it as close as possible.
So, we're going to need to cut a tiny piece off. That's right. Get it right up to the X-ray source. Okay. And here is the scan of the piece that we broke off.
It was just over a centimeter in each direction and it was very fragile. It actually broke pretty easy, but unfortunately so did the surface. Going by the numbers, it was about 2600 by 2600 by uh you know 3,950 voxels. Uh that is about 26.8 billion voxels. Uh the resolution was 6 7.6 micrometers. A little bigger than we hoped, but we couldn't get a piece small enough. and yet still have all the structure. We were worried if we tried to break a smaller piece, we would just end up crushing it. If you cut a relatively thin virtual slice through it, it becomes really obvious that there's different levels or different sizes of fibers involved. There's some fairly large fibers that are like 100 microns across and uh these stretch for a couple of millimeters. Also, the end pieces appear to be like expanded out.
They're sort of bulbous. They kind of look like well sperm and then these larger fibers are embedded in a like a matrix a sort of cloud of much finer fibers are much harder to distinguish individual you know individual fibers.
Another interesting animation is where you take a a a plane and you slide it through the matrix so that you can see the different structures as they move around. And you know, you could actually do work with this to correlate the lengths and the sizes of the various fibers involved, but it makes for a pretty trippy display. None of this is particularly surprising. You know, this is what we understood. The heat shield tiles were made of these fibers with a lot of space that basically create very long circuitous paths for heat to conduct through the surface and spaces between everything so that uh radiation is slow. What did come as a surprise to me was how the structure wasn't necessarily particularly homogeneous, how there seemed to be clumps and voids within this larger structure. I guess I'd always imagined that the best tile manufacturing would be the most orderly.
Looking at the surface layer, you can see it's maybe 200 microns thick, if that. And as you adjust the density function, it's not like there's a hard transition from the surface into the medium. It seems to be that it's a gradual transition as more and more uh of the fibers sort of merge together to create like or to bond to the interior surface. And I think I've read about this with the space shuttle tiles, how they figured out how to do that. And that ended up making much more robust tiles once it wasn't just like a layer that was placed on top of the fibers. So yeah, obviously it was really cool to get a look at these heat shield tiles using this technology and it was also really cool to just take a look at this technology. So thanks to Lumaf Field for uh letting me mess around with their gear. John, thank you very much. This has been absolutely amazing. I hope I can come back some other time cuz I always have cool ideas. But this these machines, they're like magic. Thank you so much. We we feel this way, too. And you're always welcome to come by. You've got great stuff to show us. Oh, great.
Well, thanks very much. Of course. I'm Scott Manley. Fly safe.
[Music]
Up Next
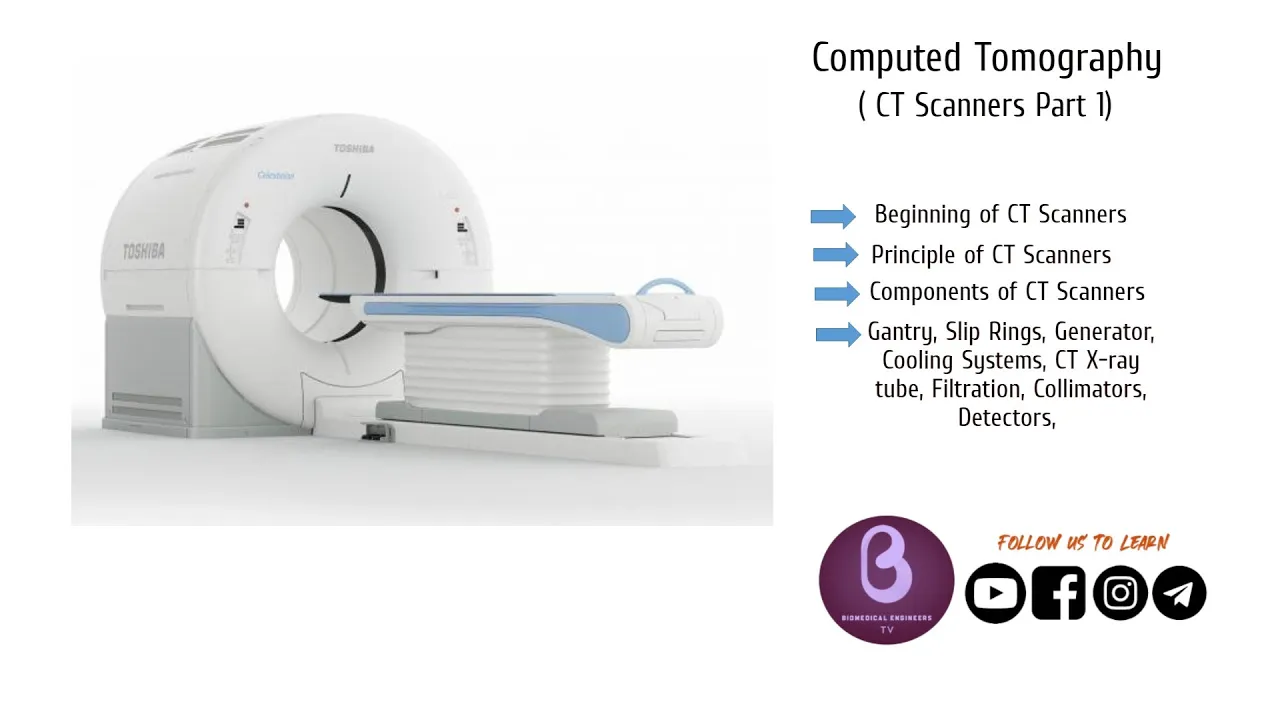
10:46
Computed Tomography (CT) Scanners Explained: Principles & Components
@BiomedicalEngineersTV
90.7K views•2021-07-03

30:32
Ultrasonic Transducers: Resonant Frequency Measurement and Horn Design
@imajeenyus42
229.9K views•2017-02-22

54:16
Polymer Environmental Degradation: Mechanisms & Stabilization
@iit
1.8K views•2012-07-10

33:39
How a Student's Question Saved a NYC Skyscraper from Collapse
@veritasium
22.8M views•2025-04-26
Related Study Plans & Knowledge Roadmaps
Structured learning paths in Engineering
engineering
Building Acoustic Levitators: Physics & Arduino
01The Physics of Sound and Standing Waves
02Piezoelectric Transducers and H-Bridge Drivers
03Arduino Programming: Generating 40 kHz Signals
+ 2 more learning modules
14h5 modules
Explore Roadmap
engineering
Building Peltier Cloud Chambers: Particle Tracks
01Cosmic Rays & Cloud Chamber Physics
02Thermoelectric Cooling (TEC) Fundamentals
03Custom Liquid-Cooling Loop Design
+ 2 more learning modules
18h5 modules
Explore Roadmap
engineering
Yagi-Uda Antennas: Modeling, Build & VNA Test
01Introduction to RF and Antenna Fundamentals
02Yagi-Uda Antenna Design Principles
03Antenna Modeling and Simulation in 4NEC2
+ 2 more learning modules
18h5 modules
Explore Roadmap
engineering
ECG Monitor Design: Op-Amps, Filters & Noise
01Electronics & Breadboard Basics
02Op-Amps and Instrumentation Amplifiers
03Bioelectricity and ECG Fundamentals
+ 2 more learning modules
18h5 modules
Explore Roadmap