











![[207245] Dimensional evaluation of spray profile using the Background-oriented Schlieren technique](https://i.ytimg.com/vi/r5gIOPfiNR4/maxresdefault.jpg)
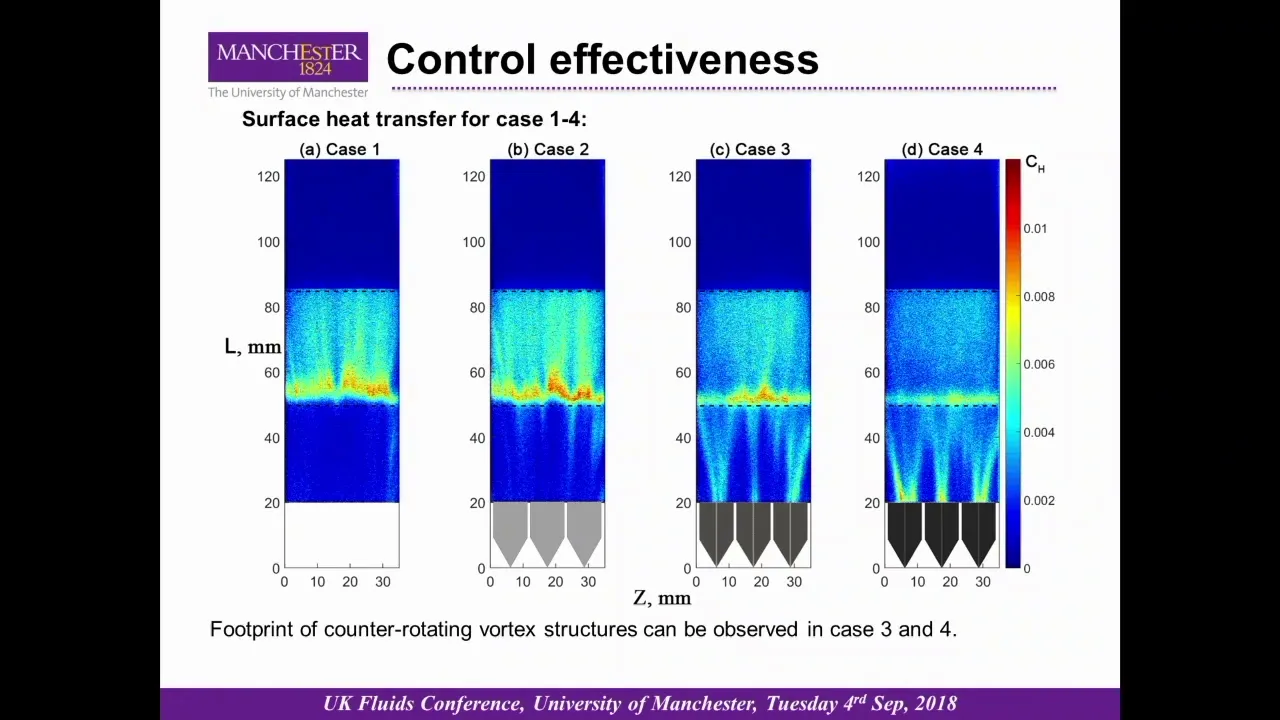
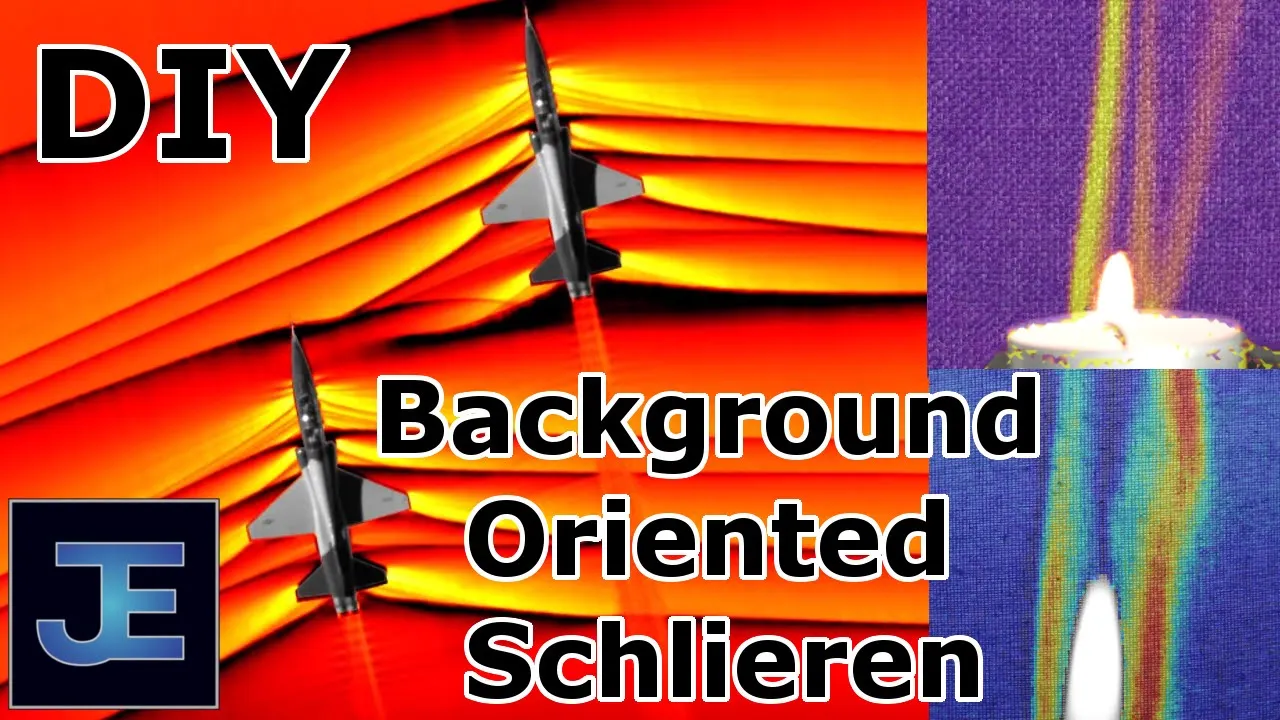




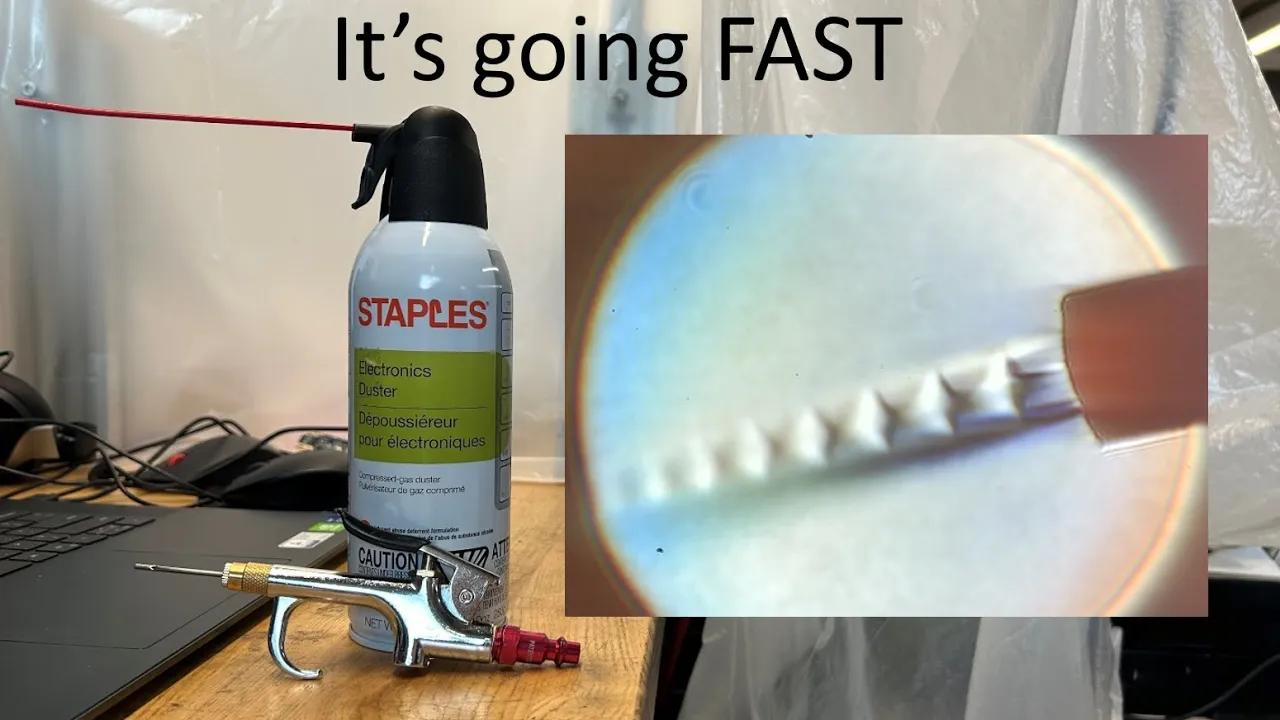


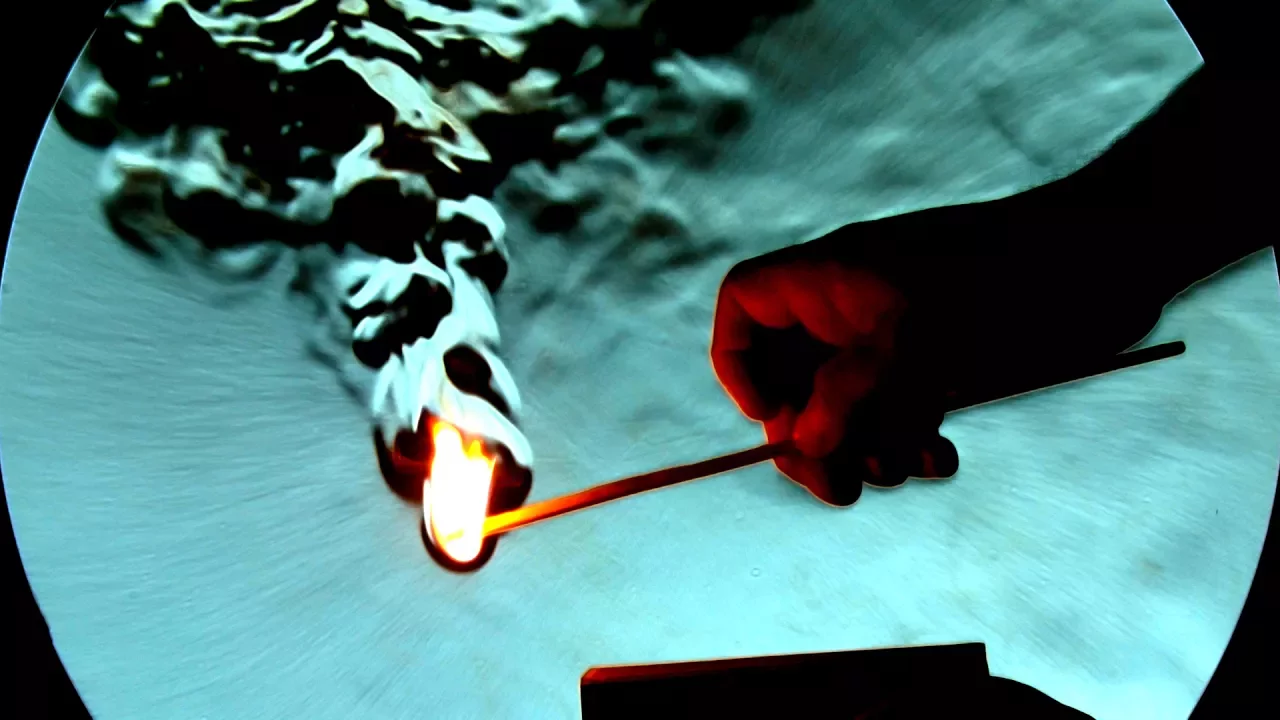


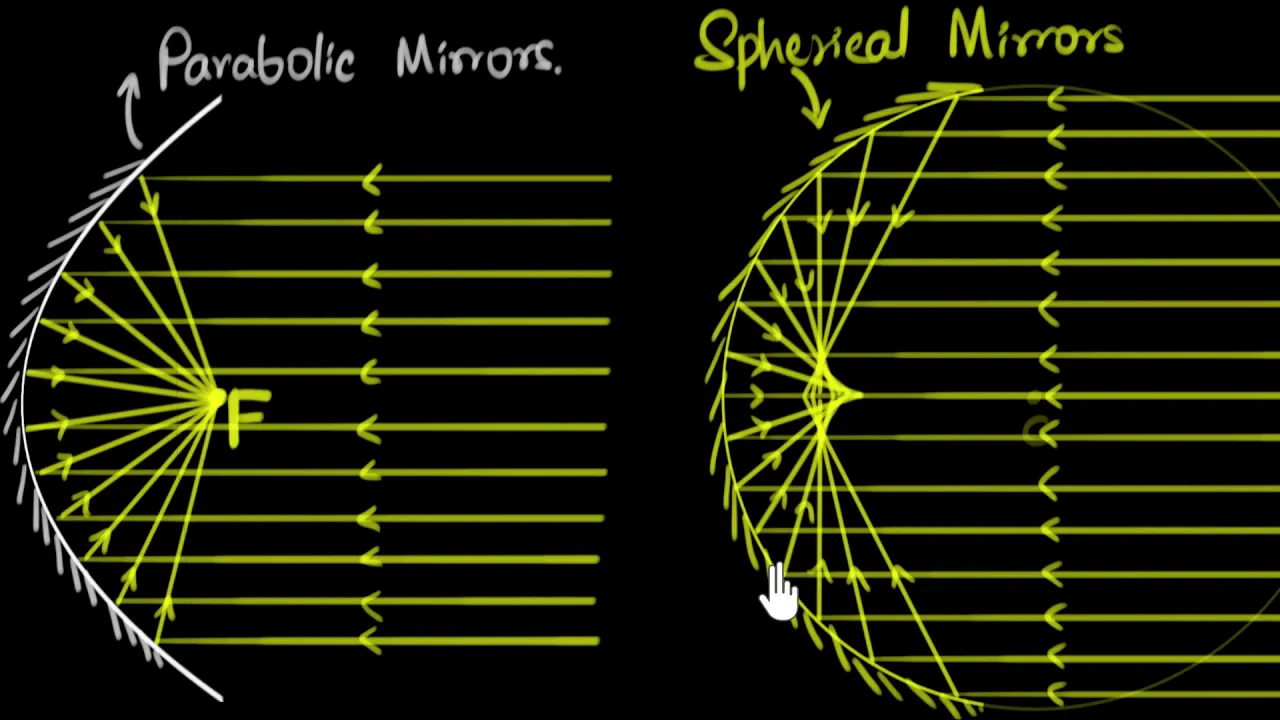
Schlieren photography is a visualization technique that makes invisible air currents visible by using a parabolic mirror to focus light onto a razor blade at the focal point; when air of different densities passes in front of the mirror, it bends the light, causing some light to pass over the razor blade and create bright spots on the camera sensor while other light is blocked, revealing density variations in the air.
Schlieren Photography Setup: Visualizing Air Currents with Optics
Added:Basic principles of geometrical optics, specifically Snell's Law and the refraction of light through mediums of varying density.
The behavior of concave and parabolic mirrors, including how they focus light rays and define a focal point.
The relationship between fluid density, temperature, and refractive index (how changing physical state alters optical properties).
The concept of collimated light and how to manipulate light paths using pinholes, slits, and razor edges.
Advanced Schlieren techniques, such as Color Schlieren photography and Background Oriented Schlieren (BOS) using image processing.
Practical applications in aerodynamics, including shockwave visualization, supersonic flow analysis, and wind tunnel testing.
Quantitative Schlieren methods to mathematically calculate exact temperature profiles and mass density gradients from light deflection angles.
The study of fluid dynamics phenomena, such as thermal convection, laminar versus turbulent flows, and boundary layer behaviors.
7.3K views301likes9:15Original Release: 2020-10-17
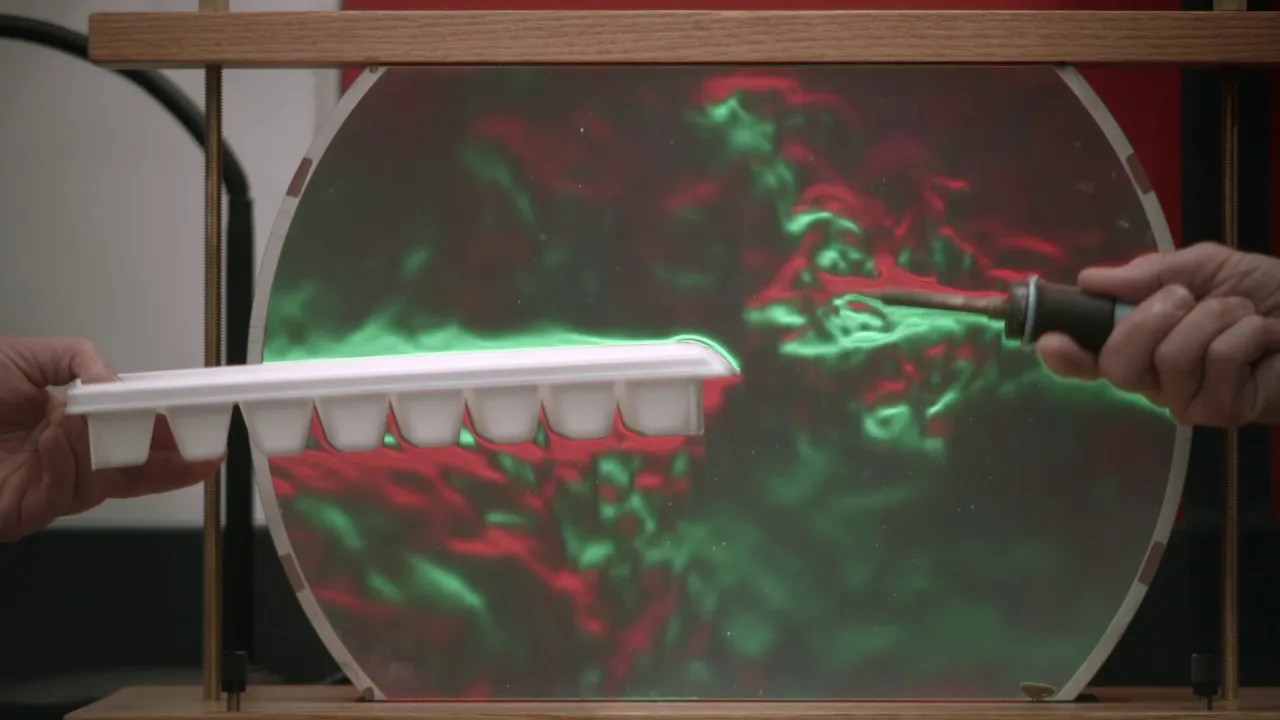
[Music] dude look at that look how crazy that is we can see the air currents [Music] and today we're going to be taking a look at something called schlieren photography and schlieren photography is very cool because it's a way of looking at fluids of different densities as they move around today we're going to be more specifically looking at air so imagine i have this lighter and i light it we have lots of different air currents happening here we have the butane feeding the flame the air also feeding the flame and the air coming off the top has been heated by the flame and all these air currents are moving but we can only see the flame with our physical eyes so imagine if we could see all those air currents it would be really cool and so that's what we're going to be doing here and hopefully you might have the materials around your house to build this project as well so i'll be using this reflector telescope that i have i got it at a thrift store for about fifteen dollars as well as an led a razor blade and a couple other things so let's get started so this is a basic schlieren photography setup here we have the point light source and this is a very special light source because it's pretty bright and it also has a very small hole that lets the light out lights then going to come out be reflected by the parabolic mirror from the telescope and because it's a parabolic mirror it's going to be reflected to a focal point before it hits the camera now at the focal point the light is going to be the same size that it was at the light source and an important aspect of the smearing light setup is that we're going to have a razor blade at this focal point so what's going to happen is when there's air that flows in front of the mirror of a different density that's going to change the refractive index of the air which means the light is going to be bent ever so slightly in a different direction now if the light that was going from here was originally going and it hit the razor blade that air might be changed ever so slightly to pass over the razor blade and into the camera sensor creating a more bright spot on the camera whereas if that light was originally hitting the camera sensor and got refracted to hit the razer blade instead would be a slightly darker spot on the camera which in the end equates to a picture on the camera of the different air densities that are in front of the mirror now the first step is to remove the parabolic mirror in the back of your telescope now the mirror in my telescope was only held on by three screws so it made it pretty easy to remove and the nice thing about this is that after i'm done with this experiment i can put this mirror right back in the telescope and it'll work as normal now the second component i'm going to use to make this schlur and light setup is the razer blade now we want this razor blade to be pretty adjustable so we can move it around and get it fine tuned now there's a lot more precise ways i could do this but i had this broken lamp and so i just mounted this lamp to this wooden tray by tying its cord around and i used aluminum duct tape to mount the razor blade to the broken lamp now the next step is to make a point light source and this is arguably the hardest step of this process so currently this led is not going to work because it has about five millimeters of plastic above the diode which actually generates the light which means that if we tried to somehow encapsulate this in reflective material and then poke a small hole in the front we'd only get a little bit of that light out because it's been diffused so we need to file away this plastic until we're right about at the diode so we can start doing that by cutting off a little bit of the led and then sanding it down until we get to the diode well there it is i've sanded down this led pretty well you can see on the top there is little diode now we're going to need to cover this with some aluminum duct tape and poke a small hole right above the hole where the diode is so that way we get that very small point light source i'm just gonna poke the hole in this tin foil tape with a resistor well it seems like i've accidentally grabbed a red led for this one but that should still work you can see i can get the most amount of light when the foil is right here so now that i have this red one working um red isn't that bright and it's a lot easier to start off with a white led so i'm going to go ahead and make another one and attach it to this base that i made out of the coat hanger as you can see i just soldered it to the coat hanger and i soldered one of the leads to the light so here we have it it's pretty simple and i can fine tune this just by bending the lead that it's attached to there we go that point light source looks good to me let's set up the optics over there i have the mirror and i'm just kind of putting it on the ipad box right now because the screws fit over it then over here i have my light with a razor blade on it and then my point light source pointing towards this now here's where things get a little bit more tricky it's a lot easier to do this when it's darker so i'll turn off my lights and i'll adjust this so i get that focal point right on the razor blade the first time i did this it took me like maybe 10 minutes to get to online perfectly but now i can do it a little bit faster so i'll get it in line and show you what it looks like all right i got it to work i know it's a little bit dark in here but you can see that on this camera we have the mirror and the mirror looks illuminated while everything else is dark when i move this razor blade down just a little bit you can see that really small focal point of light being reflected back it's really important to tune this razor blade just perfectly like that this is lighting the candle and then you can see what happens as i blow on a little bit and then i extinguish the candle this whole thing just looks really cool so here you see when my soldering iron is on the other side of the room now if i blow from here check this out about five well maybe about one second later it actually distorts the smoke coming off the soldering iron so that is literally the heat rising off the soldering iron so right now you can see there's actually some air blowing by the mirror because the window's open and the cool air from outside is coming in but if i hold this piece of ice over the mirror you can see the less dense air as it falls down [Music] so what you'll notice that i'm doing here is i'm moving the razor blade on the lamp and you can see how the contrast of the image actually changes which is pretty interesting alright thank you so much for watching i really enjoyed making this video i had a lot of fun being able to visualize the air currents for sri lan photography so i know i haven't been able to publish many videos lately and that's because i've been very busy with my schoolwork at mit so i'm currently doing mit all remote on the computer and taking my classes from home from my tenor tech area over here but there will be some pretty cool videos coming out in the future i'm working on building a vacuum tube theremin so i'm not sure where i'm going to finish that project but it'll be a really cool video so until next time have a great day
Up Next
14:16
Metric Tensor in General Relativity Explained | Geodesics & Spacetime
@ScienceClicEN
231.3K views•2020-12-15

12:53
21cm Hyperfine Transition in Neutral Hydrogen: Radio Astronomy Basics
@AaronRobertParsons
12.4K views•2011-10-13

32:32
NMR Spin Physics I: Zeeman Effect, Resonance Condition & Larmor Frequency
@nptel-indianinstituteofsci8064
2.3K views•2024-01-17

27:14
Entropy and the Second Law of Thermodynamics Explained
@veritasium
27.5M views•2023-07-01
Related Study Plans & Knowledge Roadmaps
Structured learning paths in Physics
physics
Nuclear Physics (Decay, Fission & Reactors)
01Atomic Structure and the Binding Force
02Radioactive Decay and Half-Life
03Nuclear Fission Mechanics and Chain Reactions
+ 2 more learning modules
12h5 modules
Explore Roadmap
physics
Soft Matter (Polymers, Colloids & Rheology)
01Foundations of Soft Matter & Thermal Forces
02Polymer Physics and Macromolecules
03Colloids, Surfactants, and Self-Assembly
+ 2 more learning modules
38h5 modules
Explore Roadmap
physics
Analytical Mechanics: Lagrangian & Hamiltonian
01Mathematical Foundations: Calculus of Variations
02From Newtonian Mechanics to Constraint Dynamics
03The Principle of Least Action & Lagrangian Mechanics
+ 3 more learning modules
28h6 modules
Explore Roadmap
physics
General Relativity (Spacetime & Cosmology)
01Foundations of Relativity: Special Relativity
02The Geometry of Spacetime: Equivalence Principle & Curvature
03Einstein's Field Equations: The Mathematics of Gravity
+ 2 more learning modules
55h5 modules
Explore Roadmap