




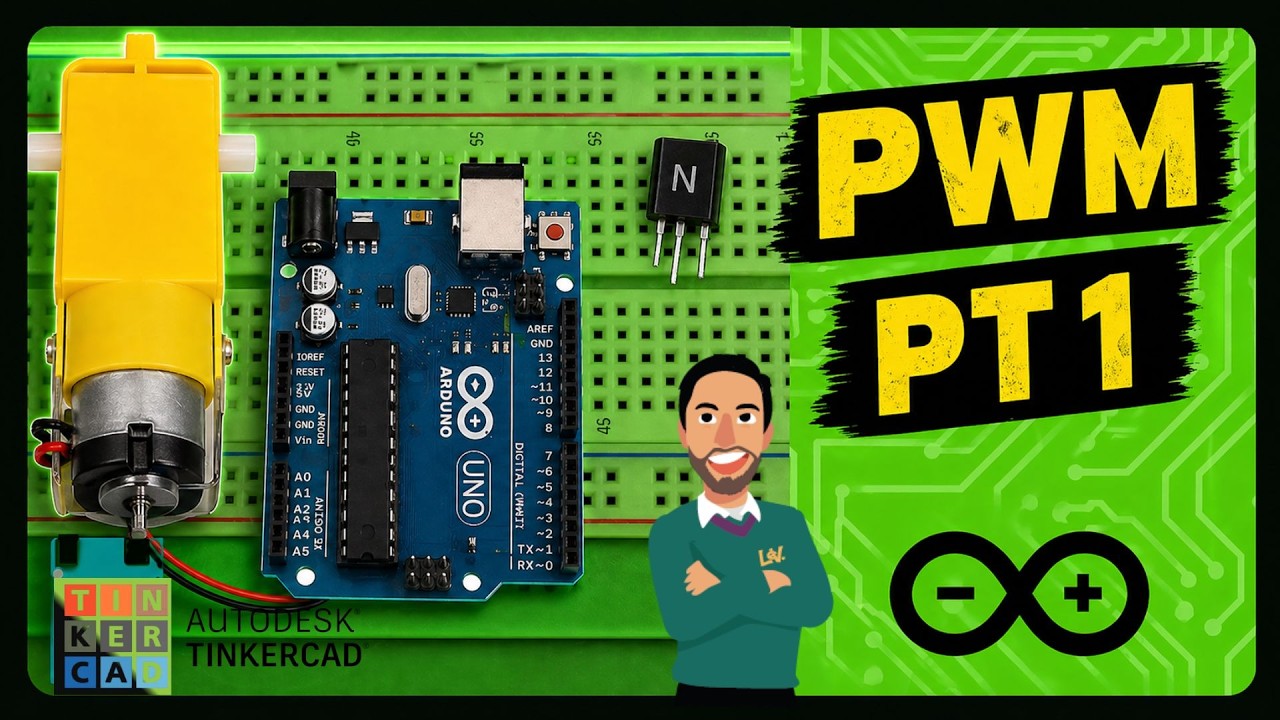


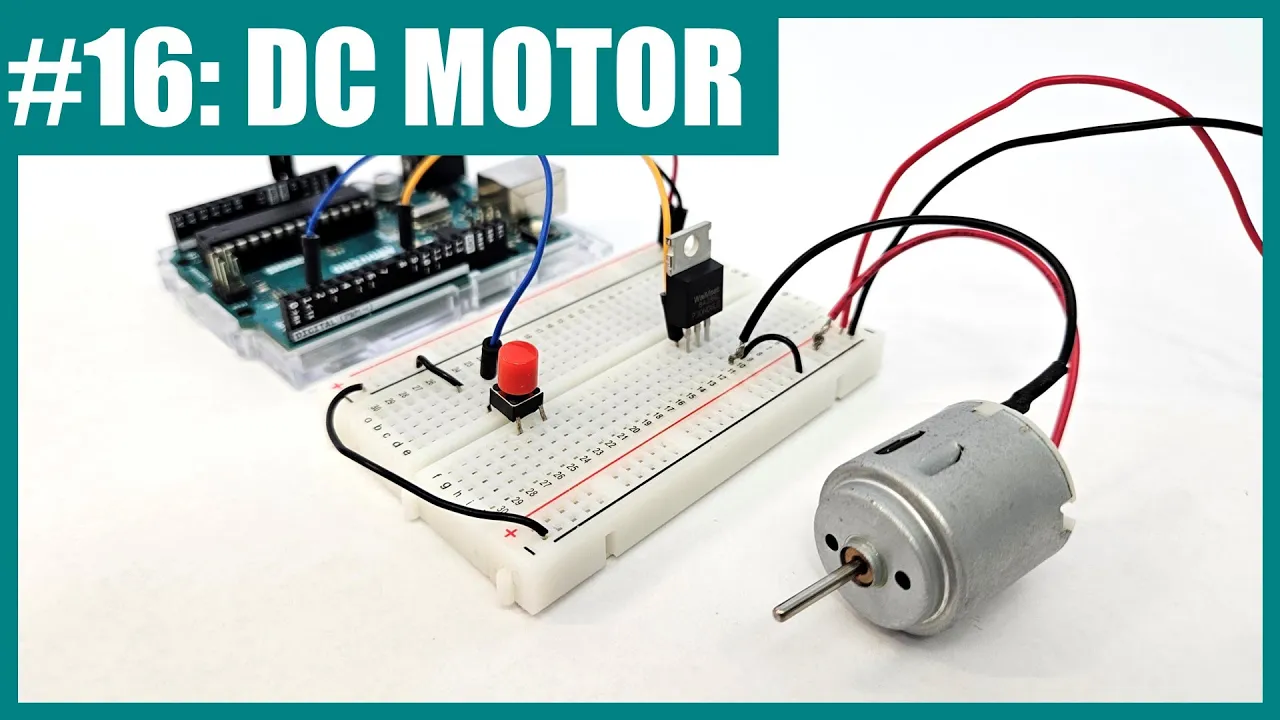










This tutorial explains how to safely control DC motors with Arduino by using a MOSFET transistor as an electronic switch, which allows the Arduino to operate at higher voltages (9V) than its standard 5V output while protecting the board from voltage spikes generated when the motor turns off. The circuit requires a flywheel diode for protection, and the Arduino code reads a button input to turn the motor on and off through the MOSFET.
Arduino Tutorial: Controlling a DC Motor with MOSFET Basics
Added:Basic understanding of Ohm's Law, voltage, current, and the electrical current limitations of microcontroller (Arduino) GPIO pins.
Familiarity with basic Arduino programming, specifically digital output (digitalWrite) and Pulse Width Modulation (PWM) for speed control.
Fundamental concept of how a DC motor operates and why it requires an external power source separate from the Arduino.
Basic understanding of transistors as electronic switches, distinguishing between signal level control and power delivery.
Understanding and implementing flyback diodes (Schottky or power diodes) to protect circuitry from inductive voltage spikes (Back EMF).
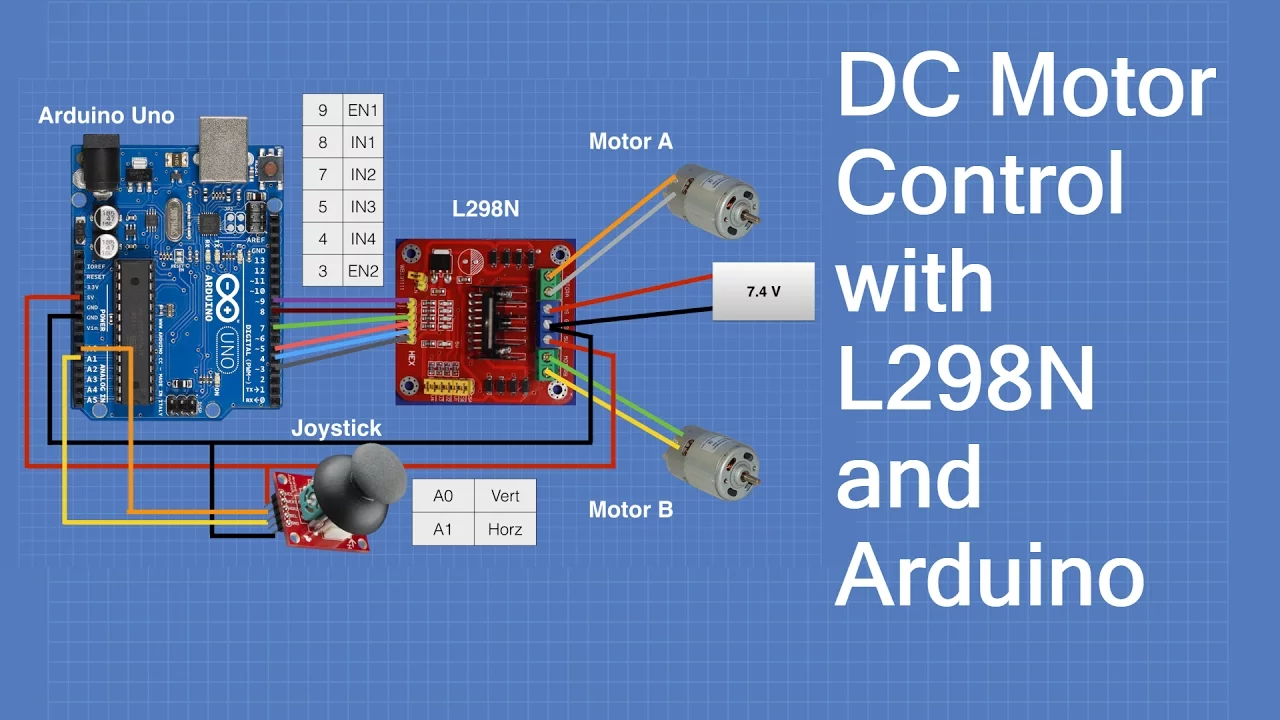
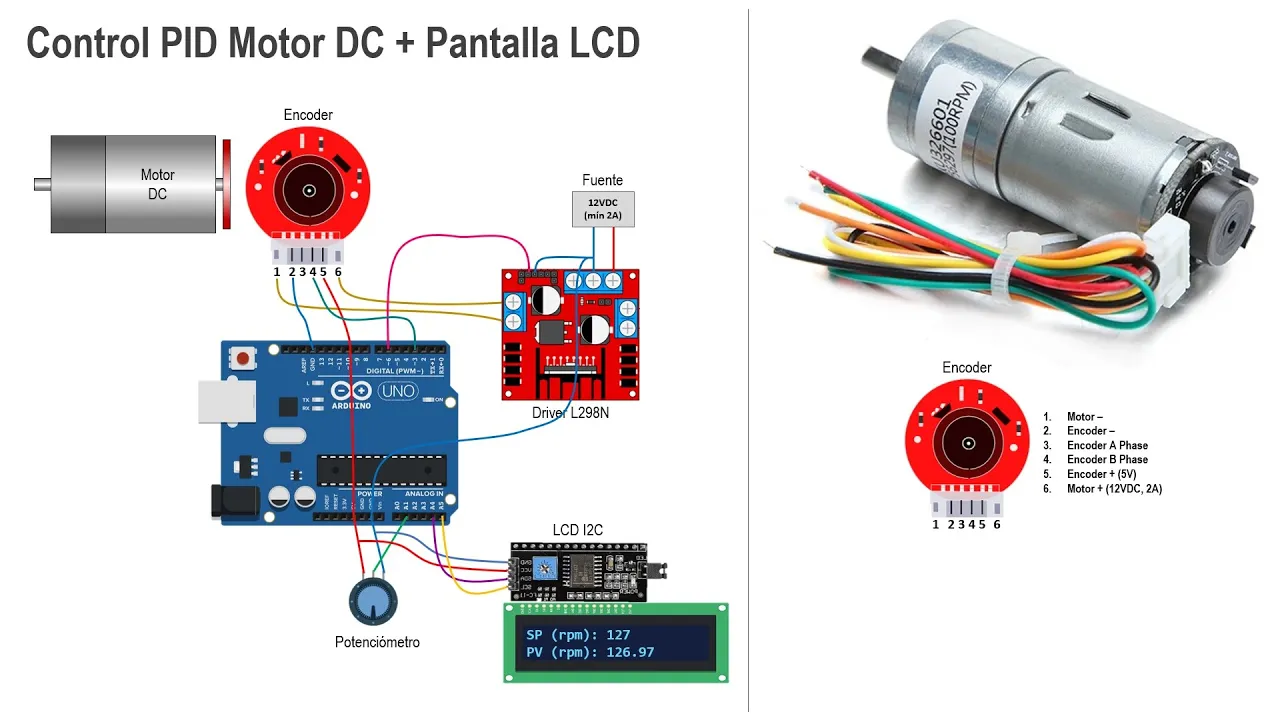
Exploring H-Bridge motor drivers (like the L298N or discrete MOSFET configurations) to enable bi-directional (forward and reverse) motor control.
Using optocouplers (optoisolators) to achieve complete electrical isolation between low-power microcontroller logic and high-power motor circuits.
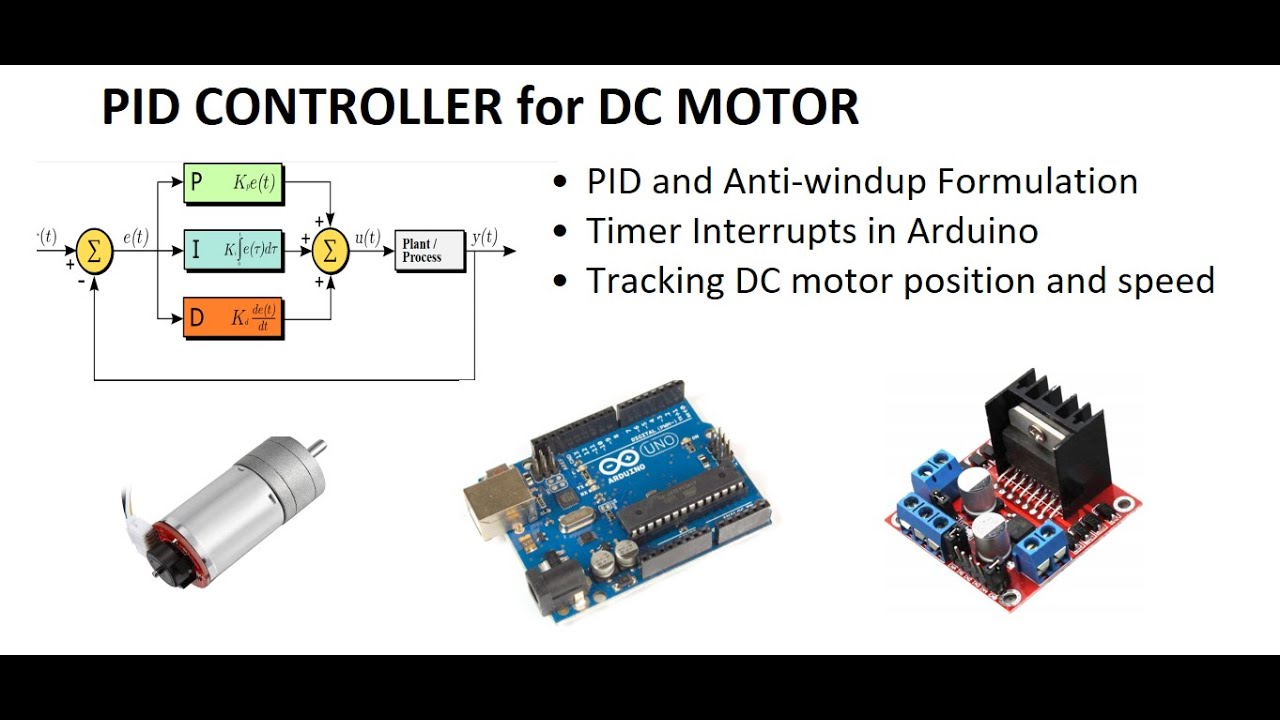
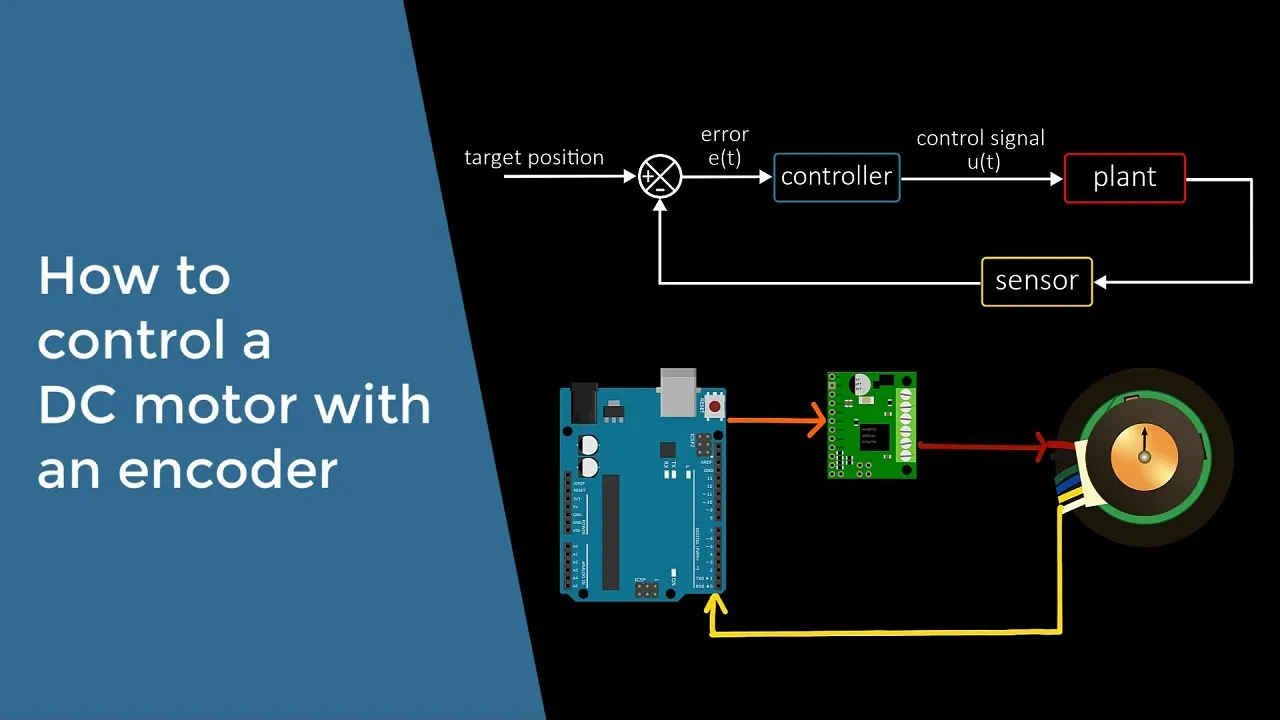
Implementing closed-loop feedback control systems, such as PID control, using motor encoders for precise speed and position tracking.
48.1K views178likes11:38Original Release: 2013-07-30
hi my name is masimo banzi and I like to make stuff welcome to another Arduino tutorial video today we're going to be learning how to use Arduino to move things in the real world to do that we need to learn how to control a DC motor using doino so the DC motor is a simple electromechanical device that you see here that it's normally powered by 9vt battery and we're going to be building a circuit that lets Arduino turn on and off this motor and we'll be using that to control this colar wheel that we have manufactured using an old uh CD so in in the kit you will find a parts in order to build the wheel adapter and you will find a paper that you can glue on top of the CD so what are the issues that we have to uh take care of well first of all the DC motor here Works normally at more than 5 volts which is the standard voltage that the Arduino operates at and requires more current than a single Arduino pin can provide normally we can just hook up a regular LED to an Arduino pin because the amount of electrical current that the LED needs in order to operate is low enough that you can power it with an Arduino pin but in the case of the DC motor the DC motor requires a current which is much higher and we risk burning the uh Arduino pin if we try to hook it up directly there's also another issue that we have to be aware of is that when you turn on and off a motor an electrical motor when you turn it off actually it generates a spike of negative voltage that can actually go back into your equipment and Destroy some of the parts so in order to solve this problem we are going to use a new component that we haven't used in the other videos which is called the mosfet transistor this is essentially a switch that can be turned on and off by applying or or not a voltage to a certain pin of the mosfet transistor so the mosfet here has three pins called Source drain and gate the power mosfit is essentially an electronic switch that can be turned on or off by applying a voltage on a pin called the gate so this mosfet transistor has three pins called gate source and drain so if you apply a voltage to the gate pin it connects the gate and the source together like I was pressing a button on a switch but this is all done electronically so I can use this to connect the battery to the motor and since the mosfet is sitting in between it basically connects and disconnects the motor from the battery and I can control this through software that I write on the Arduino board when you turn off an electric motor it normally generates a spike of negative voltage they can actually destroy your equipment so even if the mosfet is quite strong it's still very sensitive to these negative spikes of voltage so we have added to the Circuit this flywheel diode it's called that basically conducts only when the motor generates these dangerous spikes of voltage and protects the mosfet from burning so what the mosfet is doing for us it lets us control loads that are larger than we can normally do with an Arduino pin it lets us operate at a voltage which Which is higher than the standard Arduino voltage so as I said Arduino operates at 5 volts but with the battery here it's 9 volts so using the mosfet allows us to switch on and off bigger loads that operates at voltages that are higher than the Arduino standard operating voltage it protects us because if something happens the mosfet blows up at worst but using the diode the way we hooked it up here we can actually protect the mosfet and we have a Fairly reliable and robust way to turn on and off but even change the speed if we want of this DC motor so let's look at how we can build this circuit first of all we place the mosfet on the breadboard and then we connect the negative the black wire of the motor right in the middle pin then if you look at the mosfet from the front where you can see the markings on the front then the pin on the left hand side that's the gate so we're going to wire it up to pin number 9 on your Arduino and then the pin on the right hand side that's the ground so we're going to connect it with the jumper wire to the ground rail here on the breadboard then then we're going to connect the ground from the battery together with the ground on the breadboard so that the battery and the Arduino have got the ground in common this is a condition needed so that the power supply on the Arduino and the battery have got the ground in common so the voltages are all referring to the same ground and the circuit can operate properly circuit works like this we connect the 9vt coming from the battery directly to the motor and then from the motor we connect the ground pin of the motor to the mosfet and then the mosfet connects to the actual ground on the circuit so when the Arduino pin turns on and off a 5 volts voltage will be applied on the gate when the gate receives the voltage from the Arduino pin it will connect the motor to ground and the motor will start to spin when we remove the voltage from the gate pin the mosfet will open and the circuit will break and the motor will stop running let's look at the sensor part of the circuit in our case the sensor is a button so we wire up the circuit in the usual way we have a button here we have the resistor which is a pull down resistor so we connect power to the the button button to resistor resistor to ground and the point where the button and the resistor connect is where we connect a wire to take that voltage and bring it to pin number two on the Arduino so every time I press the button the Arduino detect that condition and turns on the mosfet so here we have a motor and uh there's a small adapter that adapts the motor shaft with with this pin wheel that we manufactured using an old CD and a piece of paper that you can find in the kit so once I created the adapter I'm going to put a little bit of glue on it so that the uh CD is not going to fly away the moment I turn on the motor so let's put a few drops of glue let's try you see now it's speak up speed and it's turning into this interesting cappuccino color and if I release the button the motor starts to slow down that's pretty good okay so this was our example and now let's have a look at the code so starting from the beginning we have a couple of constants switch pin which Maps the switch to pin number two and motor pin that Maps the motor onto pin number nine and then we have a variable called switch State equals zero which will contain the state of the push button and it will be used in an if statement to determine if the motor has to be on or off then let's look at the setup in the setup we have pin mode uh motor pin output so that defines that the pin that connects to the mosfet and controls the motor is an output and pin mode switch pin input that basically says that the pin connecting to the push button it's an input then let's now look at the Loop inside the loop We Begin by reading the state of the button by saying switch State equal digital read switch pin so this reads the current state of the button and then places high or low inside the switch State variable after that we have an if statement if switch State equal equal high so if the button is pressed digital right motor pin high so that turns on the motor else digital right motor pin low and this if statement looks at the state of the button if the button is pressed we turn on the pin if the button is released we turn off the pin when the pin is on the mosfet connects and starts the motor this is all the code that's needed to build this simple application now you can hack this the the the software and add more functionality for example if you look online you might be able to find some code that teaches you how to turn on and off the motor when you press or if you press again it turns off so in order to operate that toggle switch or you can learn how to change the speed of the motor so the number of things you can do now with this project are a lot if you remember to build it hack it and then share it because Arduino is you p
Up Next

14:42
Real-Time Arduino Serial Data Plotting with Python Matplotlib
@buildwithsharma
23.9K views•2019-10-13

26:22
Walking in the City: Urban Rituals and the Flâneur in Contemporary India
@PSBTIndia
1.9K views•2016-08-02

9:49
FastAPI vs Flask vs Django: Choosing the Right Python Web Framework
@TechWithTim
302.5K views•2024-05-26

1:42
Game of Thrones Opening Credits: A Cinematic Analysis
@gameofthrones
46.3M views•2011-04-18
Related Study Plans & Knowledge Roadmaps
Structured learning paths in General & Interdisciplinary Studies
general-studies
Artificial Light: History, Tech & Human Impact
01The Pre-Electric Era: Fire, Oil, and Gas Lighting
02The Incandescent Revolution and Grid Electrification
03Gas Discharge and Fluorescent Illumination
+ 3 more learning modules
14h6 modules
Explore Roadmap
general-studies
Elevator Engineering: History, Physics & Cities
01From Hoists to Safety Brakes: The Dawn of Vertical Lift
02Hydraulic vs. Traction: The Engineering Physics of Elevators
03Modern Speed, Safety, and Algorithms
+ 2 more learning modules
12h5 modules
Explore Roadmap
general-studies
Rubber: Material Science, History & Geopolitics
01Origins of Natural Rubber & Mesoamerican History
02The Chemistry of Natural Rubber & Vulcanization
03The Geopolitics of the Rubber Boom & Colonization
+ 2 more learning modules
12h5 modules
Explore Roadmap
general-studies
Containerization: Evolution, Logistics & Trade
01Ancient Trade & Bulk Cargo: Amphorae to Barrels
02The Industrial Revolution & Cardboard Packaging
03The Containerization Revolution: Malcom McLean
+ 2 more learning modules
12h5 modules
Explore Roadmap