





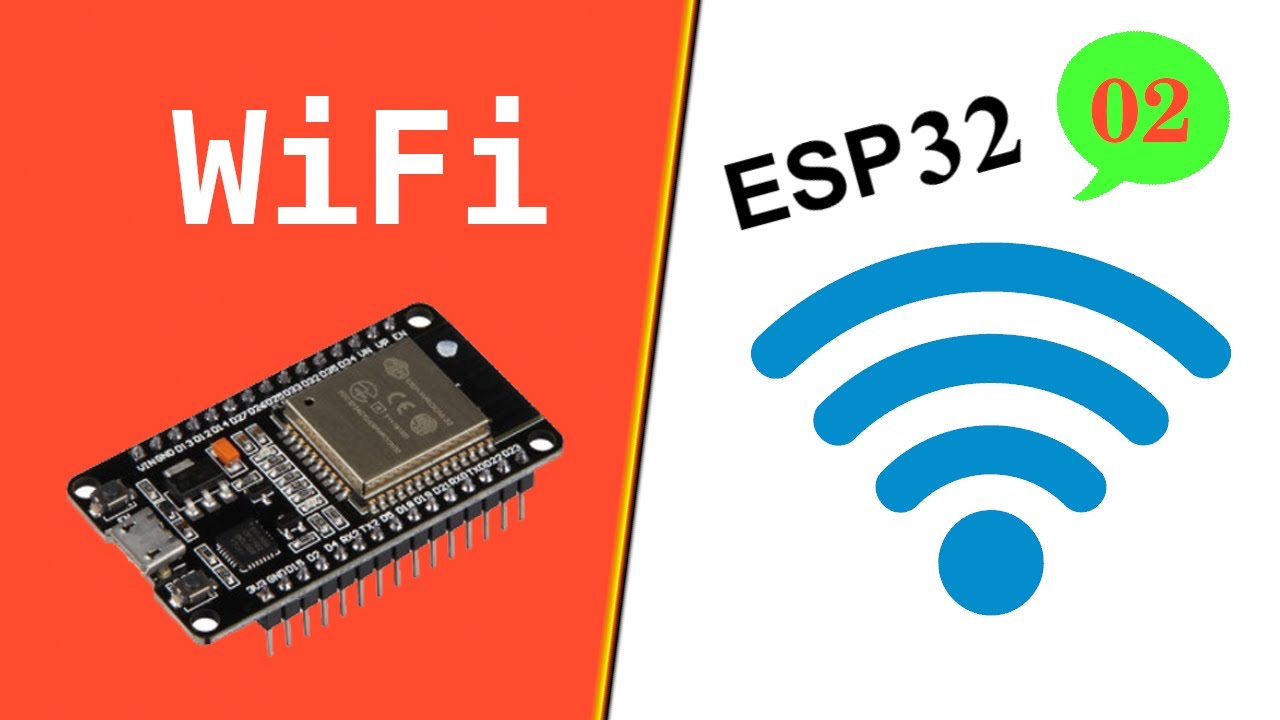





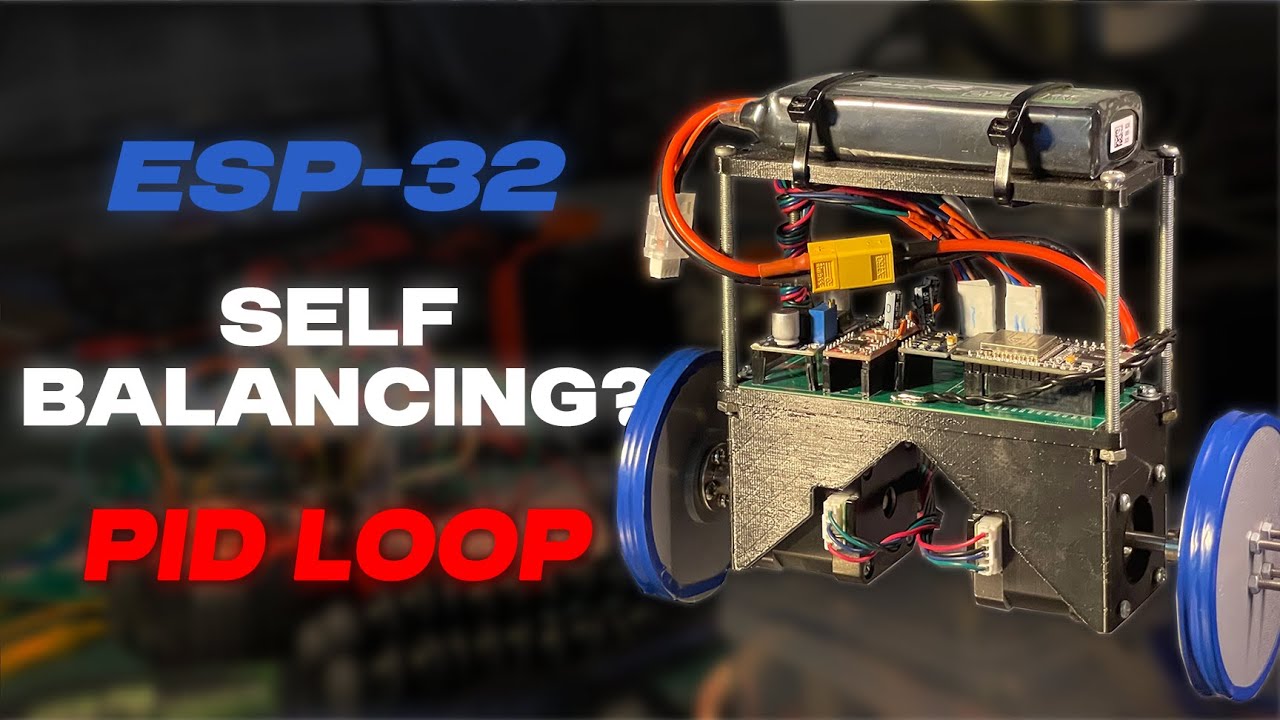
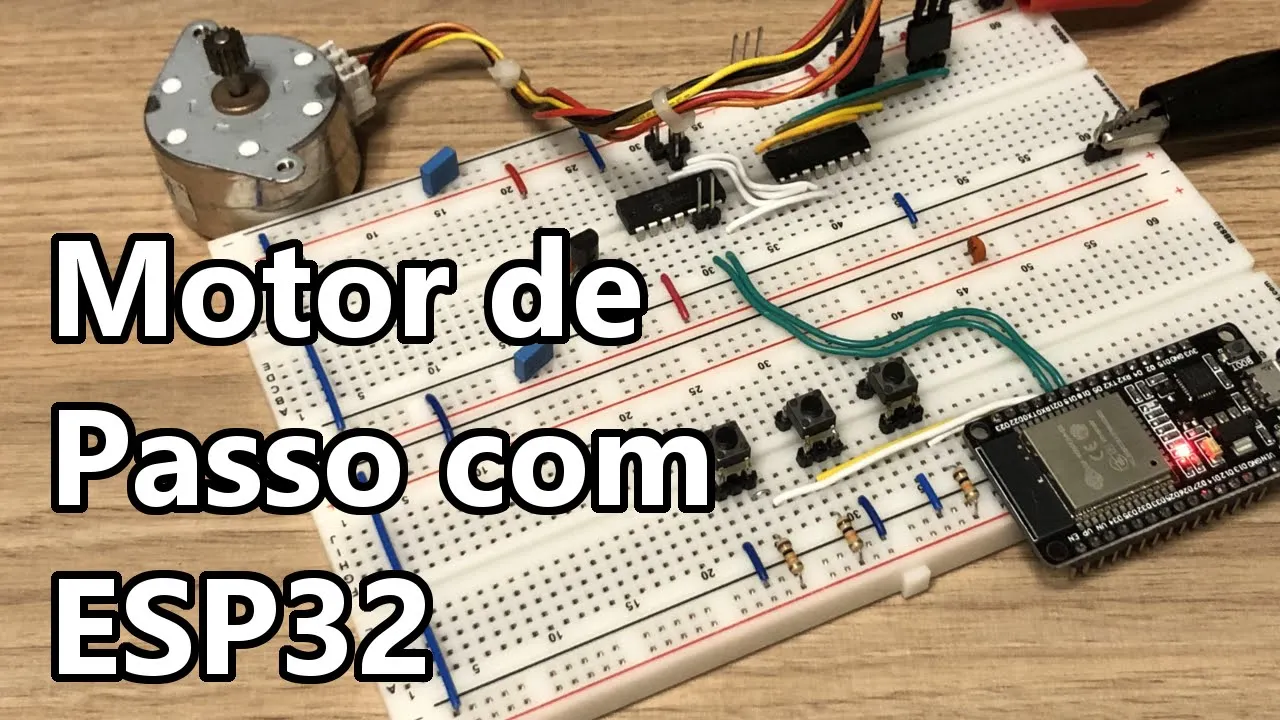


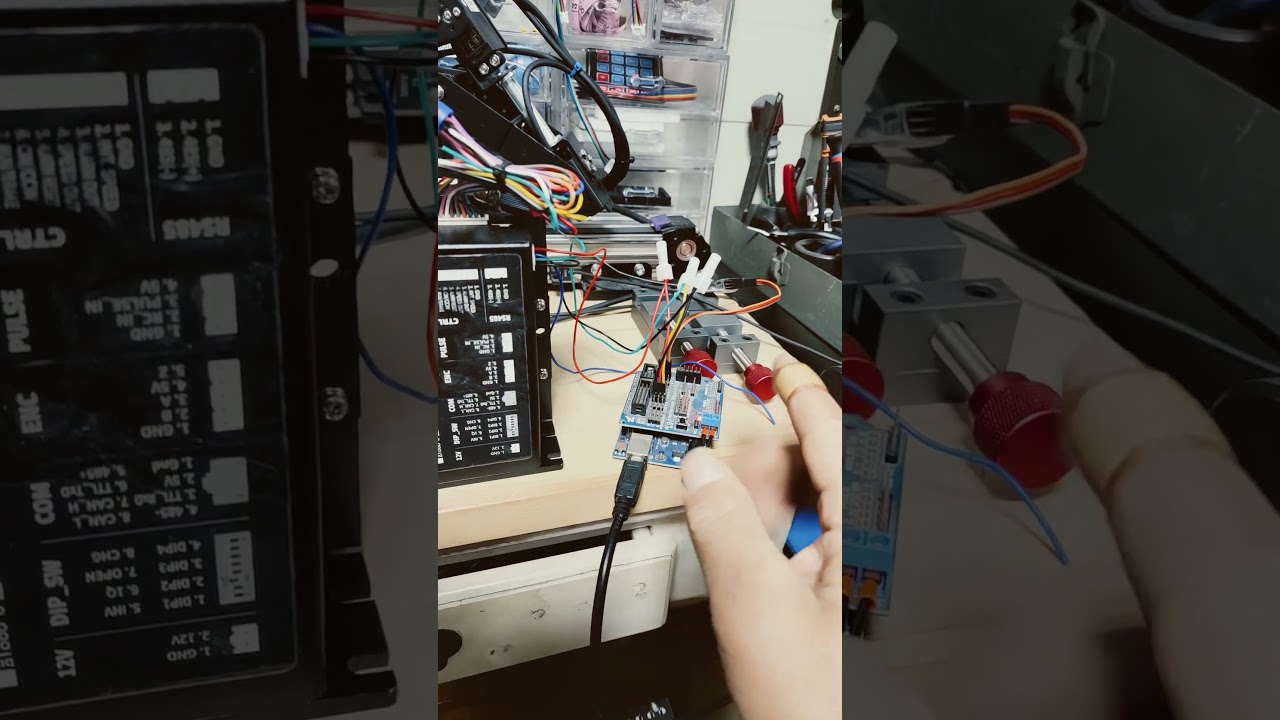

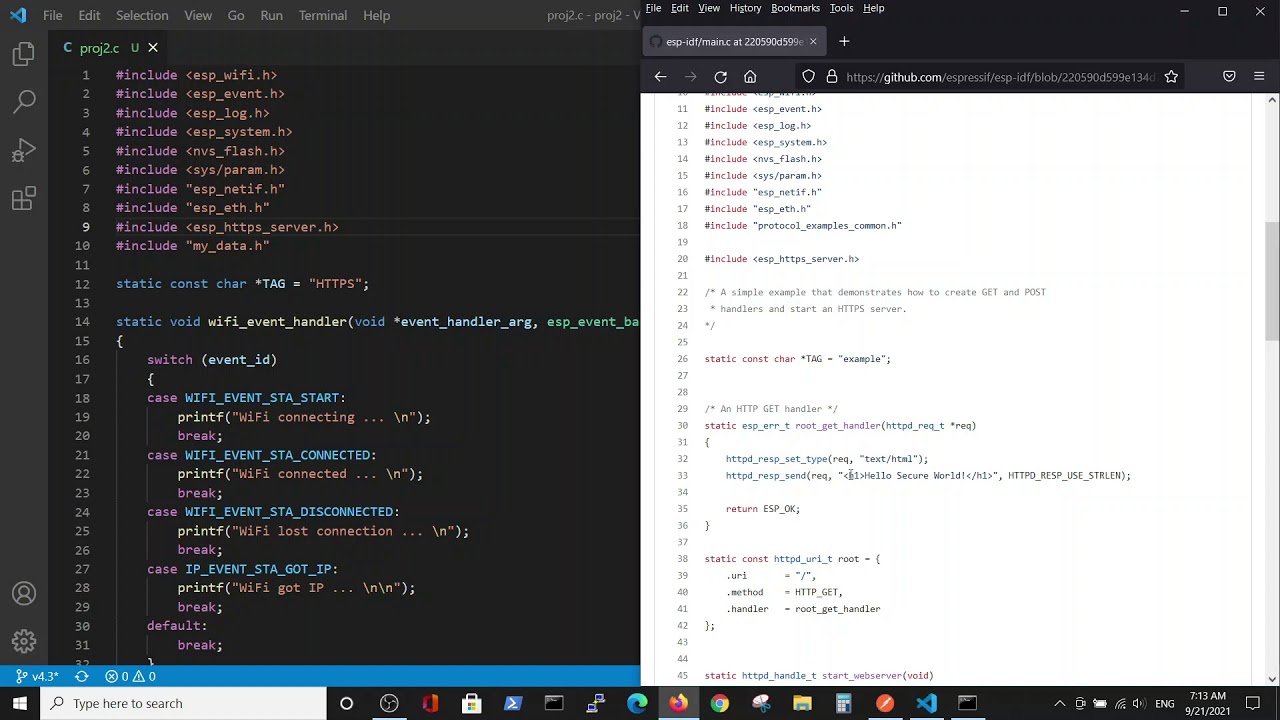
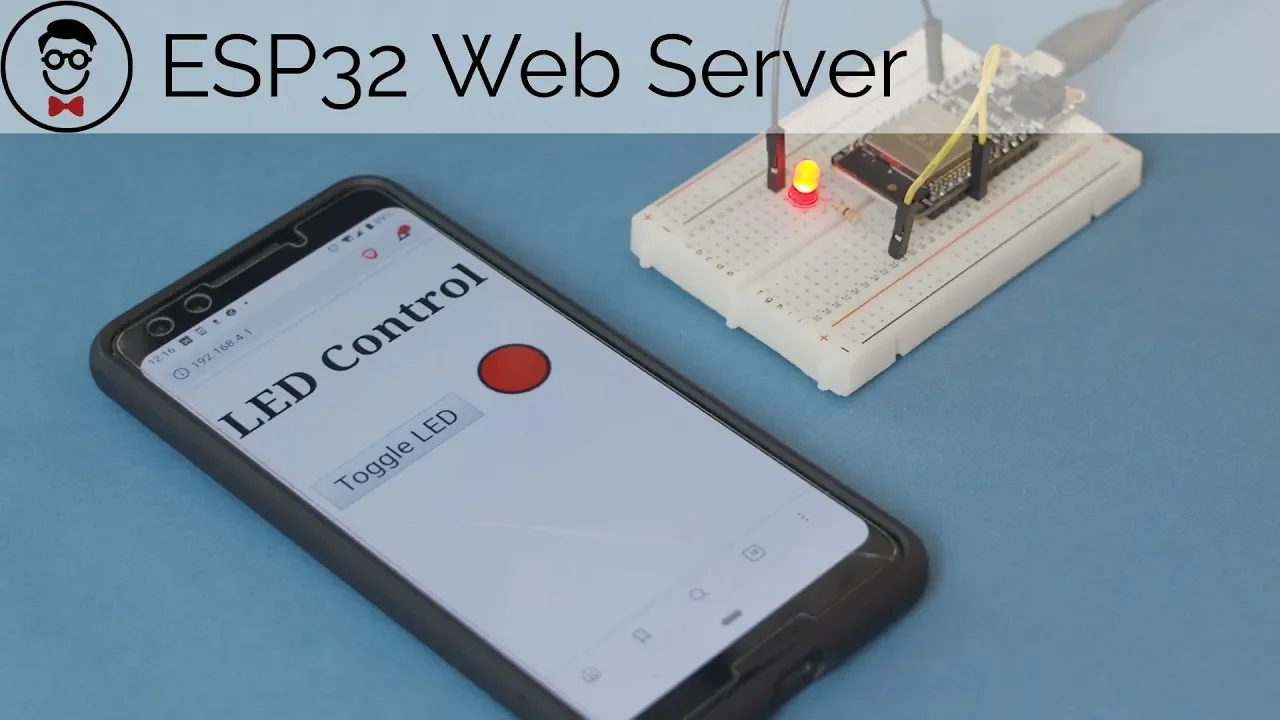

This video demonstrates how to create a web-based touch interface for remotely controlling motors using an ESP32 microcontroller, where a web server hosted on the ESP32 serves HTML pages with JavaScript widgets (joysticks, buttons) that communicate via WebSocket to control DC or stepper motors through configured channels, with the entire system developed using PlatformIO in Visual Studio Code.
ESP32 Web-Based Touch Interface for Motorized Vehicle Control
Added:Basic C/C++ programming and familiarity with microcontroller environments, specifically PlatformIO and the ESP32 framework.
Fundamentals of web development, including HTML, CSS, and asynchronous JavaScript (Fetch API or AJAX) for client-side interactions.
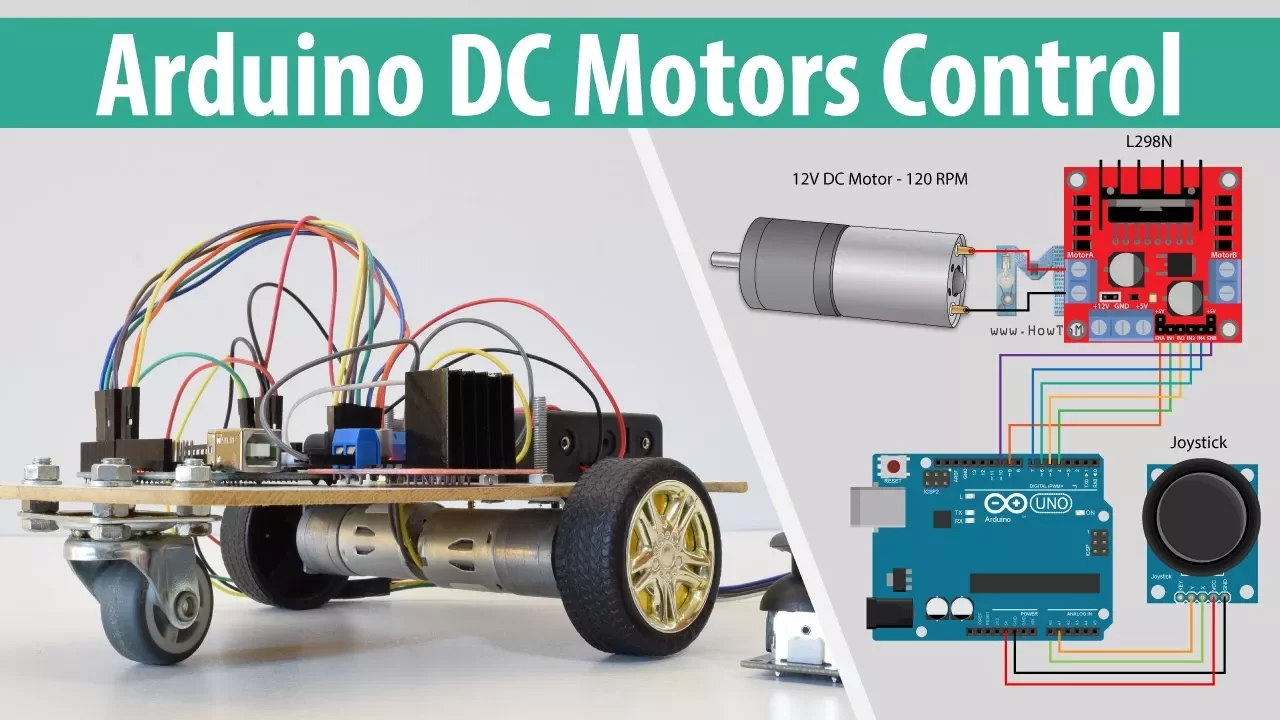
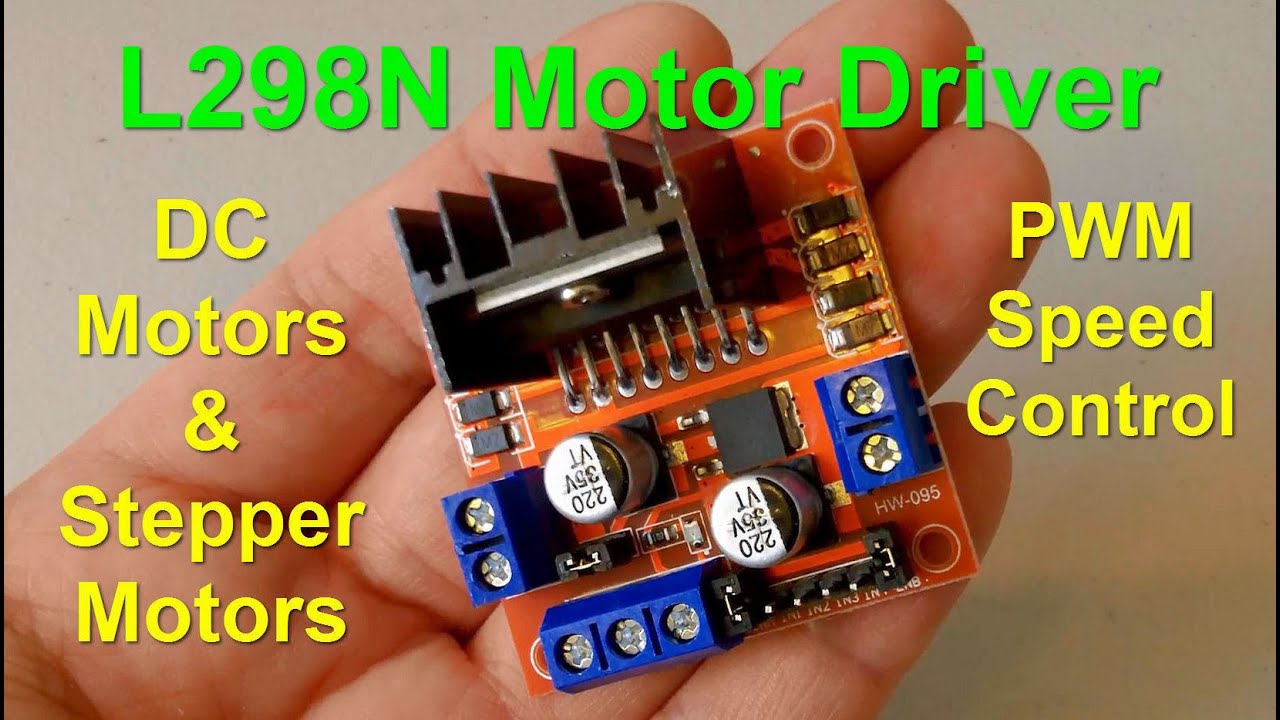
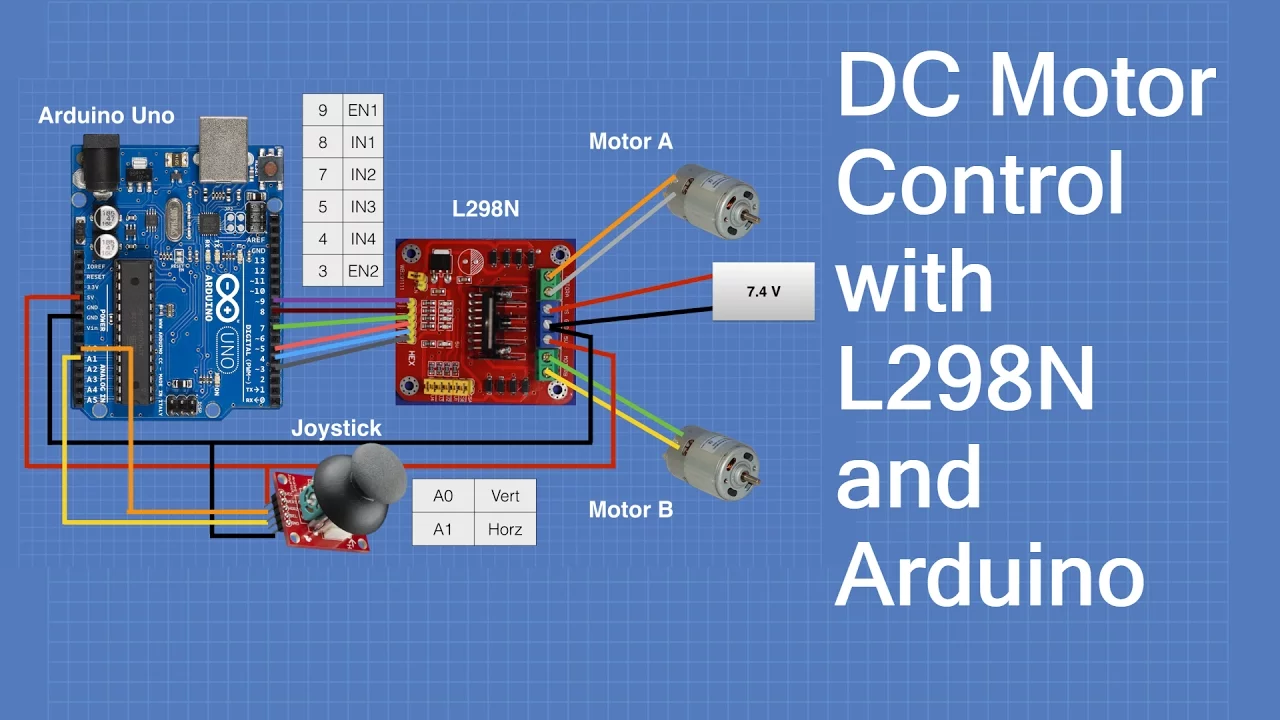
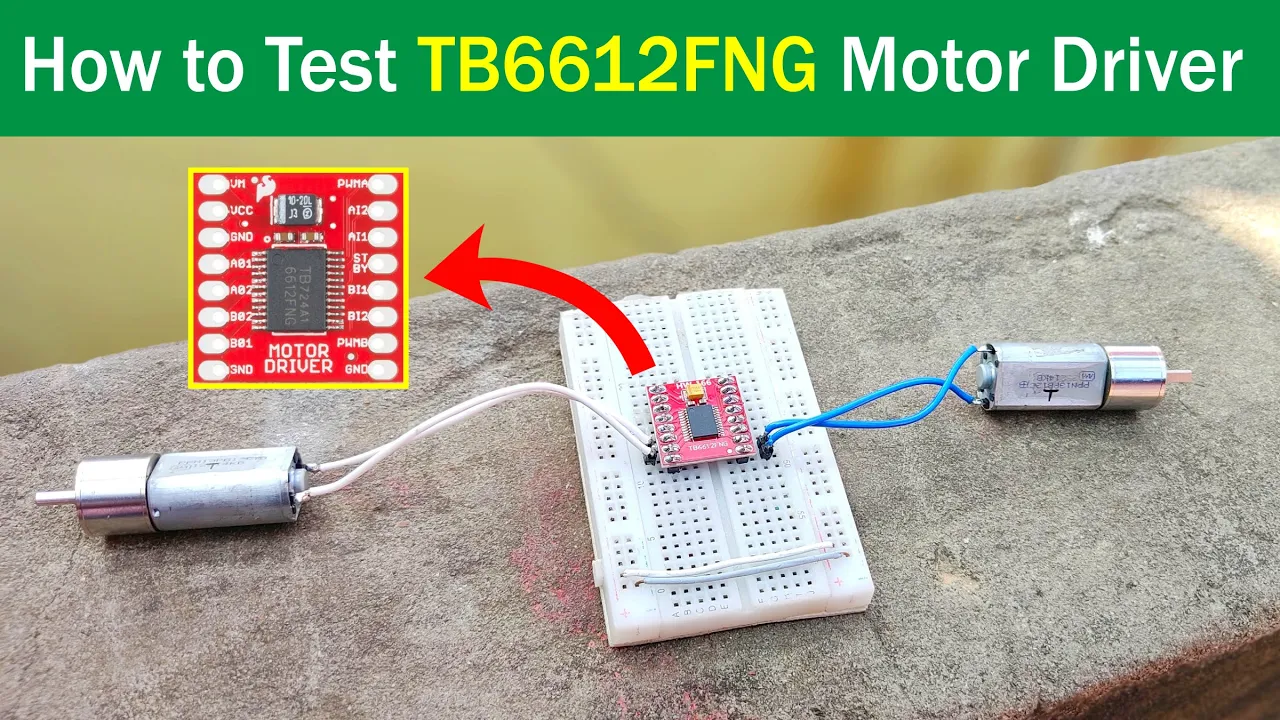
Basic electronics and motor control principles, such as pulse-width modulation (PWM) and interfacing microcontrollers with H-bridge motor drivers (e.g., L298N or TB6612FNG).
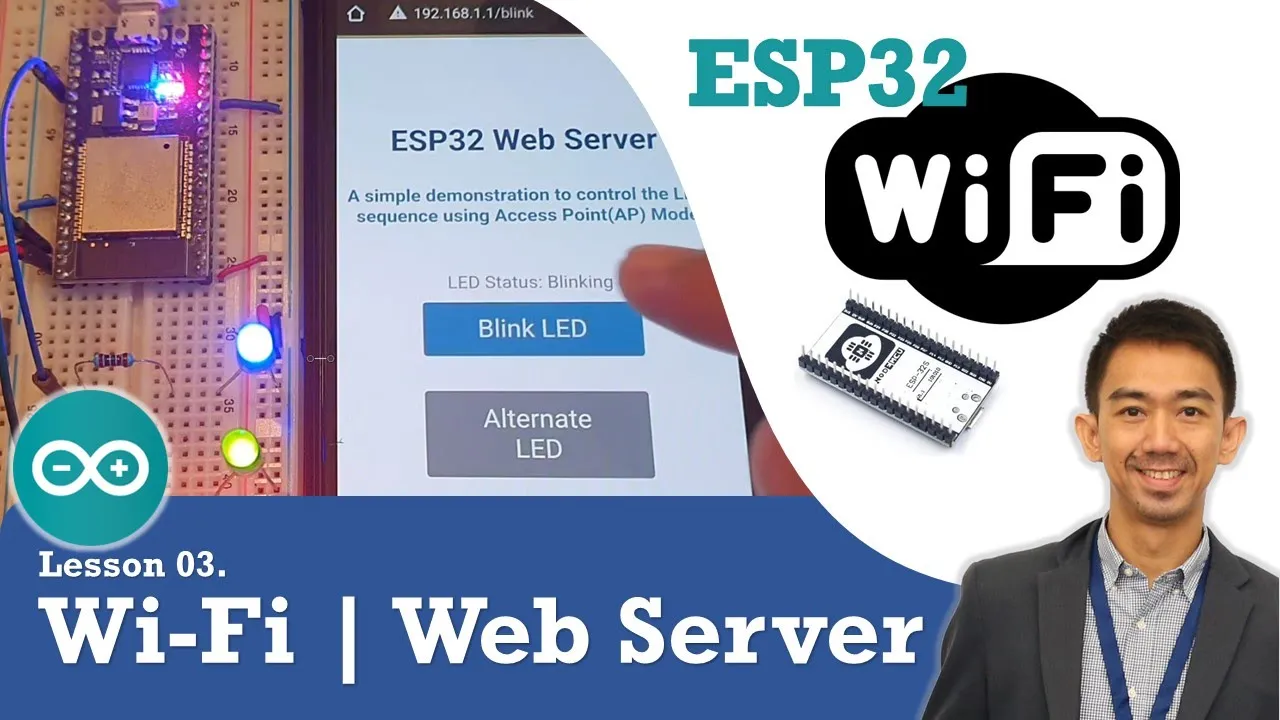
Understanding of basic networking concepts, including IP addressing, local Wi-Fi networks, and how an ESP32 operates as an Access Point (AP) or Web Server.
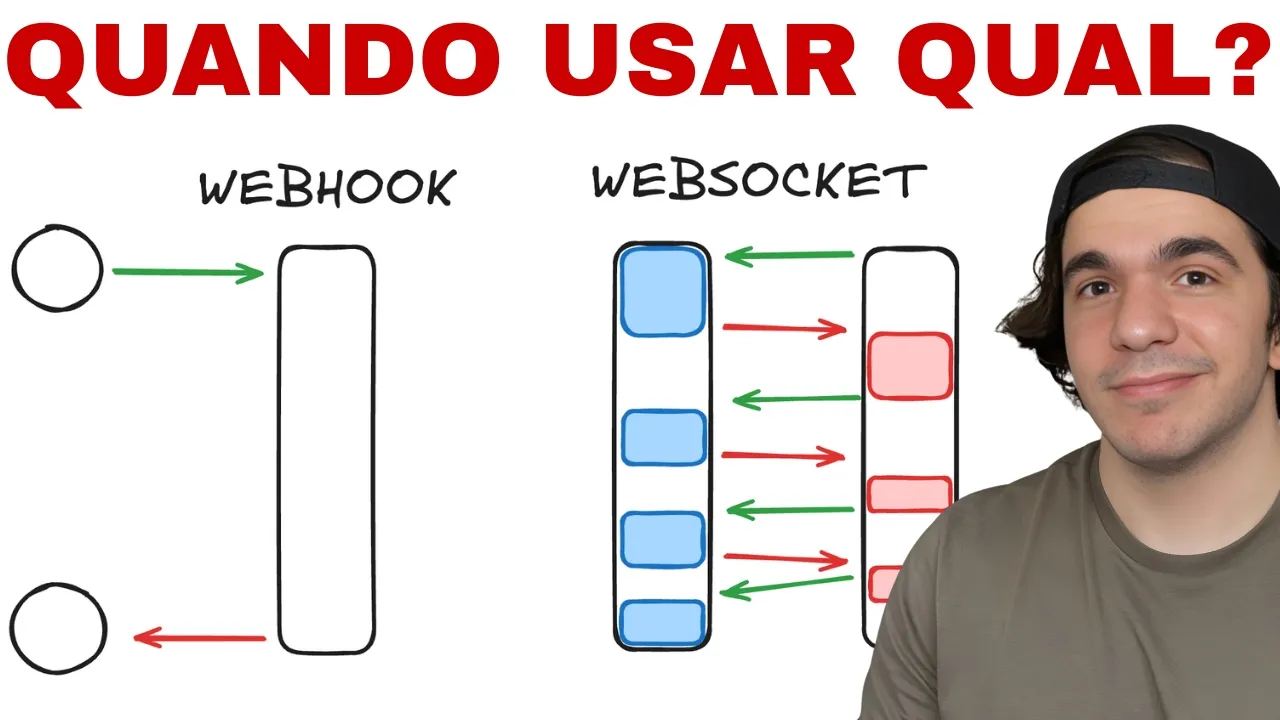
Implementing WebSocket communication to achieve bidirectional, low-latency data exchange and real-time control feedback instead of standard HTTP.
Integrating sensor telemetry (such as IMU, battery voltage, or ultrasonic distance sensors) to display real-time physical feedback on the web interface.
Applying PID (Proportional-Integral-Derivative) control algorithms on the ESP32 for precise speed, acceleration, and direction stabilization of the motors.
Designing robust fail-safe mechanisms, such as software watchdogs, to automatically cut motor power in the event of a Wi-Fi disconnection or signal loss.
Securing the ESP32 web server using basic authentication and exploring secure communication protocols (HTTPS/WSS) for IoT devices.
4.4K views70likes6:47Original Release: 2018-06-27
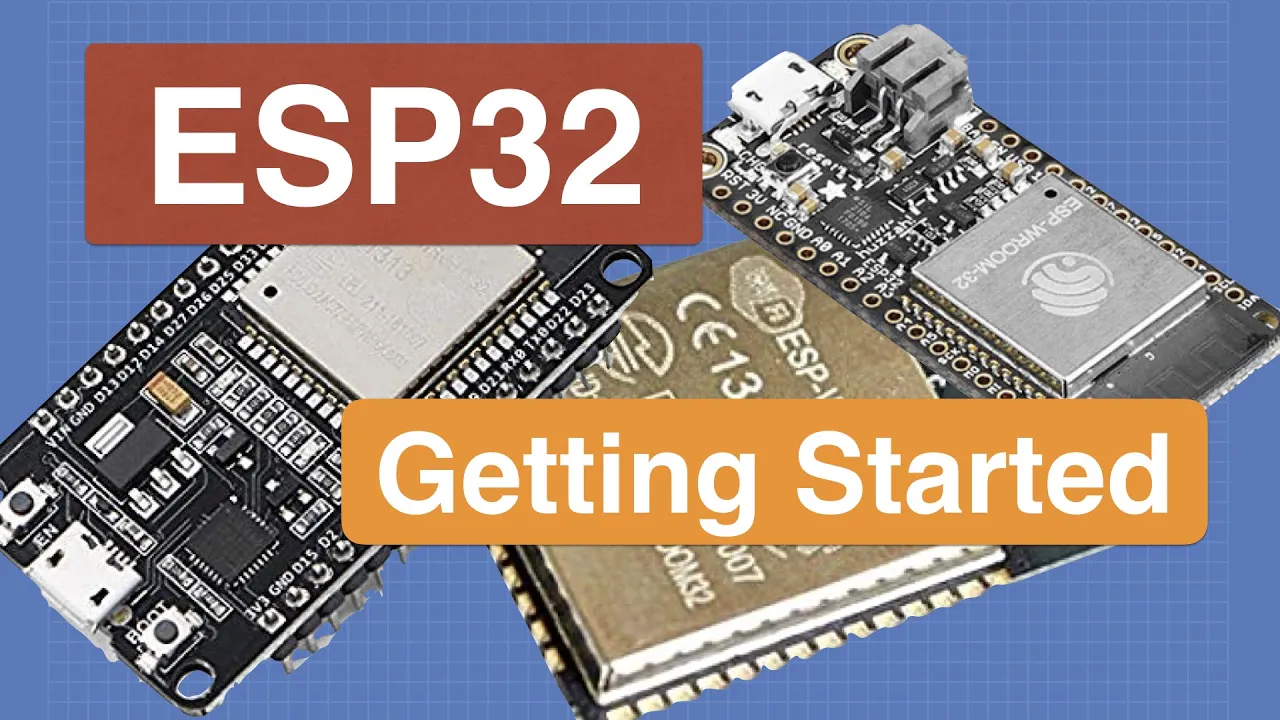
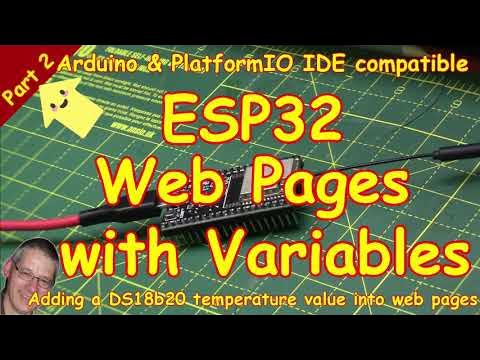
In this video I'll be showing you how to install this web-based touch interface on an ESP32.
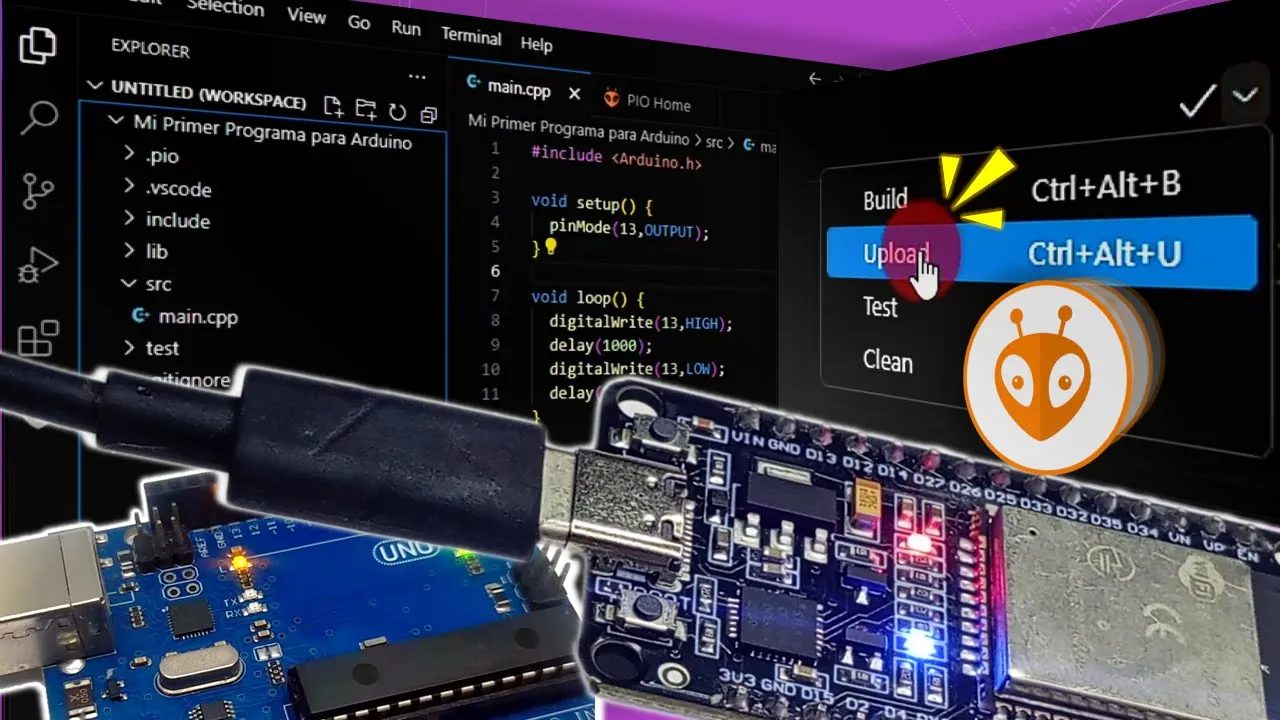
This lets you remotely control a motor-driven vehicle from almost any device Just a bit of an overview of how this software solution works We have a mobile device or a web browser to start off with we'll navigate to the IP address of ESP32 Which fetches a response from its web server it serves back a page that has JavaScript on it that displays widgets and allows you to provide input that input is fed back through this web socket which then Controls either a stepper motor controller or DC motor controllers that drive each of the motors Okay to get started. I'll be using PlatformIO instead of Arduino IDE to do my development I'll be doing this because it's really easy to install There's no downloading and installing the Espressif SDK it's all done for you.
So open up visual studio code if you go to the extensions and search for PlatformIO you'll find the PlatformIO IDE, which you can install Once it's installed you'll have this task bar down in your tray Where you can go to the PlatformIO Home, or it opens every time you open visual studio code now from here you can see different boards and platforms.
I have the Espressif 32 platform installed.
Here we should be able to see My ESP32 plugged in sitting on COMM3 You can download my example project from github. The link is in the description It's separated into a few different sections. There's main dot CPP which is the main program There's some instructions right at the top. Please read through this... There is one change to a source file that we need to do We also need to set up your Wi-Fi SSID and password If you're using a stepper motor - there's the steps per revolution - and all the pins that you're controlling your motors from The rest is separated into: Pages - are the HTML CSS and JavaScript pages that the ESP32 web server serves So in here we can see we've got minified strings of each page And I serve the jQuery and Interact.js files from the ESP32 so you shouldn't need an internet connection to be able to use the interface There's also two libraries - one for DC motor control and one for stepper motor controls using timers This is a copy of the Adruino stepper motor interface that's been stripped down to only four wire bipolar stepper motors and It's been highly modified for to use ESP32 timers instead of delay loops Once everything's set up you can build, upload, and then open the serial monitor Once you've uploaded you can open the serial monitor And grab the IP address that your ESP32 has obtained Once we have the IP address we can go to its web page Here I'm using a PC web browser, but you can use any browser from our mobile device To start off with hit the spanner. This brings up the configuration options screen where you can change the configuration Here we choose how each channel is configured. The board has up to four channels We can go brushed motors or stepper motors Or disable the channels if we're not using them We can configure the send rate. This is how frequently updates the sent on the web socket back to the ESP32 We can hit the plus to add a widget to the page These widgets we can move around and grab them by the corners and resize them We can delete them and each one of them has their own settings where we can change what type of widget it is So far only joystick Tank or two-wheel joystick (which is a differential drive) or buttons work We can choose which channels they use for each of the motors like a joystick has got steering backward and forward Differential drive has left and right and Buttons has got primary and a secondary motor So if we're creating a tank we might want to have one joystick and have 0a and 0b or 1a and 1b depending on where you have your motors connected Probably if it's a touch device Just resize this to take up the whole screen Hit the spanner again to exit configuration mode and now we have a joystick here where we can control which direction we are moving in to develop the web pages I've used jsfiddle and Got all my code working here before I copied all this code to the ESP32 The code has been minified and formatted so that it's in C++ strings So if we take a look at our HTML, it's all condensed. And each of our quotes is being escaped So that works as a C++ string If you have any questions or problems, please leave a comment on the video or if you'd like to see more of this content Please subscribe!
Up Next

18:04
Building a 3D Virtual Joystick with p5.js: Code Walkthrough
@DaveBriccetti
1.9K views•2018-07-02

12:54
Triumph of Orthodoxy Icon: Byzantine Art & History Explained
@BenCallan
2.1K views•2024-08-06

9:49
FastAPI vs Flask vs Django: Choosing the Right Python Web Framework
@TechWithTim
302.5K views•2024-05-26

1:42
Game of Thrones Opening Credits: A Cinematic Analysis
@gameofthrones
46.3M views•2011-04-18
Related Study Plans & Knowledge Roadmaps
Structured learning paths in General & Interdisciplinary Studies
general-studies
Elevator Engineering: History, Physics & Cities
01From Hoists to Safety Brakes: The Dawn of Vertical Lift
02Hydraulic vs. Traction: The Engineering Physics of Elevators
03Modern Speed, Safety, and Algorithms
+ 2 more learning modules
12h5 modules
Explore Roadmap
general-studies
Rubber: Material Science, History & Geopolitics
01Origins of Natural Rubber & Mesoamerican History
02The Chemistry of Natural Rubber & Vulcanization
03The Geopolitics of the Rubber Boom & Colonization
+ 2 more learning modules
12h5 modules
Explore Roadmap
general-studies
Containerization: Evolution, Logistics & Trade
01Ancient Trade & Bulk Cargo: Amphorae to Barrels
02The Industrial Revolution & Cardboard Packaging
03The Containerization Revolution: Malcom McLean
+ 2 more learning modules
12h5 modules
Explore Roadmap
general-studies
Textile Tech: Evolution, Labor & Global Impact
01Pre-Industrial Textiles: Handloom & Cottage Industry
02Mechanization: The Spinning Jenny to the Power Loom
03The Factory System & Global Labor Transformation
+ 2 more learning modules
10h5 modules
Explore Roadmap