![[GHW Open Source] Getting started with ROS 2 for Open Source projects](https://i.ytimg.com/vi/8pZYK6qACH0/maxresdefault.jpg)
![[5]–ROS2 Basics Explained – Nodes, Topics & Messages [شرح بالعربى]](https://i.ytimg.com/vi_webp/x7fgj2tMVLg/maxresdefault.webp)








![[KAU 로봇공학] Chap2. Position Kinematics(3)](https://i.ytimg.com/vi/1H3QSTQWh3c/maxresdefault.jpg)




![Project implementation of SLAM Toolbox | Unknown environment |Mapping ROS2 Tutorials | [Tutorial 11]](https://i.ytimg.com/vi_webp/3Ak3KoNhfv0/maxresdefault.webp)
![[ROS2 Q&A] 233 - How to install and use slam_toolbox](https://i.ytimg.com/vi/JXnXnAXrYj8/maxresdefault.jpg)



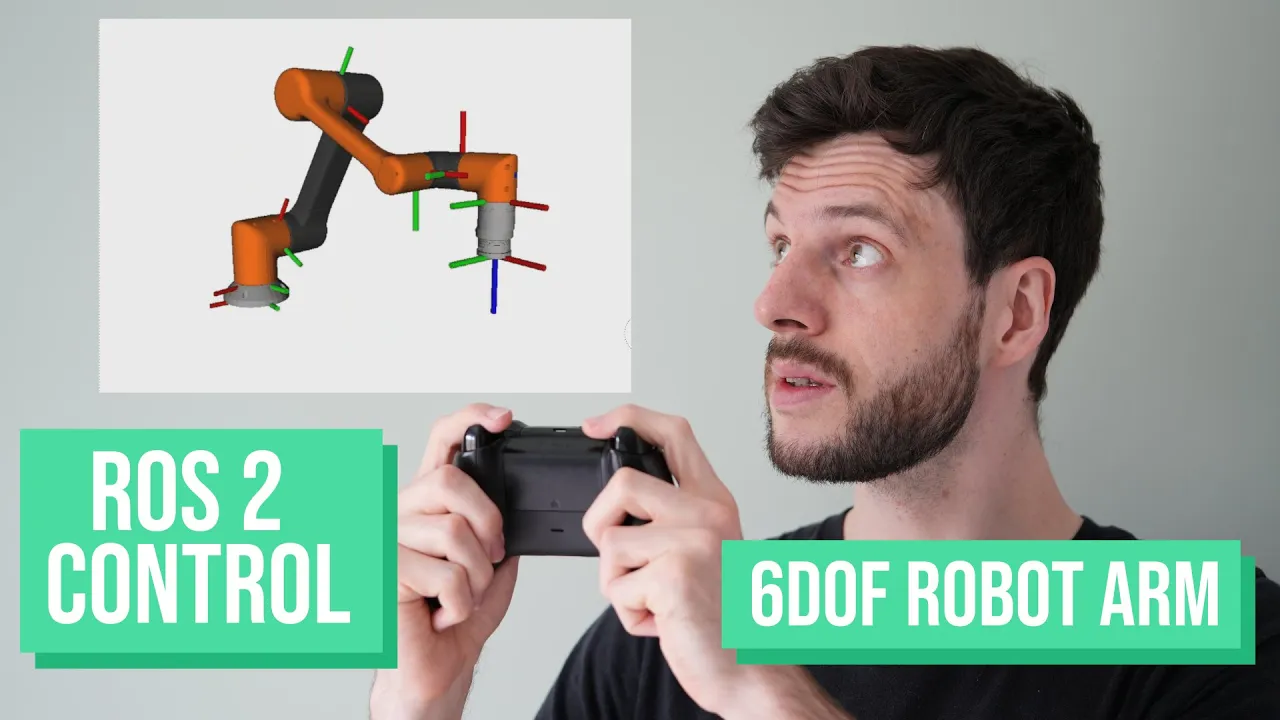


This tutorial demonstrates the complete pipeline for creating and simulating a differential drive robot in ROS2: first, creating a workspace and package; second, building a URDF/Xacro description defining robot links, joints, and inertial properties; third, visualizing the robot in RVIZ using launch files; fourth, spawning the robot in Gazebo; and finally, enabling teleoperation through differential drive plugins and the teleop_twist_keyboard package.
Creating URDF & Xacro Robot Models in ROS2: RVIZ2 & Gazebo Guide
Added:Basic familiarity with ROS2 (Robot Operating System 2) core concepts, such as nodes, topics, publishers, subscribers, and launch files.
Fundamental knowledge of Linux command line operations and workspace management, including building packages with colcon.
Understanding of basic XML syntax, as both URDF and Xacro rely heavily on XML structure for robot description.
Familiarity with 3D coordinate systems, spatial transformations, and basic robotic kinematics (specifically, links, joints, and coordinate frames).
Integrating physical sensors into the Gazebo simulation, such as adding simulated LiDAR, IMUs, and cameras using Gazebo ROS plugins.
Implementing SLAM (Simultaneous Localization and Mapping) using tools like slam_toolbox to generate a map of the simulated environment.
Configuring the ROS2 Navigation Stack (Nav2) to enable autonomous path planning, obstacle avoidance, and waypoint navigation for the differential drive robot.
Transitioning from simulation to physical hardware by mapping the ROS2 control topics to real motor controllers and microcontrollers (e.g., micro-ROS on ESP32 or Arduino).
16.1K views248likes35:47Original Release: 2023-10-22
hello everyone today we are going to create the robot out of the scratch we will create the URF visualize it in the A and we will also create robot in the Gazo and we will drive it using the operation so first of all we have to create our workspace go to your home directory and create learn Ros 2core workspace this is going to be our workspace in which we will create a package that is SRC and inside it we will keep our packages so how do we have to create the Ross package let's ask the Google Ros tool package create and here is the official documentation we can go through it and there are two main types of or two package one is the m& cic and the other is the m& cic python each build type has different structure and now we are going to use the mncm and this is the command to create the package this is the package name this is n name that will be created as well and we can keep the name of our choice so open your terminal go inside your workspace that is learn or to n SRC and here we are going to paste this command rosu package create minus minus build type and M andc and then the Nord name our Nord name should be my uh my name and the package name should be like my first package yeah that's it so it has the created the package here you can see it okay inside the package and we are going to open it and the vscore all right this is our package and uh it has several files SRC which is which has the node M node that we have just created and uh the include file has another folder as well in in the this is the cic and the package.xml here we are going to create a folder that is URF where we are going to keep our URF file okay so inside that folder we are going to create the UR file that is my robot dotf so this has the extension do rdf in these tutorials we can also find how we can create the urdf file in here okay so it has some example URF that we are going to visualize so here it is the syntax this is the XML file and uh we declare it um in the first line then we initialize the arguments robot and then we give the name my first robot and uh in inside that we Define all the description of the robot so in this example we have just one link that is starting from here and ending in here and then inside it there is the visual and uh the visuals has the geometry which contains the cylinder of length 0.6 M and the radius 0.2 M so let's copy this and paste it here now we have to visualize it first we will see how does it launch so here is the tutorial uh here is the example to launch the file okay it is providing the path of the urdf file in here and this pack uh the package that is using it is using is the URF tutorial and this is a launch file so we are going to choose this command we will first have to go inside the ardf hit enter and then RW to launch urdf tutorial display to launch and the model colum equal the model name name which is in our case my robot.
urdf and hit enter so here it is the first link that we have in our Ur file okay so this is the joint State publisher node so it currently have zero joints uh so this is displaying nothing here here and uh it is the cylinder of 0.6 length and the radius is 0.2 so if we like try to change it and press contrl C to kill it and I can launch it you see there's a difference here come down we are adding some other links as well then we join these two links using a joint here so let's say we are going to add another link this should be the box so the box has does not has the length and radius it has three dimensions XYZ as this is the syntax to call a box so we will copy this and come in here and paste it so this is the X Dimension this is the Y Dimension and this is the Z dimension of the Box okay so now we are going to join these two links using a joint and we declared the joint type which is the fixed and the parent type uh parent link that is the base Link in our case and the sh link is the second link that we have just created okay so the same method we are going to create the joint all right so this is our first joint that we have just created the Box link that we have just created is inside the cylinder okay so the base link is to big and the second link that we have just added is inser it okay so we uh can we like change the location of this oh yes sure we will come down and there we go there it has defined the origin so this origin defines the location of the child frame with respect to the parent link frame okay so we'll just simply copy this and paste it here and we we can also like revert back to 0.2 so there you go so the same fashion we can create a whole complete new robot and this is the file of the robot that we can utilize so in here we can also see some materials name and the color as well so this this is the rgba is the red green blue and the a is the transparency or opacity of the link you'll copy this and replace this using them with the new one and we will relaunch this there you go so it has a Bas link and two CH link as well well and we can also visualize this using the TF tree there there's the B link and there's the left leg there's the right leg as well and in the frame this is the tree and we can also like height and visualize the AIS so to bring some joint in here we will try to change this by ourself we will write here continuous and reun this and there we go we have this joint in here that we can move okay so the default axis of rotation is the xais we can also change this as well we will write an extra parameter which is the AIS so we wanted to rotate about the Y AIS okay so we will write we will set y to one and relaunch this again and now its rotation will be different right now it is rotating a about the Y AIS so there are four types of joints fixed continuous revolute and Prismatic the revolute is uh will be setting some Limits The Continuous is just like the wheel it has no limit or of rotation and the Prismatic is a linear joint which also have some limits as well here you can see the uh there are three types of joints continuous one and uh the revolute revolute will have some limits like effort lower limit upper limit and the velocity and in the Prismatic it is the linear joint and it also have some lower and upper limits okay in the continuous there is no limit The Continuous is the wheel of the vehicle besides this visual feature the link has another feature that is C and the C ideally should be the same as the visual is and to add the C we will just add some add the tag Clan just under the visual and it will have the similar properties as the V will have and after the C there is a an extra property that is the inertial property that how does the L how does the link or how does the robot behaves in the actual physical word and upon application of the force how does it behave this property is handled by this inertia okay and this inertia we specify the mass and some inertial components I exx and these are the six components that we specify and this is actually a matrix that is the initial Matrix and uh we have to calculate this Matrix and specify the value in here and this was the all about the introduction of the urdf file to clean up our URF we use zacro now in the zro we can specify the property and we can also use something like function and this will make our Ur file look very cool and simpler and we we can also utilize the mathematics in this okay we'll remove every link and in here our robot name is my first robot all right in here we are going to declare the tag of the Sacro all right so in here we are going to create our robot body and now we are going to add some properties we are going to create the Bas link and we have to define the property of the base length like width height and the length so equal and the name of of the property that is base width and the value 31 this is the width of the base link and we will copy it so these These are the properties of the Bas Ling now we are going to create the P link now in here we have to utilize these properties okay so we can call these properties by using the dollar sign dollar sign and then curly versus BAS length space here there should be the base width and space here should be the base height in the Z oh let s visualize it this is the Bas link and so here you can see the origin of the space link so now here we have lifted up the origin so let's see what it shows us now we have lifted up the body but the origin is same there you go the origin is at the same place but the body is lifted up we have just change the body origin now the same fashion we will add some some other properties as well so now here is the check of visual enable so V is not enable now so there is nothing if I enable the clean there is a box okay and if I enable both there will be both there will be the same box okay do you see there's the cion and there's the varable so our first link is nearly near to complete so now what about the initial values and now we have to add the inertial for that we are going to use the macro function okay in here we can Define the macro function like this the zro has the this function macro and the name of it is box inertia and the parameter that it takes is the mass width height and depth and in this tag inertial there is the specification of the origin uh uh we are giving some rotations in here and we are specifying the mass in here and these are the formulas to calculate the inertial values of the Box all right now we are going to call it under the cion like Sacro colon the name of the function that that is box inertia and space and and M is the five and the width is base WID depth is base length and the height is base height and we can close this using this tag all right now this has inertia as well we can visualize it again so this is completely visible now we will include some other links as well and now this is the Coster wheel the Coster is here and uh the link as you can see so it is using this sphere command so this sphere just has the radius and we are we have defined the Feld Z off that is here and in here we we are calling the sphere sphere inertia that is here and this and it takes two parameter that is one is a mass and other is the radius and this is the formula that is it is utilizing and in here we are calculating the radius and this is the joint that is also fixed and and here is the wheel that here is the Coster wheel that is very small okay if I disable the TF you can see it here and now we are going to add the wheels so for that we are going to use the macro function again and this is the macro function that has the name Feld and then it has the parameters that prefix X reflect and the Y reflect and the prefix is here and it has rotated the uh given the rotation to the origin and then it is utilizing uh and the geometry is the wheel radius and wheel WID that is defined up here okay we can also change it and cylinder inertia that is here and cylinder inertia takes Mass radius and height so we have mentioned it and this is calculating the inertial values and this is the joint that is continuous and with respect to the Bas length and this is the formula that to calculate the origin you can also add simple rotation uh you can also add simple values or you can also hit do return trial so here is the function ends and now we are going to call it if we run it now it won't display any wheel okay it is not displaying any wheel because we are not calling this function anywhere and now we are going to call this function like this so zro field the drive field left okay this is the prefix and reflect is here and Y reflect is here and we are giving we are giving the sign it some sign to it and this is the wield right okay we are saving it and calling it relaunch it there we go there are the wheels if we now rotate whe wheels are spinning all right we can also change the material from here and this is going to be the white all right and these are the cray so now we do not want to use this package to show the urdf in the RS we want a launch file that is inside our package so for that we have to make several folders in this package so first we will make the launch file folder launch folder and then and there should be another folder that that will be containing the RS configuration file so this should be the RS and uh now we have to include the ARs configuration file in this so for that we will launch this again and we are going to utilize this RS file save config as we will go to our package that is learn row to and in this r is we are going to name it like [Music] config do rvis and this file is saved inside our folder if we open this this is config do RV so we have the configuration file all right we can close it and now we have to create the launch files create new file and name it display.
launch dop so this will be displaying in the urdf in the ARs and one more file that will be kipo do launch dop so this will be launching the URF in the kazibo so now we have to build this package we have haven't buil it yet and one more thing that we have to do it before these two are the launch file we will make it executable as well so that the system can detect this these are the executables okay so now we have to make some changes in the cic list we have to mention that we have created these folders and there inside these folders the there are there are some executable files as well and we can mention these directories in here like this we have made the launch folder and we have made the urdf folder and we have made the ARs folder and we are saying that there inside the folder we have some executable files so we will save it and now we will go back learn and in here we are going to build the package by using the command callon callon build minus minus Sam Link minus install and the package is successfully built now I will Source it install local setup. bash so this is now sourced as so inside this display. launch we have to add the code that will be launching our robot so for that we are going to import some libraries so these are some launch libraries that will be running our different nodes and we'll be launching the ours as well so this is our function we are going to save it and this is the package location after building and uh this line is finding the package and uh in this line it is finding the URF file and the third and this one is finding the config RS and in here we are just launching the node that is robot State publisher node and uh this keeps the track of all the body of the robot and uh this uh this joint State publisher node will be keeping track of the joints of the robot and it is also going to give us the GUI interface of the joints and this is the ours node and in here it is uh returning the launch description and it is returning all the configuration files that is that we have just configured so let's run it Ross to launch as this is the launch file and then the pack package name mycore first package and display to launch.
by oh yes this is launched that is great and we can also move the different joints all right we can now see our robot is absolutely fine with the angles and it is also looking good and now we are going to write the Gazo do launch file and this is the file in which we are just importing the libraries as we have done previously and in the generate launch description we're again finding the package and giving the part to the URF and then we are again launching the robot State publisher and in here we are launching this time joint State publisher we are not launching The Joint State publisher GUI because we we are opening it in the gipo so this is why we are just using the joint State publisher and then we have to define the spawn entity how what we have to spawn in the uh what we have to spawn in the Gazebo so we are using the package gazebo Ross and then the executable spawn. p and here is the arguments okay we assigning it to the uh we are assigning here the entity is my first robot that we have just created in here uh this is the this is my first robot and uh we have mentioned it here and the feding it to the the topic is the description and in here laun description we are just returning everything that we have defined in here and in the execute process we are launching the gipo and these are the plugins that it is initializing some Ross plugins and Ross Factory plugins and uh it is uh launching The Joint State and robort State and spawn entity and now we are going to from this we are going to launch this Caso dot dis dot launch and there we go here is our robot in the word so it looks so dull right we want to give some color to it so we'll open again this and here's our base we want to give it some colors to it and I will write the kipo reference this is B link and the material is kipo SL orange this is the material now let's relaunch this and yes this has some color and how do I know I can write this color well there is a whole gazebo color list that we can find Ross kipo material there we have the list of different materials that we can Define in here now for example if we give the color to the Coster as well like Coster and we want to assign some different color to it these are the colors that are available that we can assign to the Coster wheel so let's say we want to give the blue we will write it blue and now relaunch there you go this is blue now and you can also assign color to the wheels as well but now I want to move this robot can I do that let's check the topics available r two topic list so I don't see any command velocity topics for so to appear in order to appear the command velocity topic we have to add some kazeo plugins to our Sacro file or URF file we will come down and in here we are going to add the Gazebo plugins so these are the differential Drive plugins okay this is the name and this is the file name and in here we are just defining the wheels so T so this is Drive wheel left joint and this is the drive wheel right joint and the wheel separation is 0.4 and the wheel diameter is 0.2 as as it was defined in here wheel radius and double it and you will find the Feld diameter and then we have defined the torque of the motor and the acceleration and the automet is true and TF is false and these in the automet frame is adome and the Rob report Pace frame is the pace link and let's save it and run it again now again see if there is a topic available command velocity there we go we have the command velocity topic okay we have it so now we are going going to run this robot by using a package called Ross to run tellio twist keyboard and and the teleop twist keyboard okay hit enter and now you can use I to make it go forward K to stop L to rotate it to right CH to rotate it to left and you can also play with the different Keys like o u and M and decate a symbol you can go forward and you can come backward so our robot is working perfectly and that's it for this lab thank you so much
Up Next
22:45
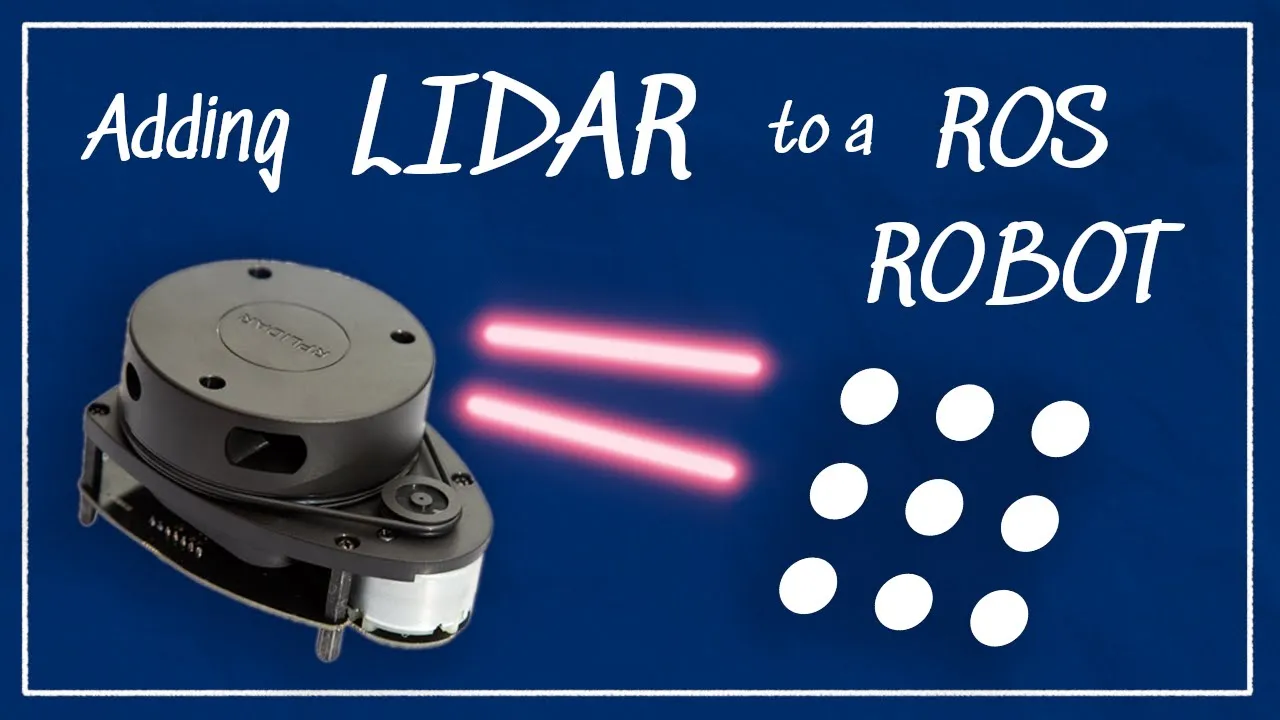
Integrating LIDAR Sensors with ROS for Robotic Navigation
@ArticulatedRobotics
223.7K views•2022-06-02

12:54
Triumph of Orthodoxy Icon: Byzantine Art & History Explained
@BenCallan
2.1K views•2024-08-06

9:49
FastAPI vs Flask vs Django: Choosing the Right Python Web Framework
@TechWithTim
302.5K views•2024-05-26

1:42
Game of Thrones Opening Credits: A Cinematic Analysis
@gameofthrones
46.3M views•2011-04-18
Related Study Plans & Knowledge Roadmaps
Structured learning paths in General & Interdisciplinary Studies
general-studies
Elevator Engineering: History, Physics & Cities
01From Hoists to Safety Brakes: The Dawn of Vertical Lift
02Hydraulic vs. Traction: The Engineering Physics of Elevators
03Modern Speed, Safety, and Algorithms
+ 2 more learning modules
12h5 modules
Explore Roadmap
general-studies
Rubber: Material Science, History & Geopolitics
01Origins of Natural Rubber & Mesoamerican History
02The Chemistry of Natural Rubber & Vulcanization
03The Geopolitics of the Rubber Boom & Colonization
+ 2 more learning modules
12h5 modules
Explore Roadmap
general-studies
Containerization: Evolution, Logistics & Trade
01Ancient Trade & Bulk Cargo: Amphorae to Barrels
02The Industrial Revolution & Cardboard Packaging
03The Containerization Revolution: Malcom McLean
+ 2 more learning modules
12h5 modules
Explore Roadmap
general-studies
Textile Tech: Evolution, Labor & Global Impact
01Pre-Industrial Textiles: Handloom & Cottage Industry
02Mechanization: The Spinning Jenny to the Power Loom
03The Factory System & Global Labor Transformation
+ 2 more learning modules
10h5 modules
Explore Roadmap