





























To professionally upholster acoustic panels, first staple a breathable liner fabric (like weed control fabric) to the frame, then cut off excess and leave corners bare; next, tension and staple the short corners first, followed by the long sides with light tension; finally, carefully trim and fold the fabric at each corner to create a clean, gift-wrapped appearance, ensuring no bulges or wrinkles for a professional finish.
Fabric Wrapping Acoustic Panels: DIY Upholstery Tutorial
Added:Understanding of basic room acoustics, including sound reflection, absorption coefficients, and the role of porous materials in reducing reverberation.
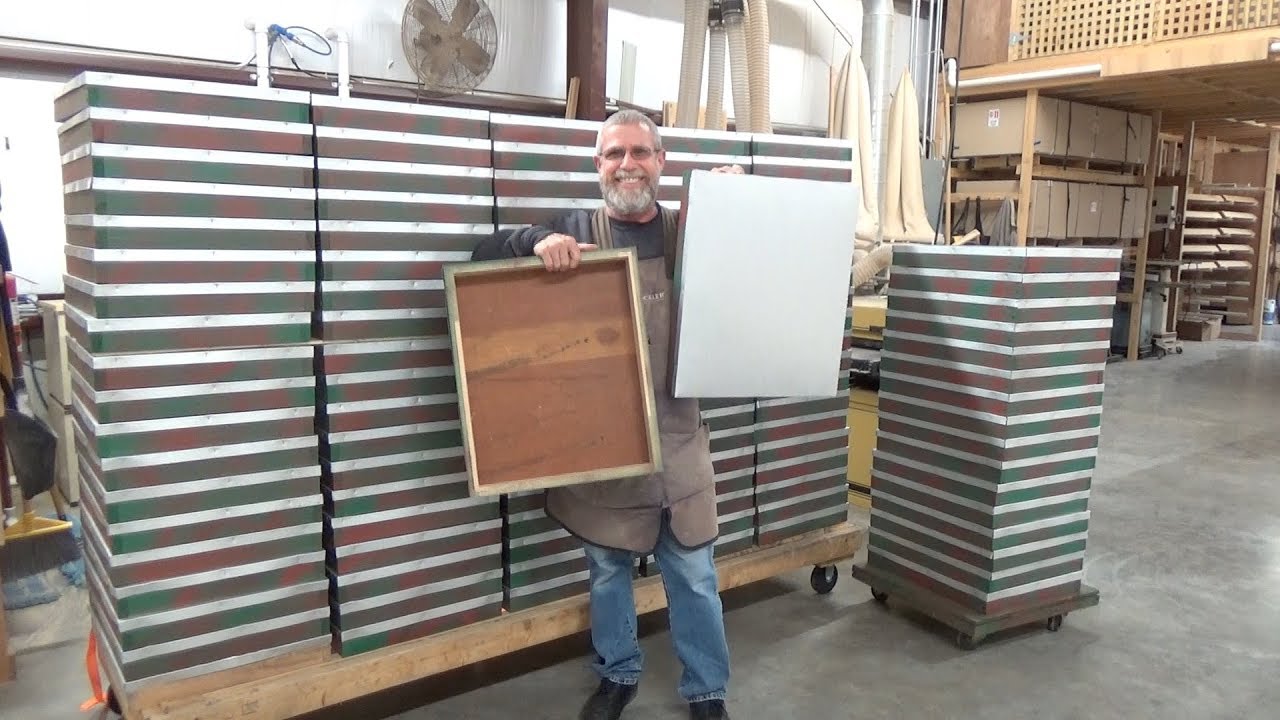
Knowledge of core acoustic materials (e.g., rigid fiberglass, rockwool, or open-cell foam) and their respective safety and handling procedures.
The principle of fabric breathability (acoustic transparency) and how to select fabrics that allow sound waves to pass through to the core material.
Familiarity with basic hand tools and woodworking concepts, particularly staple guns, fabric shears, and frame assembly.
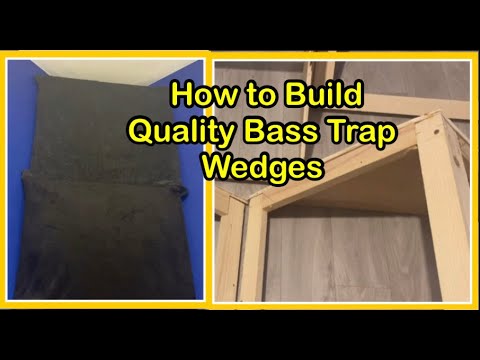
Strategic placement of acoustic treatments, focusing on calculating first reflection points, corner bass trapping, and ceiling cloud positioning.
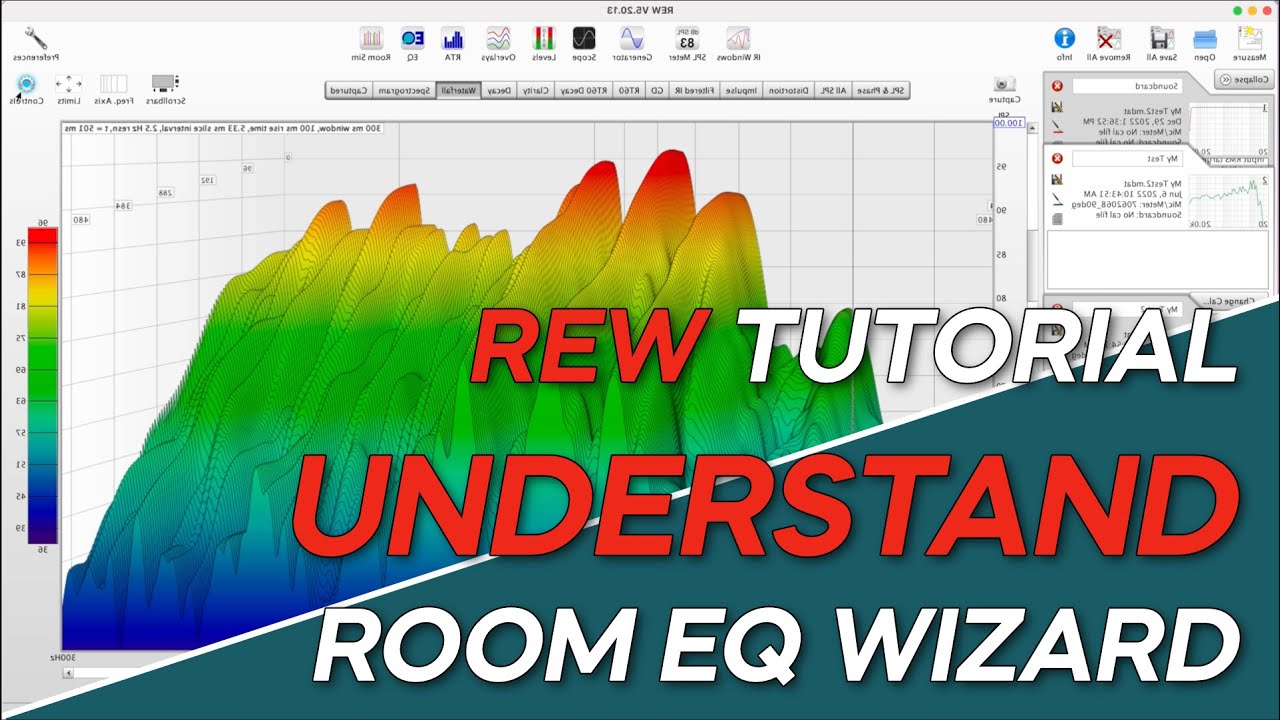
Acoustic measurement and analysis techniques using software like Room EQ Wizard (REW) to objectively test the room's frequency response before and after treatment.
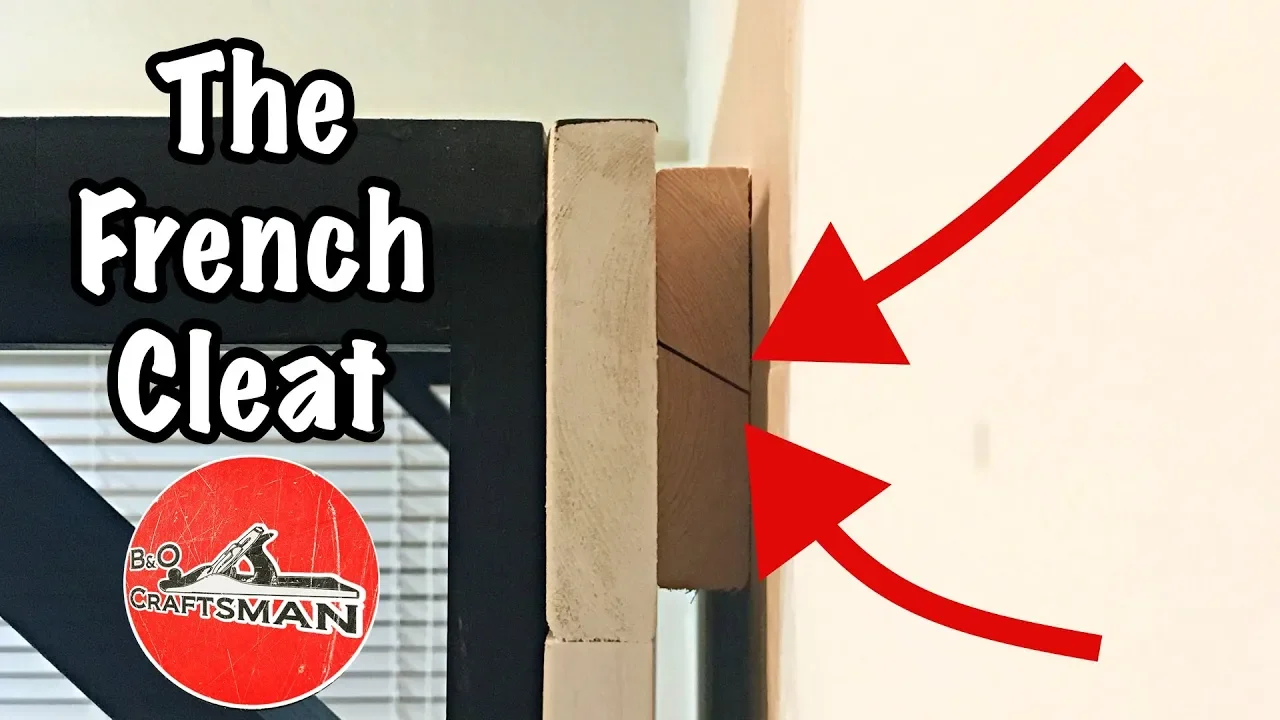
Advanced mounting and installation methods, including French cleats, Z-clips, or standoff brackets to optimize low-frequency absorption.
Designing hybrid acoustic treatments, such as combined absorber-diffuser panels (e.g., binary amplitude diffusers) to prevent a room from sounding too dead.
2.7K views111likes4:26Original Release: 2025-12-05
Hello, this is Daniel from soundtheadquarters.com.
In today's video, we are going to be focusing on acoustic panel upholstery.
You can apply these techniques to upholster acoustic panels of any size.
So, stay tuned and watch how we make these beautiful panels.
So, here is our finished acoustic panel frame. And yours can be any size. You can apply all of these techniques to your panels. So, first thing we're doing is we're rolling out the fabric. And for these panels, they're about 2 ft x 4 ft.
about 3 in thick. So, I'm cutting this fabric at about 34 in wide. Um, but for you, just make sure that you measure that you have enough overlap on both sides to totally wrap around your acoustic panel frame. So, I'm just laying this fabric out on the table. And now, I'm laying down the liner fabric.
The liner fabric that we use is like a yard fabric, like a weed control fabric that you would use for landscaping cuz it's breathable and it's cheap. Uh, so it's a great liner fabric to use for these panels. So, first we're going to staple down the liner fabric. And I'm just doing a few staples. This doesn't need to be super strong because when we send the staples through the final layer of fabric, that's going to secure everything um all the way to the panel frame. So, this is just to get that um that liner secure on the frame so it's not flopping around. And then we're going to go around and cut off all of the excess fabric. [music] So, I'm going to show you a closeup here of how I leave the corner. We want to make sure we get off all of the extra liner fabric and leave that corner just completely bare ready for the final layer of fabric to wrap over. That way there's no bulging or anything underneath um the final fabric. [music] So I like to get the two short corners tensioned and stapled in first. As you can see here, I just do a couple couple staples. And now I'm going to pull against the first one and pull against the last one. And that kind of locks in all four corners.
[music] And once that all four corners are locked in, tensioned across the panel, now I can go ahead and get the first long side. This long side, I'm stapling it. I'm not tugging very hard. I'm just kind of laying it flat and stapling along the panel edge. Now, when I come across to the opposite side, this is where I'm pulling against and tensioning across that first stapled edge [music] and applying light tension and then stapling down. This is going to make sure the fabric lays nice and flat and is taut across the uh acoustic panel frame. So once we have both long sides stapled in, now we can do the corners.
This is the most kind of detailed step here. And you can see we cut out all of the excess fabric before we fold over and kind of gift wrap that corner.
Here's a more detailed close-up step. So I mock up where it needs to go. Staple in the top and the edge there to lock it in. Now I see where I need to trim. I'm leaving myself maybe like a/2 in of fabric there for that fold over. And you can see I just get rid of all of the bulk of the excess fabric cuz we don't want that to bulge underneath um when we turn this over. And you can see I'm trying to just line up that edge right on the corner of the acoustic panel. So it looks kind of gift wrapped and the um you don't really notice the fold. It's all in the corners where the shadow line would be anyways. Uh, so we just tension across once we have those corners locked in and we cut off all of the excess fabric. And now we can just repeat this step across all four corners. The corners and the edges really are the hardest part of getting a nice professional look on your acoustic panel frames. Uh, so definitely take your time, re-watch and zoom in on that uh, close-up of the corner detail if you need to. Um, this learning this technique is really what brought my acoustic panels to the next step and >> [music] >> um, just really livens up and um, gives you a professional finish. Right? If we're making the effort to build these panels ourselves, we might as well do as best of a job on them as we can, right?
So, as you can see behind me, uh, these panels have now been installed [music] um, at my home studio here. And, um, there's the final product. Here's a couple close-up shots. You can see how everything is wrapped around the frame nicely. There's no bulges, nothing standing out, no weird stuff. Just a beautiful acoustic panel ready for you to install for yourself. So, thank you so much for watching. This has been Daniel from soundtheadquarters.com.
Please subscribe for more studio building content and stay tuned for more. Thanks. See you.
Up Next
11:10
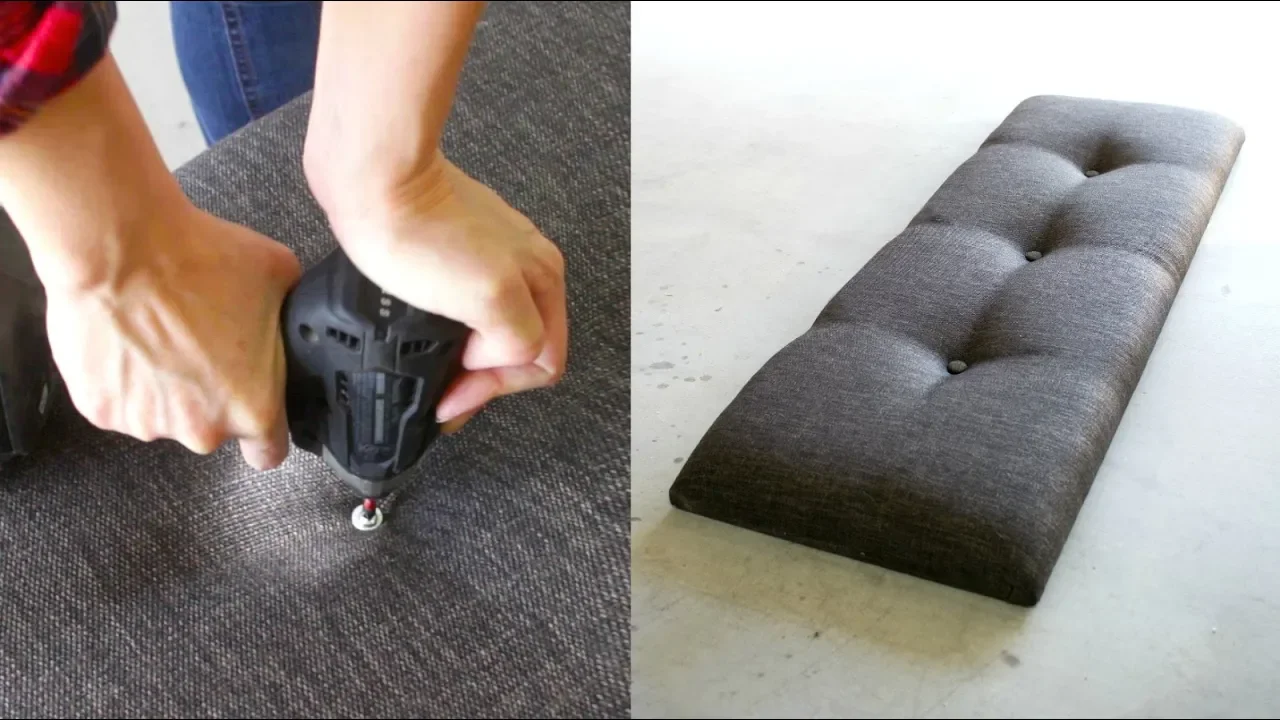
How to Make a Tufted Bench with No-Sew Upholstery Technique
@PneumaticAddict
335.6K views•2019-07-05

12:54
Triumph of Orthodoxy Icon: Byzantine Art & History Explained
@BenCallan
2.1K views•2024-08-06

9:49
FastAPI vs Flask vs Django: Choosing the Right Python Web Framework
@TechWithTim
302.5K views•2024-05-26

1:42
Game of Thrones Opening Credits: A Cinematic Analysis
@gameofthrones
46.3M views•2011-04-18
Related Study Plans & Knowledge Roadmaps
Structured learning paths in General & Interdisciplinary Studies
general-studies
Elevator Engineering: History, Physics & Cities
01From Hoists to Safety Brakes: The Dawn of Vertical Lift
02Hydraulic vs. Traction: The Engineering Physics of Elevators
03Modern Speed, Safety, and Algorithms
+ 2 more learning modules
12h5 modules
Explore Roadmap
general-studies
Rubber: Material Science, History & Geopolitics
01Origins of Natural Rubber & Mesoamerican History
02The Chemistry of Natural Rubber & Vulcanization
03The Geopolitics of the Rubber Boom & Colonization
+ 2 more learning modules
12h5 modules
Explore Roadmap
general-studies
Containerization: Evolution, Logistics & Trade
01Ancient Trade & Bulk Cargo: Amphorae to Barrels
02The Industrial Revolution & Cardboard Packaging
03The Containerization Revolution: Malcom McLean
+ 2 more learning modules
12h5 modules
Explore Roadmap
general-studies
Textile Tech: Evolution, Labor & Global Impact
01Pre-Industrial Textiles: Handloom & Cottage Industry
02Mechanization: The Spinning Jenny to the Power Loom
03The Factory System & Global Labor Transformation
+ 2 more learning modules
10h5 modules
Explore Roadmap