2D Physics Engine: Vectors, Collisions & TS
Learning Goal: Building a 2D rigid-body physics engine with collision detection and resolution using TypeScript and HTML5 Canvas from scratch. You will gain a deep mathematical and practical understanding of vector mathematics, kinematic integration, collision manifold generation, linear/angular impulse resolution, and rotational dynamics.
Prerequisites
- Basic familiarity with programming concepts (variables, classes, loops).
- Elementary high school algebra and trigonometry.
- No prior TypeScript or physics engine development experience is required.
Estimated Total Study Time: 26 Hours
Module 1: Vector Mathematics & HTML5 Canvas Setup
Overview
Before writing physics code, you must establish a reliable runtime rendering pipeline and build the mathematical toolset used for all positional and directional calculations. This module guides you through initializing a high-performance TypeScript project environment utilizing Vite or Bun, implementing a modern frame-rate-independent game loop using requestAnimationFrame, and writing a highly optimized 2D Vector class from scratch.
You will explicitly define vector operations—such as addition, subtraction, scalar multiplication, normalization, magnitude calculations, and the essential dot product—which serves as the mathematical foundation for vector projection in collision handling.
Recommended Videos

Why this video
This video provides an excellent, structured walkthrough of configuring a modern TypeScript development environment using Bun as a bundler and executing an API-clean game loop on an HTML5 canvas. It demonstrates how to abstract canvas context operations behind a rendering class—which is a software engineering best practice when writing clean engine code.
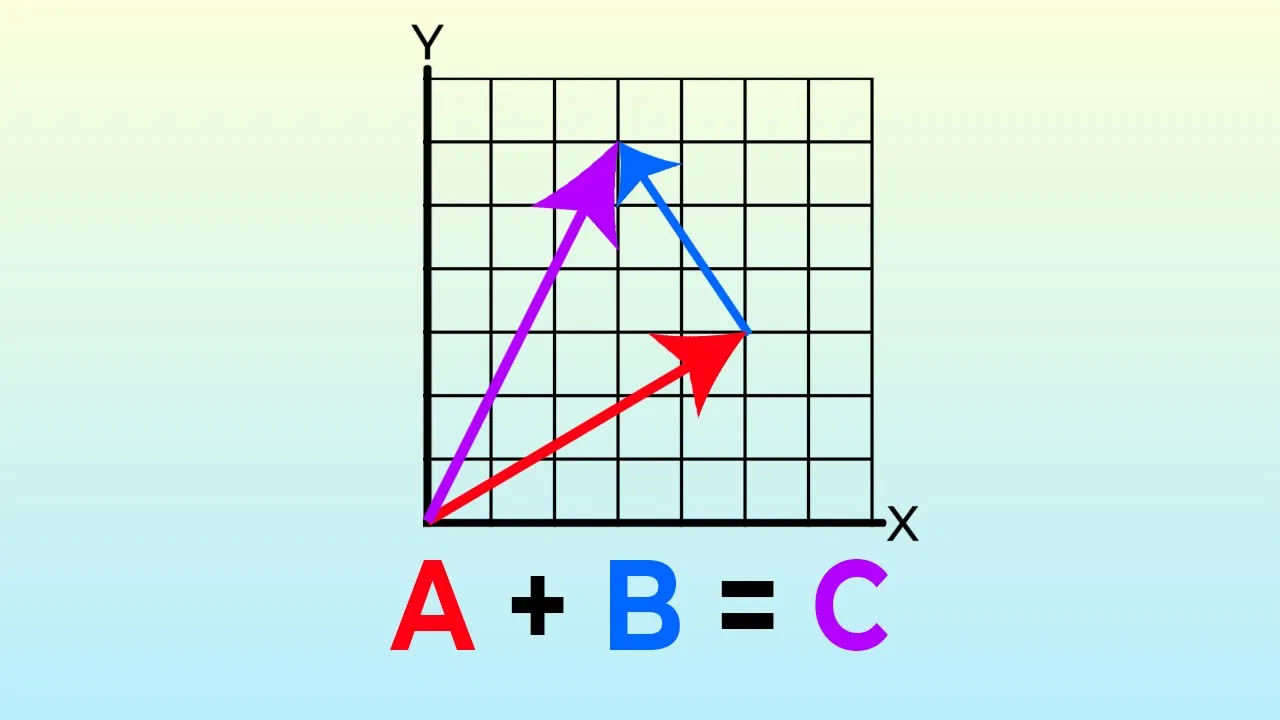
Why this video
This video is a highly visual, zero-friction introduction to vectors in 2D game development. It explains what vectors are (x and y component pairs representing a position, displacement, or force) and intuitively visualizes basic vector arithmetic like addition and subtraction.

Why this video
This short, targeted segment provides the spatial intuition behind the dot product. You will learn how multiplying corresponding vector components and summing them reveals whether two vectors point in similar directions, are perpendicular (dot product of 0), or point in opposite directions. It is vital for project calculations.
Implementation Guide: Your TypeScript Vector2D Class
Because high-quality game development math resources are often written in language-agnostic pseudocode or C++, you must explicitly write your own Vector2D class in TypeScript. Create a file named Vector2D.ts and implement the following architecture:
export class Vector2D { constructor(public x: number = 0, public y: number = 0) {}
add(v: Vector2D): Vector2D {
    return new Vector2D(this.x + v.x, this.y + v.y);
}

sub(v: Vector2D): Vector2D {
    return new Vector2D(this.x - v.x, this.y - v.y);
}

mult(scalar: number): Vector2D {
    return new Vector2D(this.x * scalar, this.y * scalar);
}

magnitude(): number {
    return Math.sqrt(this.x * this.x + this.y * this.y);
}

normalize(): Vector2D {
    const mag = this.magnitude();
    if (mag === 0) return new Vector2D(0, 0);
    return new Vector2D(this.x / mag, this.y / mag);
}

dot(v: Vector2D): number {
    return this.x * v.x + this.y * v.y;
}
}
Module 1 Knowledge Checkpoint
- Initialize an HTML5 Canvas and retrieve its 2D rendering context (
CanvasRenderingContext2D) in TypeScript. - Implement a game loop using
requestAnimationFramethat calculatesdeltaTimeto ensure frame-rate independent updates. - Write a custom
Vector2Dclass containing methods for addition, subtraction, scale multiplication, normalization, and magnitude. - Explain geometrically what a dot product of zero indicates about two vectors.
Module 2: Kinematics & Rigid Body Representation
Overview
This module transitions your engine from static rendering to dynamic movement. You will learn to represent physical objects as rigid bodies (focusing initially on circular and axis-aligned rectangular geometries) in code. You'll master the equations of motion (displacement, velocity, acceleration) and implement numerical integration.
You will compare the trade-offs between Euler integration (updating position based on velocity, and velocity based on acceleration) and Verlet integration (tracking position history to solve constraints stably), and implement a clean force accumulator system supporting gravity and basic linear forces.
Recommended Videos
Why this video
Daniel Shiffman presents a flawless conceptual framework for applying forces to rigid bodies. This video explains the applyForce() pattern: forces are accumulated onto an object, divided by its mass to calculate acceleration (), and then integrated into velocity.
Why this video
This legendary GDC excerpt explains the mathematical differences, errors, and behavioral quirks of different integration steps. You will learn exactly why simple Explicit Euler integration introduces numerical energy inflation under varying frame rates, and how Semi-Implicit Euler or Verlet integration provides a far more stable alternative.
Why this video
If you choose to implement rope, cloth, or extremely stable constraint systems, Verlet Integration is the standard approach. This video breaks down how Verlet eliminates the need to track velocity explicitly by subtracting the object's previous position from its current position.
Implementation Guide: Rigid Body Class Architecture
To implement these concepts in TypeScript, design an abstract RigidBody class that your specific Circle and Rectangle shapes inherit from. Use Semi-Implicit Euler integration for your engine loop:
import { Vector2D } from "./Vector2D";
export abstract class RigidBody { public position: Vector2D; public velocity: Vector2D; public acceleration: Vector2D; public mass: number; public inverseMass: number; public forceAccumulator: Vector2D;
constructor(x: number, y: number, mass: number) {
    this.position = new Vector2D(x, y);
    this.velocity = new Vector2D(0, 0);
    this.acceleration = new Vector2D(0, 0);
    this.mass = mass;
    this.inverseMass = mass > 0 ? 1 / mass : 0; // 0 represents static objects
    this.forceAccumulator = new Vector2D(0, 0);
}

applyForce(force: Vector2D): void {
    this.forceAccumulator = this.forceAccumulator.add(force);
}

integrate(dt: number): void {
    if (this.inverseMass === 0) return; // Static objects don't move

    // Semi-Implicit Euler Integration
    this.acceleration = this.forceAccumulator.mult(this.inverseMass);
    this.velocity = this.velocity.add(this.acceleration.mult(dt));
    this.position = this.position.add(this.velocity.mult(dt));

    // Clear forces after step
    this.forceAccumulator = new Vector2D(0, 0);
}

abstract draw(ctx: CanvasRenderingContext2D): void;
}
Module 2 Knowledge Checkpoint
- Implement a working
RigidBodybase class utilizing Semi-Implicit Euler integration. - Understand the role of
inverseMass() in physics engines, specifically how setting it to0represents a static (unmovable) object. - Explain why Explicit Euler integration (; ) is less stable than Semi-Implicit Euler (; ).
- Clear the force accumulator at the end of every physics update tick.
Module 3: Collision Detection & Separating Axis Theorem
Overview
Detecting contact is the gateway to simulation. In this module, you will implement two core collision detection paradigms: simple distance-based checks for circles, and Axis-Aligned Bounding Box (AABB) checks for aligned rectangles. You will then advance to the Separating Axis Theorem (SAT), a robust mathematical method used to detect overlaps between arbitrary convex polygons (including rotated rectangles).
Importantly, you will learn how to construct a collision manifold—a structured payload containing the collision normal, penetration depth, and exact contact points required by your solver.
   Separating Axis Test (SAT)

    [Box A]
      \      Axis (No overlap = No collision)
       \      |
------->\---- v -------------
         \    . [Box B]
          \   .
Recommended Videos
Why this video
This lecture by Pikuma is the definitive visual guide to the Separating Axis Theorem. It meticulously explains how to project the vertices of two shapes onto face normal axes and inspect them for gaps. If even a single axis exhibits no projection overlap, the shapes are not colliding.
![Collision Manifold - Let's Make a Physics Engine [15]](https://i.ytimg.com/vi_webp/aIgxC2oJIwc/maxresdefault.webp)
Why this video
This video explains how to package collision metadata into a reusable class called a Collision Manifold. It clarifies why a simple boolean flag (true/false collision) is insufficient for physics engines, showing how you must extract the normal vector (direction of push) and penetration depth to perform correct velocity adjustments.
Why this video
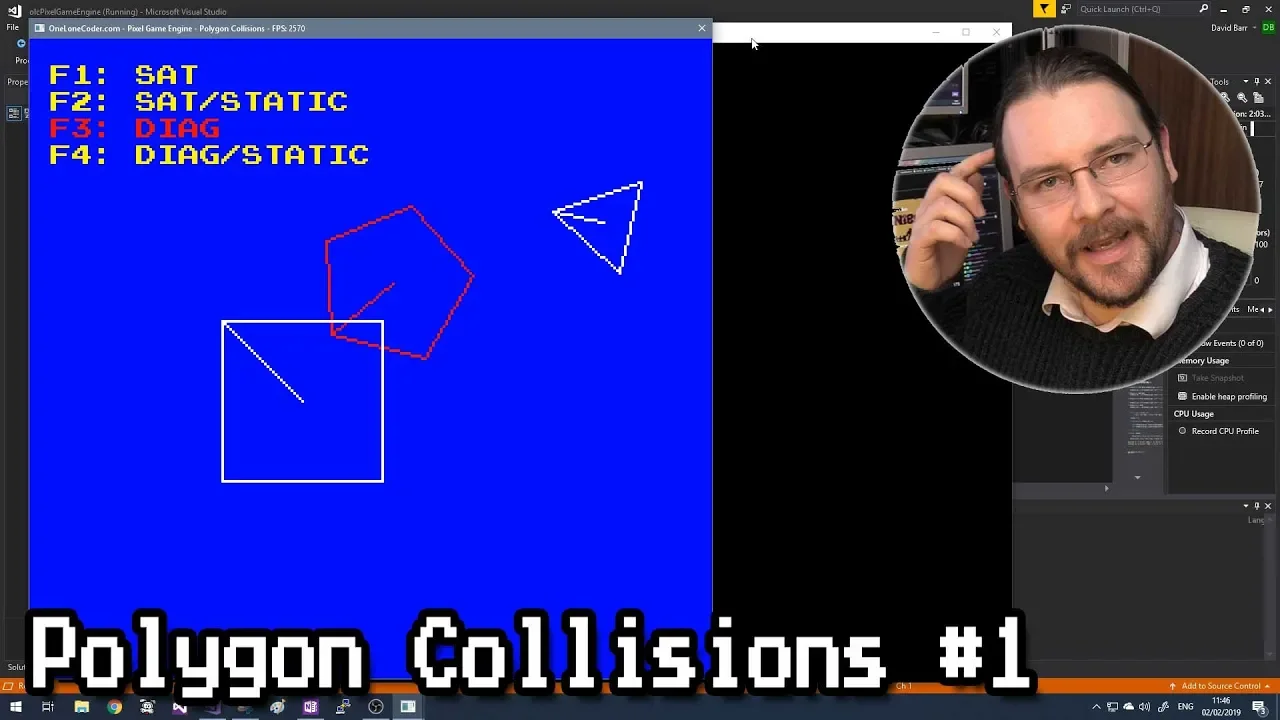
This fast-paced, highly informative video illustrates AABB-to-AABB collisions and contrasts them with rotated convex polygon math, visualizing edge normal projections in real-time.
Implementation Guide: Structuring your Collision Manifold
Translate the math from Pikuma and Two-Bit Coding into a rigid TypeScript interface. Your collision detection subsystem must return a CollisionManifold when a collision is active:
import { RigidBody } from "./RigidBody"; import { Vector2D } from "./Vector2D";
export interface CollisionManifold { bodyA: RigidBody; bodyB: RigidBody; normal: Vector2D; // Direction pointing from bodyA to bodyB penetration: number; // Overlap distance contactPoints: Vector2D[]; }
// Basic Circle-to-Circle Collision Detector Example export function detectCircleCollision(a: RigidBody, b: RigidBody, radiusA: number, radiusB: number): CollisionManifold | null { const distanceVec = b.position.sub(a.position); const distance = distanceVec.magnitude(); const radiusSum = radiusA + radiusB;
if (distance >= radiusSum) {
    return null; // No collision
}

const normal = distanceVec.normalize();
const penetration = radiusSum - distance;

// Contact point lies on the midpoint of overlap
const contactPoint = a.position.add(normal.mult(radiusA - penetration / 2));

return {
    bodyA: a,
    bodyB: b,
    normal,
    penetration,
    contactPoints: [contactPoint]
};
}
Module 3 Knowledge Checkpoint
- Implement distance-based collision detection for circles and AABB collision detection for aligned rectangles.
- Explain the foundational theory of the Separating Axis Theorem (SAT).
- Draft a TypeScript data structure representing a
CollisionManifoldstoring normal, depth, and contact references. - Correctly calculate the minimum translation vector (MTV) from your SAT check to determine the exact scale and direction of the overlap.
Module 4: Impulse-Based Collision Resolution
Overview
Once a collision is detected, your engine must resolve it realistically. This module dives into impulse-based resolution, which calculates instantaneous changes in velocity to prevent shapes from overlapping. You will implement the mathematical equations for linear impulses based on Newton's Law of Restitution (handling elastic "bounciness" and inelastic collisions).
Crucially, you will resolve positional penetration (the common issue where objects sink into each other over time) using an explicit positional correction step.
Recommended Videos
Why this video
This hidden gem provides a complete, 7-step mathematical derivation of resolving elastic 2D collisions. It explains how to determine relative velocity, map it along the collision normal using the dot product, compute the impulse scalar (), and distribute the impulse across both bodies based on their mass ratio.

Why this video
This video explains how to apply calculated linear impulses directly within your physics update tick. It provides concrete coding patterns for altering body velocities along the collision normal to bounce objects apart.

Why this video
Due to small mathematical errors, objects will slowly sink into each other (penetration) without positional correction. This video details how to apply a scaling factor (often called "slop" or "percent correction") to push intersecting rigid bodies apart based on their inverse mass ratios.
Implementation Guide: Step-by-Step Impulse Resolution Math
Following the 7-step process from @TheBigInt, translate the linear impulse equation into a clean TypeScript function:
import { CollisionManifold } from "./CollisionCheckers"; import { Vector2D } from "./Vector2D";
export function resolveCollision(manifold: CollisionManifold): void { const { bodyA, bodyB, normal, penetration } = manifold;
// 1. Calculate Relative Velocity
const relativeVelocity = bodyB.velocity.sub(bodyA.velocity);

// 2. Calculate Velocity Along Normal (using Dot Product)
const velAlongNormal = relativeVelocity.dot(normal);

// Do not resolve if objects are already separating
if (velAlongNormal > 0) return;

// 3. Define Coefficient of Restitution (e) -> Range [0 (Inelastic), 1 (Perfect Bounce)]
const e = 0.5;

// 4. Calculate Impulse Scalar (J)
const totalInverseMass = bodyA.inverseMass + bodyB.inverseMass;
if (totalInverseMass === 0) return; // Both objects are static

let j = -(1 + e) * velAlongNormal;
j /= totalInverseMass;

// 5. Apply Impulse Vector to each body
const impulseVector = normal.mult(j);
bodyA.velocity = bodyA.velocity.sub(impulseVector.mult(bodyA.inverseMass));
bodyB.velocity = bodyB.velocity.add(impulseVector.mult(bodyB.inverseMass));

// 6. Positional Correction to prevent "Sinking"
const percent = 0.2; // Penetration percentage to resolve per frame (20% to 80%)
const slop = 0.01;    // Penetration allowance to prevent jittering
const correctionMagnitude = Math.max(penetration - slop, 0) / totalInverseMass * percent;
const correctionVector = normal.mult(correctionMagnitude);

bodyA.position = bodyA.position.sub(correctionVector.mult(bodyA.inverseMass));
bodyB.position = bodyB.position.add(correctionVector.mult(bodyB.inverseMass));
}
Module 4 Knowledge Checkpoint
- Explain how relative velocity is projected along the collision normal using the vector dot product.
- Implement Newton's Law of Restitution to compute the impulse scalar ().
- Understand why applying an impulse changes the velocities of colliding bodies in opposite directions based on their respective masses.
- Implement a positional correction function using "slop" and a percentage scale to completely eliminate sinking.
Module 5: Rotational Dynamics & Torque
Overview
The final step in creating a complete, high-fidelity physics simulator is adding rotational physics. Up to this point, your rigid bodies have behaved as point masses—unable to spin or rotate when hit off-center. This module teaches you how to model angular mass (Moment of Inertia), apply rotational forces (Torque), and track rotational variables (Angle, Angular Velocity, Angular Acceleration).
Finally, you will combine your linear impulse engine with angular impulse mechanics to resolve off-center collisions.
        Angular Impulse (Torque)

                 Force (F)
                 |
                 v
       +---------*---------+
       |         |  r      |  (Lever arm vector 'r' from Center of Mass)
       |         o (CoM)   |
       +-------------------+
Recommended Videos

Why this video
This academic lecture from Yale provides an exceptional foundation in rotational dynamics. It establishes the concept of a rigid body where all internal points remain at fixed distances, defining the rigid constraints that underpin game-ready momentum and inertia tensor equations.

Why this video
This MIT lesson mathematically introduces torque () and its relationship to rotational mass. It visualizes how torque acts as rotational force according to the equation:
Where is the Moment of Inertia, and is the resulting angular acceleration.
Why this video
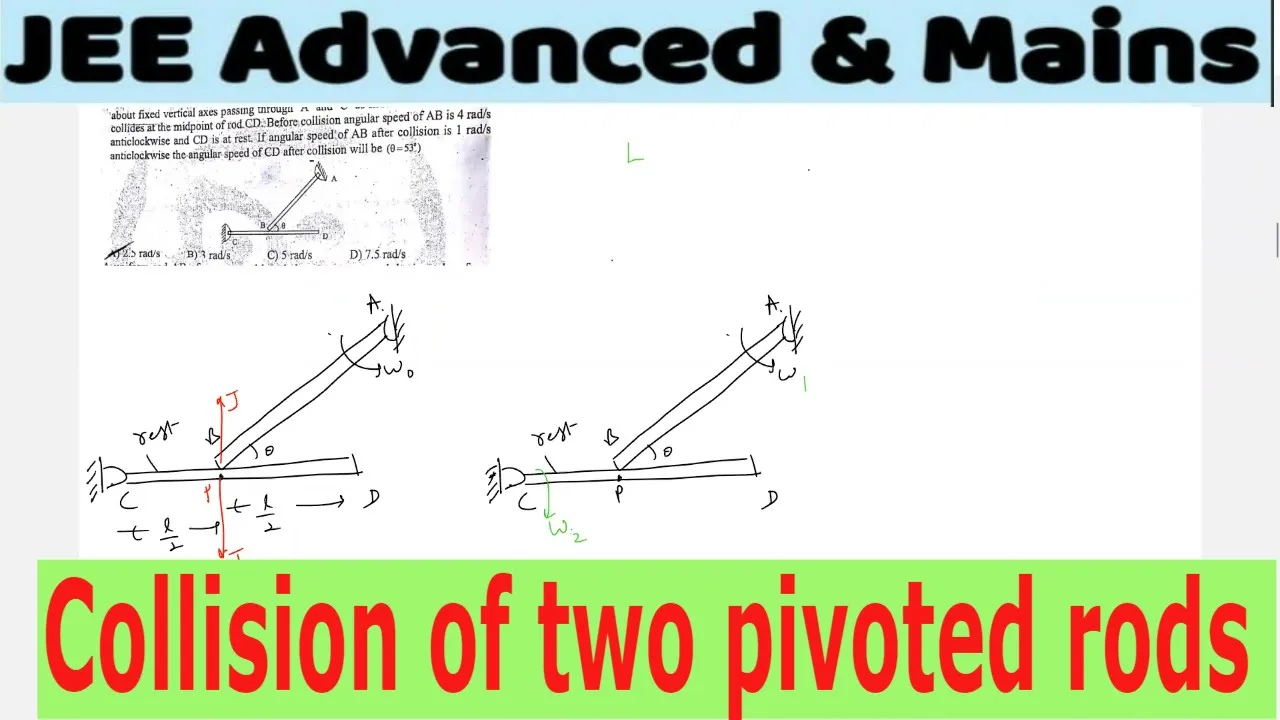
This targeted physics video explains the angular impulse-momentum principle. It models how off-center physical impacts apply angular impulses to rigid bodies, instantly changing their angular momentum.
Implementation Guide: Mapping Academic Physics to TypeScript
Because academic lectures write rotations using calculus integrals, you must convert these continuous equations into discrete, frame-by-frame updates for your engine.
1. Rotational Properties for your RigidBody class
You must update your base class properties to track rotational dynamics:
export abstract class RigidBody { // ... previous linear properties ... public angle: number = 0; // Rotation angle in radians public angularVelocity: number = 0; // Radians per second public angularAcceleration: number = 0; // Radians per second squared public torqueAccumulator: number = 0; // Accumulated angular forces public inertia: number = 0; // Moment of Inertia (Calculated per shape) public inverseInertia: number = 0; // 1 / inertia (0 for static objects) }
2. Calculating Moment of Inertia ()
Every geometry has a different resistance to rotation. Add these calculations to your shape sub-classes:
// Inside Circle Shape Class: // Circular inertia: I = (1/2) * m * r^2 this.inertia = 0.5 * this.mass * radius * radius; this.inverseInertia = this.inertia > 0 ? 1 / this.inertia : 0;
// Inside Rectangle Shape Class (width 'w', height 'h'): // Rectangular inertia: I = (1/12) * m * (w^2 + h^2) this.inertia = (1 / 12) * this.mass * (width * width + height * height); this.inverseInertia = this.inertia > 0 ? 1 / this.inertia : 0;
3. Update Integration Loop to include Rotation
In your physics step execution, update both linear and angular components:
integrateRotational(dt: number): void { if (this.inverseMass === 0) return; // Static check
// Integrate Linear (From Module 2)
this.acceleration = this.forceAccumulator.mult(this.inverseMass);
this.velocity = this.velocity.add(this.acceleration.mult(dt));
this.position = this.position.add(this.velocity.mult(dt));

// Integrate Angular
this.angularAcceleration = this.torqueAccumulator * this.inverseInertia;
this.angularVelocity += this.angularAcceleration * dt;
this.angle += this.angularVelocity * dt;

// Reset Accumulators
this.forceAccumulator = new Vector2D(0, 0);
this.torqueAccumulator = 0;
}
4. Complete Angular Impulse Solver
Off-center impacts create torque. In 2D, torque is determined using a 2D pseudo cross product (). To resolve velocities at contact point coordinates :
export function resolveCollisionWithRotation(manifold: CollisionManifold): void { const { bodyA, bodyB, normal, penetration, contactPoints } = manifold; const contactPoint = contactPoints[0];
const ra = contactPoint.sub(bodyA.position); // Lever arm vector for Body A
const rb = contactPoint.sub(bodyB.position); // Lever arm vector for Body B

// Relative velocity, including angular surface velocity:
// v_contact = v_linear + w x r (represented as [-w*r.y, w*r.x] in 2D)
const velA = bodyA.velocity.add(new Vector2D(-bodyA.angularVelocity * ra.y, bodyA.angularVelocity * ra.x));
const velB = bodyB.velocity.add(new Vector2D(-bodyB.angularVelocity * rb.y, bodyB.angularVelocity * rb.x));

const relativeVelocity = velB.sub(velA);
const velAlongNormal = relativeVelocity.dot(normal);

if (velAlongNormal > 0) return; // Separating

const e = 0.5;

// Cross product components (r x n) in 2D:
const raCrossN = ra.x * normal.y - ra.y * normal.x;
const rbCrossN = rb.x * normal.y - rb.y * normal.x;

// Calculate total rotational resistance
const totalRotationalMass = (raCrossN * raCrossN * bodyA.inverseInertia) +
                            (rbCrossN * rbCrossN * bodyB.inverseInertia);

// Solve for complete Impulse scalar J
let j = -(1 + e) * velAlongNormal;
j /= (bodyA.inverseMass + bodyB.inverseMass + totalRotationalMass);

const impulseVector = normal.mult(j);

// Apply Linear Changes
bodyA.velocity = bodyA.velocity.sub(impulseVector.mult(bodyA.inverseMass));
bodyB.velocity = bodyB.velocity.add(impulseVector.mult(bodyB.inverseMass));

// Apply Rotational Changes
bodyA.angularVelocity -= raCrossN * j * bodyA.inverseInertia;
bodyB.angularVelocity += rbCrossN * j * bodyB.inverseInertia;

// ... Apply Positional Correction ...
}
Module 5 Knowledge Checkpoint
- Understand how moment of inertia () acts as rotational mass, and how it varies based on geometry (circle vs. rectangle).
- Define torque mathematically in 2D using the pseudo cross product of the lever arm () and force ().
- Integrate torque into angular velocity, and angular velocity into rotation angles.
- Resolve complex, off-center collisions using the unified angular impulse equation.
Course Map
Key People Index
- Daniel Shiffman (Creator of "The Nature of Code" / @TheCodingTrain): Leading creative coder who popularized visual explanations of Euler integration and vector dynamics in web browsers.
- Francesco (Pikuma / @pikuma): Acclaimed computer science educator specialized in explaining low-level game math, 3D graphics, and 2D Separating Axis Theorem (SAT) logic clearly.
- Keith Peters (Coding Math / @codingmath): Renowned interactive developer who created the definitive educational video series on Verlet integration and practical game mathematics.
Final Self-Assessment
Execute this final, global assessment checklist to prove your 2D physics engine is robust and complete:
- Vector Performance: Your
Vector2Dlibrary executes addition, subtraction, dot products, normalization, and scaling cleanly without causing performance bottlenecks. - Integration Accuracy: Objects drop under acceleration due to gravity, and update their positions correctly based on frame-rate independent
deltaTimecalculations. - Static Constraints: Solid boundaries (e.g., floor, side walls) configured with
inverseMass = 0remain completely unmovable when struck by high-velocity dynamic bodies. - Collision Filtering: Circles collide with other circles, and rectangles collide with other rectangles, generating an accurate
CollisionManifoldshowing correct normals. - Separation Verification: Applying the Separating Axis Theorem correctly yields no false collisions when testing rotated polygons.
- Energy Conservation: Under perfectly elastic conditions (), colliding bodies conserve system kinetic energy and bounce indefinitely.
- No Overlap Sinking: Running the simulation at 60Hz with hundreds of shapes stacked vertically does not result in objects sinking through floors, thanks to positional correction.
- Spins and Torque: Applying an impulse away from an object's center of mass causes the object to rotate realistically about its centroid.