YOLOv8: Real-Time Detection & Edge Deployment
Learning Goal: Build and deploy real-time object detection and tracking systems on edge devices using the YOLOv8 framework.
- Prerequisites: Basic computer literacy, familiarity with command-line interfaces, and an eagerness to learn Python and Deep Learning workflows. No prior AI experience is required.
- Estimated Total Study Time: 38 Hours (including video runtime, hands-on coding, dataset curation, model training, and physical edge device setup).
Module 1: Python & Computer Vision Foundations
This module introduces the programming and image manipulation foundations required for computer vision. You will master basic Python syntax, data types, and file execution, and then transition to OpenCV—the industry-standard library for reading, displaying, and preprocessing visual data.
Recommended Videos
![Python Crash Course [Beginner Tutorial]](https://i.ytimg.com/vi/tpgzjOSnFtY/maxresdefault.jpg)
-
Why this video: A comprehensive, beginner-friendly crash course that quickly covers core Python structures. Before diving into machine learning architectures, you need to understand variables, lists, loops, and functions. This tutorial gets you ready to write custom computer vision inference loops.
-
Knowledge Checkpoint:
- Write a Python script that declares variables of different data types (strings, integers, floats, and booleans).
- Use a
forloop to iterate through a list of image filenames and print them conditionally usingif-elsestatements. - Define and call functions that accept parameters and return computed values.
-
Why this video: To work with YOLOv8, you must be comfortable reading, resizing, and feeding video frames to your model. This masterclass teaches you how images are represented as NumPy arrays, how color spaces function (such as BGR in OpenCV), and how to perform spatial operations like cropping and scaling.
-
Knowledge Checkpoint:
- Read an image from your local drive using
cv2.imread()and display it in a window usingcv2.imshow(). - Convert a standard color image to grayscale and explain how the pixel matrix changes from 3 channels to 1.
- Resize and crop an image to specific pixel dimensions while preserving its original aspect ratio.
- Read an image from your local drive using
-
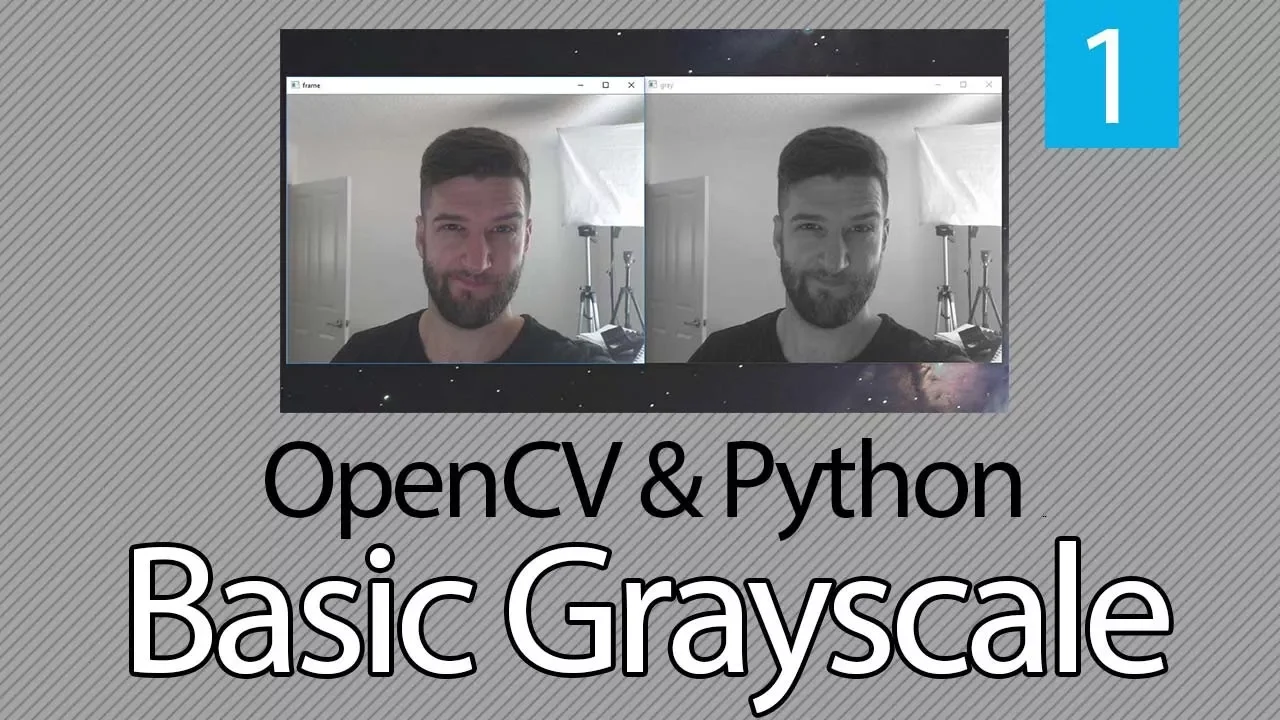
Why this video: This tutorial demonstrates how to connect to a live camera stream or web camera feed. Because edge deployment is designed for live feeds, understanding how to construct a robust frame-by-frame processing loop with appropriate exit keys (such as pressing 'q') is a critical milestone.
-
Knowledge Checkpoint:
- Initialize a camera capture object in Python using
cv2.VideoCapture(0). - Write a continuous
whileloop that captures and displays frames from a live webcam feed in real-time. - Implement a keyboard interrupt system to cleanly release system camera resources and close active windows.
- Initialize a camera capture object in Python using
Module 2: Neural Networks & Convolutional Networks (CNNs)
This module shifts the focus from traditional, manual rule-based computer vision to modern deep learning. You will explore how neural networks learn directly from data, why convolutional architectures are so effective at handling spatial data (such as pixels), and how image classification differs fundamentally from object detection.
Recommended Videos
-
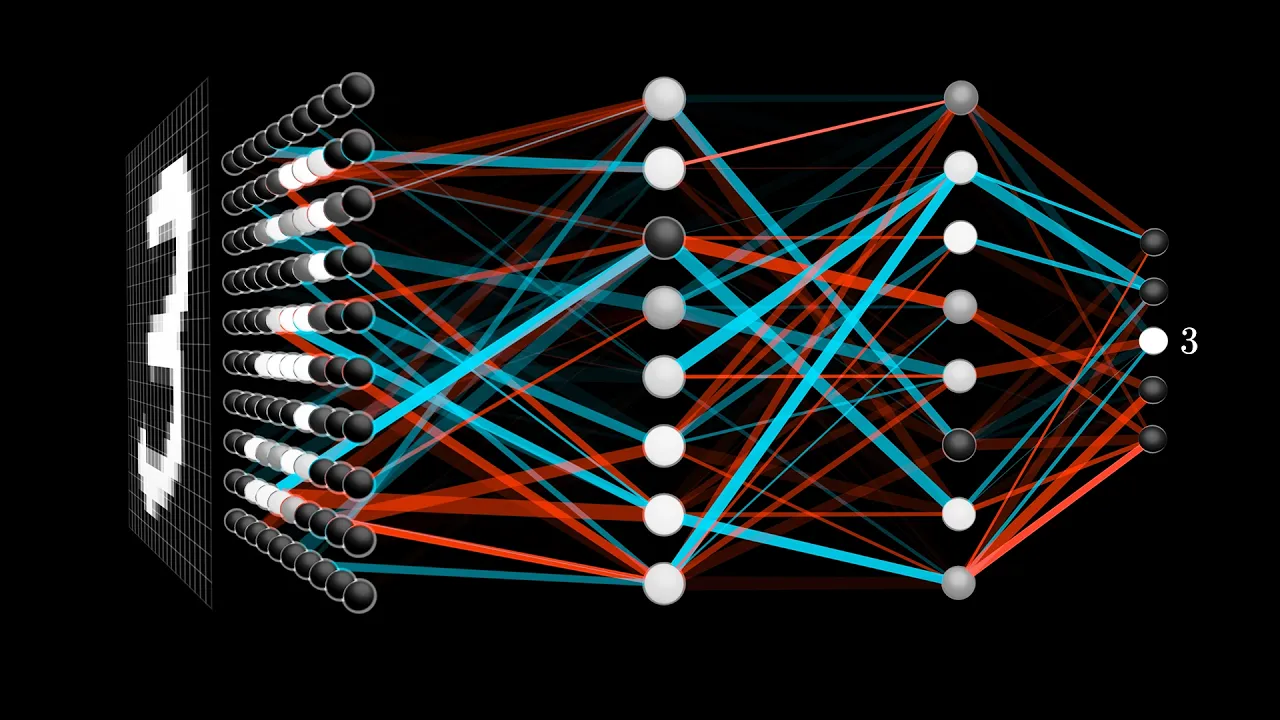
Why this video: Grant Sanderson’s visual explanations of neural networks are unmatched. This video demystifies neurons, layers, weights, and biases, helping you understand how a network takes raw pixel inputs, performs matrix multiplications, and produces structured output predictions.
-
Knowledge Checkpoint:
- Explain the roles of input, hidden, and output layers in a basic neural network.
- Describe how weights and biases scale and shift incoming signal values to help a network map patterns.
- Define the purpose of an activation function (like ReLU or Sigmoid) in introducing non-linearity.

-
Why this video: Traditional neural networks struggle to process high-resolution images because they lose critical spatial relationships. This MIT lecture details how Convolutional Neural Networks (CNNs) use sliding kernels, filters, and pooling operations to detect local features, building up to complex spatial representations.
-
Knowledge Checkpoint:
- Explain how a convolution operation works and why sliding filters preserve spatial relationships.
- Explain the difference between convolutional layers (feature extraction) and pooling layers (downsampling).
- Describe how a CNN's feature maps evolve from simple lines and edges to complex shapes as you go deeper into the network.

-
Why this video: This video helps you understand the operational distinction between image classification and object detection. While classification simply labels an entire image, object detection identifies both what objects are present and where they are located.
-
Knowledge Checkpoint:
- Contrast image classification with object detection in terms of network output (labels vs. bounding box coordinates).
- Define localized object detection and explain how bounding boxes are typically represented as coordinate vectors (e.g., center x, center y, width, height).
Module 3: YOLOv8 Object Detection Core
This module focuses on the core YOLO (You Only Look Once) architecture. You will learn the mechanics behind its real-time performance, run basic inference workloads on images and videos, and progress to curating custom datasets to train your own YOLOv8 detectors.
Recommended Videos

-
Why this video: This video breaks down how YOLO achieves high-speed processing by framing object detection as a single regression problem. Instead of looking at an image multiple times (like region-proposal networks), YOLO processes the entire frame in a single forward pass, dividing it into grid cells to predict bounding boxes and class probabilities simultaneously.
-
Knowledge Checkpoint:
- Explain how grid cell division works in a single forward pass under the YOLO framework.
- Describe the role of confidence thresholds and Intersection over Union (IoU) in filtering out weak predictions.
- Explain Non-Maximum Suppression (NMS) and how it eliminates duplicate overlapping bounding boxes.

-
Why this video: This quick tutorial walks you through setting up and running custom dataset training workflows using YOLOv8 and Roboflow. You will learn how to structure your directories, configure the configuration
.yamlfile, and train the model using either Google Colab GPUs or your local machine. -
Knowledge Checkpoint:
- Set up a workspace inside Roboflow, label a small set of images with bounding boxes, and export them in the YOLOv8 PyTorch format.
- Set up the directory path structure within the dataset configuration
data.yamlfile. - Use the command-line interface (CLI) to launch a training run (
yolo task=detect mode=train...).
-
Why this video: A deeper, step-by-step programming tutorial that covers custom training from scratch. This video helps you understand the training output metrics (such as Precision, Recall, and mAP50-95), and shows you how to navigate folder paths to locate your trained weights file (
best.pt). -
Knowledge Checkpoint:
- Locate your training run folder and identify key training artifacts like
confusion_matrix.pngandresults.csv. - Define Mean Average Precision (mAP) and explain how mAP50 differs from mAP50-95.
- Run test-set inference using your newly generated
best.ptfile to verify its real-world performance.
- Locate your training run folder and identify key training artifacts like
Module 4: Real-Time Object Tracking
Object detection evaluates frames in isolation, which can cause object IDs to change between frames. This module introduces multi-object tracking (MOT) systems that keep track of individual object identities across video frames.
Theoretical Gap Note: While the implementation videos below are highly practical, they do not go deep into the underlying math of modern tracking algorithms. To build a strong conceptual foundation, pay close attention to how Kalman Filters and the Hungarian Algorithm operate:
- Kalman Filters: A two-step recursive mathematical process (predict and update) used to estimate the state of a moving object (its position and velocity) amidst noisy measurements. It predicts where the bounding box will be in the next frame based on past motion.
- Hungarian Algorithm: A combinatorial optimization algorithm that solves the assignment problem in polynomial time. It determines the best match between the newly detected bounding boxes and the existing tracks predicted by the Kalman filter.
Recommended self-study search queries:
"Kalman filter derivation intuitive explanation","Hungarian algorithm linear assignment step-by-step example".
Recommended Videos

-
Why this video: ByteTrack is a highly efficient tracking algorithm. This video explains how it retains low-score detection boxes (which traditional trackers discard) to recover objects that are partially blocked from view (occluded) or momentarily out of focus, maintaining consistent tracking IDs.
-
Knowledge Checkpoint:
- Explain how ByteTrack leverages low-confidence detection boxes to handle object occlusion.
- Contrast standard tracking-by-detection systems with ByteTrack’s double-association logic.
- Run ByteTrack alongside a YOLO model on a custom video to observe how tracking handles temporary visual obstructions.
-
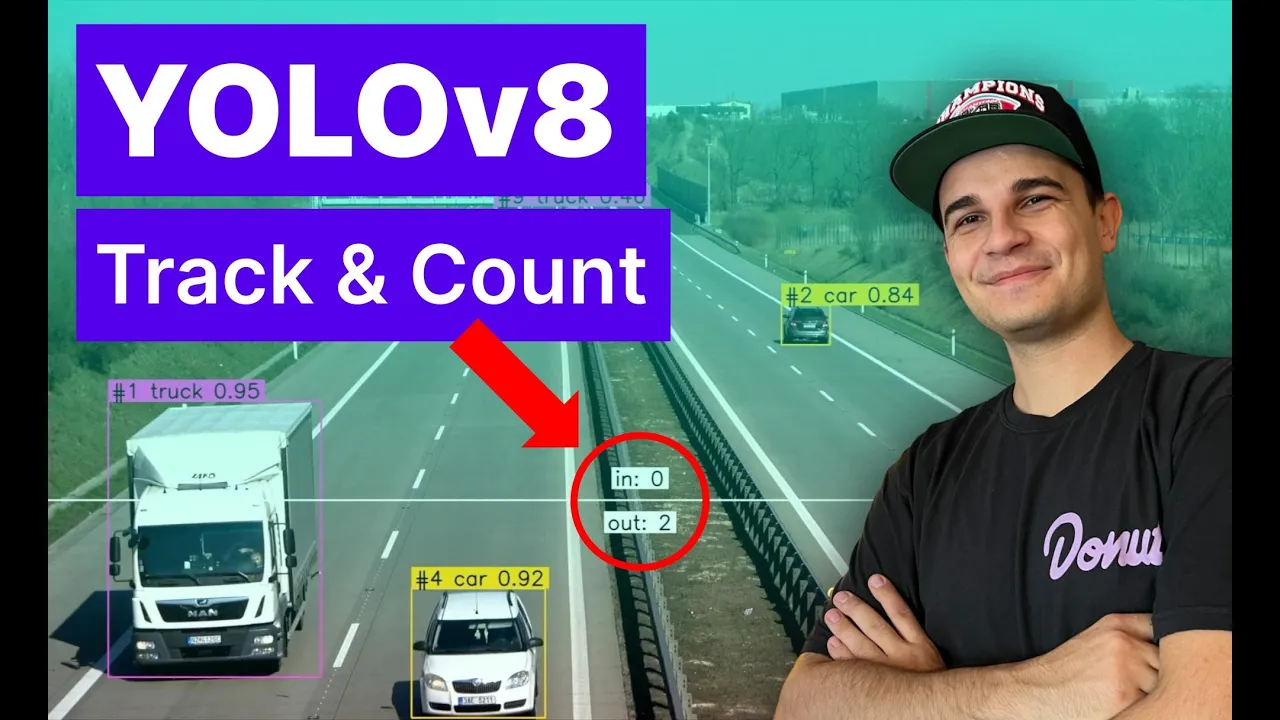
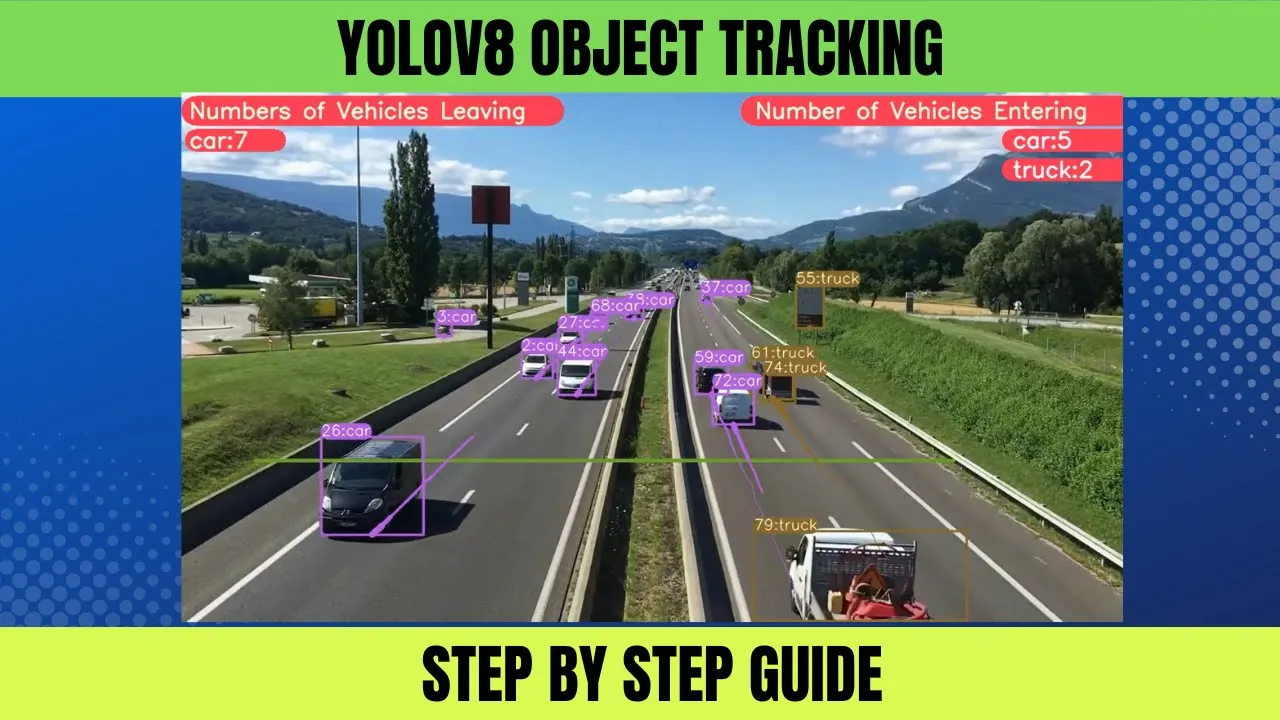
Why this video: This video demonstrates how to implement a complete object tracking pipeline in Python. It teaches you how to connect YOLOv8 detections to ByteTrack using the Roboflow Supervision library, allowing you to easily track, trace, and count objects across a spatial region.
-
Knowledge Checkpoint:
- Write a Python script that integrates
ultralyticsYOLOv8 with thesupervisionlibrary. - Initialize a tracking tracker object and run video inference while displaying unique, persistent IDs above each bounding box.
- Implement a counting threshold line and write code that increments a counter whenever a tracked object crosses it.
- Write a Python script that integrates
-
Why this video: This tutorial walks you through using DeepSORT, a tracking method that adds an extra layer of robustness by combining motion prediction (via Kalman Filters) with deep-learning feature embeddings. This helps the system remember what objects look like, allowing it to correctly re-identify them even after long periods of occlusion.
-
Knowledge Checkpoint:
- Explain how DeepSORT uses deep feature embeddings (appearance models) to re-associate objects after an extended tracking loss.
- Contrast DeepSORT’s reliance on appearance metrics with ByteTrack's simpler geometric intersection (IoU) association.
- Set up a custom python script using YOLOv8 and DeepSORT to track vehicles or people across complex scenes with high occlusion.
Module 5: Edge AI Deployment & Model Optimization
Deploying deep learning models to low-power edge systems like the Raspberry Pi or NVIDIA Jetson requires model optimization. In this module, you will learn about model quantization, explore how to export models to ONNX and TensorRT formats, and learn how to run hardware-accelerated inference.
Optimization & Benchmarking Note: Because edge devices have limited computational resources, you cannot simply run raw PyTorch
.ptmodels in production. You must compile your models to maximize throughput. Pay close attention to these key optimization concepts:
- Quantization: The process of converting model weights and activations from high-precision representations (like FP32, 32-bit floating-point) to lower-precision representations (like FP16 or INT8, 8-bit integer). This drastically reduces memory usage and speeds up inference with minimal loss in accuracy.
- ONNX Export: Exporting your model to the Open Neural Network Exchange (ONNX) format, which standardizes your neural network's computation graph so it can run efficiently on different hardware runtimes.
- TensorRT Compilation: Compiling your ONNX model into a highly optimized engine tailored specifically for your NVIDIA GPU. This step optimizes GPU register memory allocation and merges redundant network layers.
- Benchmarking: You should always profile your model's performance before and after optimization. Be sure to measure and log:
- Inference Latency (ms): The time required to process a single frame.
- Throughput (FPS): Frames processed per second.
- Memory footprint (MB): VRAM/RAM allocation.
Recommended Videos
-
Why this video: This video provides a clear, high-level explanation of quantization. It illustrates how mapping floating-point values to lower-bit spaces (like INT8) reduces file size, decreases energy use, and speeds up computation on edge devices without sacrificing accuracy.
-
Knowledge Checkpoint:
- Explain the difference between FP32, FP16, and INT8 precision representations in neural networks.
- Describe how quantizing a model's weights and activations reduces memory footprint and computational requirements.
- Explain how Post-Training Quantization (PTQ) calibration differs from Quantization-Aware Training (QAT).

-
Why this video: A comprehensive guide to deploying YOLOv8 on a Raspberry Pi. It walks you through setting up Python environments, installing dependencies on the 64-bit Bookworm OS, and configuring your setup to achieve the best possible performance on a CPU-only edge device.
-
Knowledge Checkpoint:
- Install the Ultralytics package and its dependencies within a Python virtual environment on Raspberry Pi OS.
- Configure and run camera live stream inference locally on your Raspberry Pi.
- Export your custom YOLOv8 model to ONNX format using the CLI export tool (
yolo export model=best.pt format=onnx).

-
Why this video: This deep-dive tutorial from the creators of YOLOv8 teaches you how to deploy models on NVIDIA Jetson devices. It explains how to set up CUDA acceleration, compile models using TensorRT, and benchmark inference performance to ensure real-time speeds in production.
-
Knowledge Checkpoint:
- Set up the NVIDIA Jetpack SDK environment and verify that PyTorch is configured to use CUDA (
torch.cuda.is_available()). - Convert your trained model (
best.pt) to a compiled TensorRT engine utilizing FP16 precision (yolo export model=best.pt format=engine half=True device=0). - Run inference using the compiled
.enginefile, log the frame processing latency, and compare the FPS performance against the standard.ptmodel.
- Set up the NVIDIA Jetpack SDK environment and verify that PyTorch is configured to use CUDA (
Course Map
Key People Index
- Joseph Redmon (@TED Talk: "How computers learn to recognize objects instantly"): The original visionary behind the YOLO architecture. He introduced the single-stage regression approach to object detection, proving that real-time computer vision was possible.
- Andrew Ng (@Stanford Online Lectures): Co-founder of Coursera and Google Brain, and founder of DeepLearning.AI. He is a premier deep learning educator who helped popularize basic neural network concepts worldwide.
- Grant Sanderson (@3Blue1Brown): Created the popular mathematical animation series. His intuitive, visual explanations of linear algebra, calculus, and neural network foundations are widely used across academic and engineering communities.
- Glenn Jocher (@Ultralytics Live Sessions): Founder and CEO of Ultralytics, the organization behind the development of YOLOv5 and YOLOv8. He is a key advocate for accessible, open-source computer vision.
Final Self-Assessment
Complete this comprehensive final checklist to verify that you have successfully met the course learning goals:
- Python Foundations: You can write custom multi-step scripts, define modular functions, handle runtime errors, and manage packages inside a virtual environment.
- OpenCV Operations: You can read images/videos, display live feeds, extract frame metadata, apply spatial transforms (resize, crop), and draw overlays like custom bounding boxes.
- Deep Learning Foundations: You can explain how weights, biases, and activation functions work, and can describe the feature-extraction process inside a CNN.
- YOLO Theory: You can explain how YOLO's grid-based prediction system operates, and understand how Non-Maximum Suppression (NMS) and Intersection over Union (IoU) clean up redundant boxes.
- Custom Training: You can curate a balanced dataset, label classes, configure a dataset
.yamlfile, and train a YOLOv8 model to high precision on custom objects. - Evaluation Metrics: You can read training validation logs and analyze precision-recall curves, confusion matrices, and mAP scores to gauge performance.
- Multi-Object Tracking: You can explain the core mechanics of tracking algorithms like ByteTrack and DeepSORT, and understand how Kalman filters predict motion to maintain consistent object IDs.
- Real-World Tracking Applications: You can implement a Python script that tracks objects and counts them as they cross spatial lines.
- Optimization Concepts: You can explain how model quantization reduces the precision of model weights (e.g., from FP32 to INT8) to optimize execution on low-resource devices.
- Hardware-Accelerated Compilation: You can convert raw PyTorch models (
.pt) to ONNX and compile them into optimized TensorRT (.engine) files. - Edge Deployment: You can successfully deploy a compiled model to run real-time camera inference on an edge device (such as a Raspberry Pi or NVIDIA Jetson).
- Performance Benchmarking: You can profile your system’s performance and document the FPS, latency, and memory footprint differences before and after model optimization.