Robotic Leg RL: PyBullet Sim to Hardware
Learning Goal: Train a 2-DOF robotic leg to perform dynamic jumping in a PyBullet physics simulation using Deep Reinforcement Learning (PPO) and execute the policies on physical hardware.
Prerequisites
- Basic understanding of high-school-level physics (forces, torque).
- Familiarity with Python programming concepts (loops, functions, lists).
- Comfortable with basic command-line navigation.
Estimated Total Study Time
75 Hours (including video instructions, independent coding, simulation training, and hardware assembly/troubleshooting).
Module 1: Robotics Foundations: Python, Physics, and Linear Algebra
Module Overview
To control a physical robot and simulate its kinematics, you must master the fundamental mathematical languages of robotics: linear algebra, coordinate transformations, and Python. This module builds a solid baseline from absolute beginner Python programming to university-level robot kinematics and coordinate geometry.
Recommended Videos

- Why this video is valuable: Writing custom reinforcement learning environments and hardware control scripts requires a robust foundation in Python. This comprehensive masterclass covers everything from data structures to object-oriented programming (OOP), which is essential because PyBullet and Gym environments are structured as classes.
- Knowledge Checkpoint:
- Write a clean Python class with initialization methods and internal state tracking.
- Use libraries such as NumPy to perform basic array operations and vector slices.
- Debug standard execution errors, syntax exceptions, and environment pathing issues.
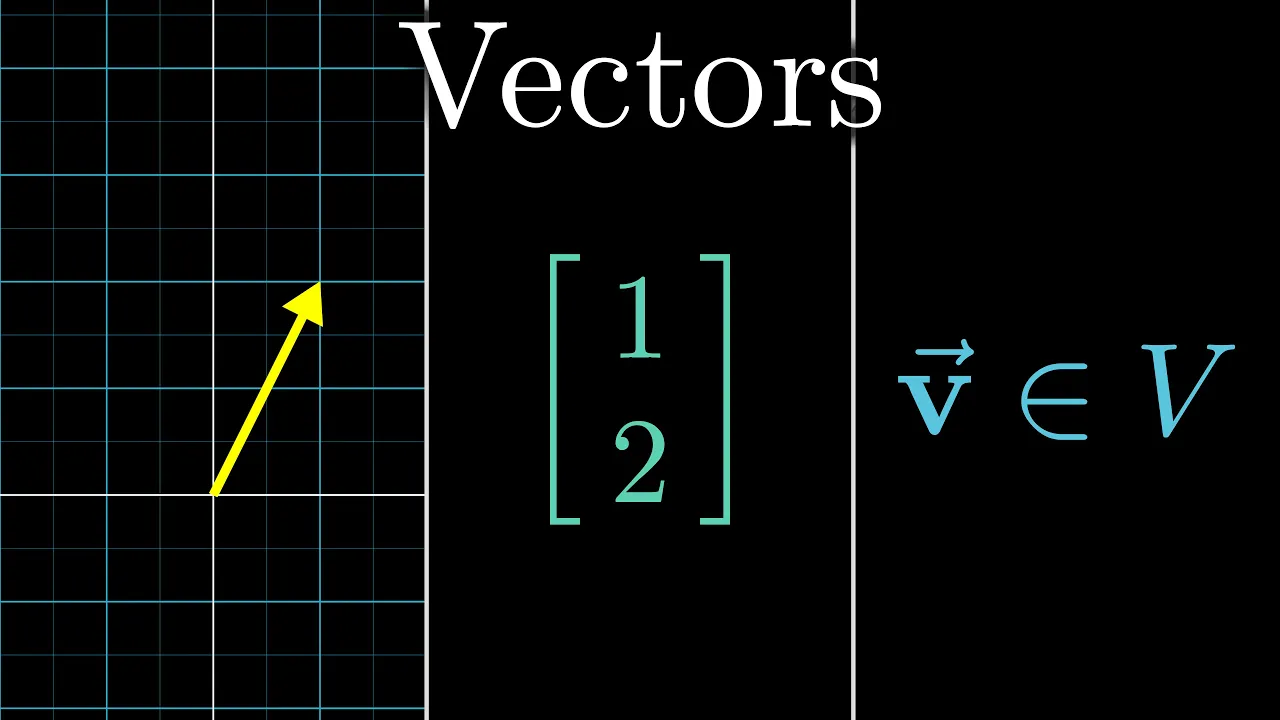
- Why this video is valuable: Robotic states—such as joint positions, velocities, and foot locations—are represented as vectors. This video visualizes linear algebra concepts intuitively, establishing the mathematical groundwork for coordinate transforms and link-state matrices.
- Knowledge Checkpoint:
- Define a vector from both a physical perspective (arrow in space) and a computer science perspective (ordered list of numbers).
- Graphically and algebraically compute vector addition and scalar multiplication.
- Visualize how changing bases alters coordinate values of your robotic end-effector.

- Why this video is valuable: Delivered by Stanford University, this introductory lecture connects abstract mathematical models (kinematics, dynamics) directly to real-world control of multi-jointed mechanical systems, clarifying how joint torques generate spatial trajectories.
- Knowledge Checkpoint:
- Distinguish between kinematics (geometry of motion) and dynamics (forces and torques causing motion).
- Describe the difference between forward kinematics and inverse kinematics.
- Map out how a 2-DOF arm or leg represents its joint space versus task space.

- Why this video is valuable: This lecture provides a math-heavy primer on transformations, rotation matrices, and joint coupling. It teaches you how to compute end-effector (foot) coordinates based on joint angles.
- Knowledge Checkpoint:
- Construct and calculate 2D translation and rotation matrices.
- Calculate the position of a 2-DOF leg's foot relative to the hip using forward kinematics.
- Formulate why multi-link systems suffer from complex coupling forces during acceleration.
Module 2: Robot Modeling and PyBullet Simulation
Module Overview
Before deploying a controller on hardware, you must build and test it in a physics simulator. This module teaches you how to construct a robot model from scratch using the Unified Robot Description Format (URDF) and program a simulation environment utilizing the PyBullet physics engine.
Recommended Videos
- Why this video is valuable: The simulation engine needs to know your robot's physical layout: link lengths, joint limits, masses, and rotational inertias. This tutorial provides a step-by-step breakdown of how to build structured XML-based URDF files to represent these properties accurately.
- Knowledge Checkpoint:
- Construct a simple URDF file containing links (rigid bodies) and joints (revolute/continuous).
- Define the
<inertial>,<visual>, and<collision>tags for any given robot link. - Understand the parent-child relationship of frames in joint definitions.

- Why this video is valuable: This video serves as a template for setting up legged robots inside the PyBullet environment. It reviews real Python scripts that initialize PyBullet, load URDF models, apply joint commands, and extract simulation state variables.
- Knowledge Checkpoint:
- Install the PyBullet library and write a basic script to run a real-time GUI physics loop.
- Load a custom 2-DOF URDF leg into PyBullet using
loadURDF(). - Retrieve joint states (positions and velocities) using PyBullet APIs.

- Why this video is valuable: James Bruton walks through the geometric equations for 2D inverse kinematics (IK) on a physical multi-link robotic leg. It shows you how to translate desired spatial movements (e.g., foot moving straight down) into specific motor angles using the Law of Cosines.
- Knowledge Checkpoint:
- Derive the inverse kinematics equations for a 2-DOF leg to determine knee and hip angles from a target coordinate .
- Use the Law of Cosines to solve joint configurations for a leg of arbitrary length.
- Differentiate between joint-space control (controlling motor angles directly) and task-space control (controlling foot position).
Module 3: Deep Reinforcement Learning & PPO Basics
Module Overview
Deep Reinforcement Learning (DRL) allows a robot to learn behaviors through trial-and-error interaction. This module covers Markov Decision Processes (MDPs), policy structures, and the mathematical framework of Proximal Policy Optimization (PPO), culminating in setting up custom gym environments using Stable Baselines3 (SB3).
Recommended Videos
- Why this video is valuable: To write high-performance RL agents, you must grasp the underlying mathematics. This Stanford lecture builds the formal foundations of MDPs, states, actions, transition models, and policy optimization.
- Knowledge Checkpoint:
- Define the formal components of a Markov Decision Process (MDP).
- Describe the difference between value-based methods (like Q-learning) and policy gradient methods.
- Explain how a policy maps a state observation into an action probability distribution.

- Why this video is valuable: PPO is the gold standard algorithm for dynamic robotic actions like jumping. This video explains PPO's clipped surrogate objective function and implements the entire Actor-Critic framework from scratch in PyTorch.
- Knowledge Checkpoint:
- Explain why standard policy gradient methods suffer from training instability.
- Describe how PPO's clipped objective function prevents destabilizing policy updates.
- Contrast the roles of the Actor network (action selection) and the Critic network (value estimation).
- Why this video is valuable: PyBullet requires a structured API wrapper to communicate with RL libraries. This video shows how to build a custom OpenAI Gym/Gymnasium class from scratch, illustrating how to set up states, actions, step functions, and resets.
- Knowledge Checkpoint:
- Write a custom Python environment class inheriting from
gym.Env. - Define bounded custom
action_spaceandobservation_spacefields using Gym spaces. - Implement the
reset()andstep()methods to update the simulation and return standard RL outputs.
- Write a custom Python environment class inheriting from
Module 4: Training a 2-DOF Jumping Leg in PyBullet
Module Overview
With your URDF model configured and PPO fundamentals understood, you will now integrate them to train your robotic leg to perform dynamic vertical jumps. This module focuses on Gym-PyBullet integration, designing robust reward functions, and utilizing Stable Baselines3.
Recommended Videos

- Why this video is valuable: This video demonstrates dynamic training of multi-link limbs using PPO to perform jump behaviors. It visualizes the transition from random joint flailing to coordinated, explosive leg extension, helping you structure your training observations.
- Knowledge Checkpoint:
- List the observations (joint angles, velocities, trunk height, base orientation) necessary for a jumping task.
- Design an termination condition to reset the environment when the leg falls or slips.
- Identify physical behaviors indicative of localized minima (e.g., leg staying bent to avoid penalty).

- Why this video is valuable: A bad reward function leads to erratic behavior or physical self-destruction. This brief session highlights key techniques for writing smooth reward formulations, such as using squared penalties to discourage excessive torque changes and violent shaking.
- Knowledge Checkpoint:
- Explain how sparse rewards differ from shaped rewards in dynamic robotics.
- Implement an explosive height-reward term combined with torque-minimization penalties:
- Prevent reward hacking where the robot learns to wiggle or exploit unmodeled contact physics.
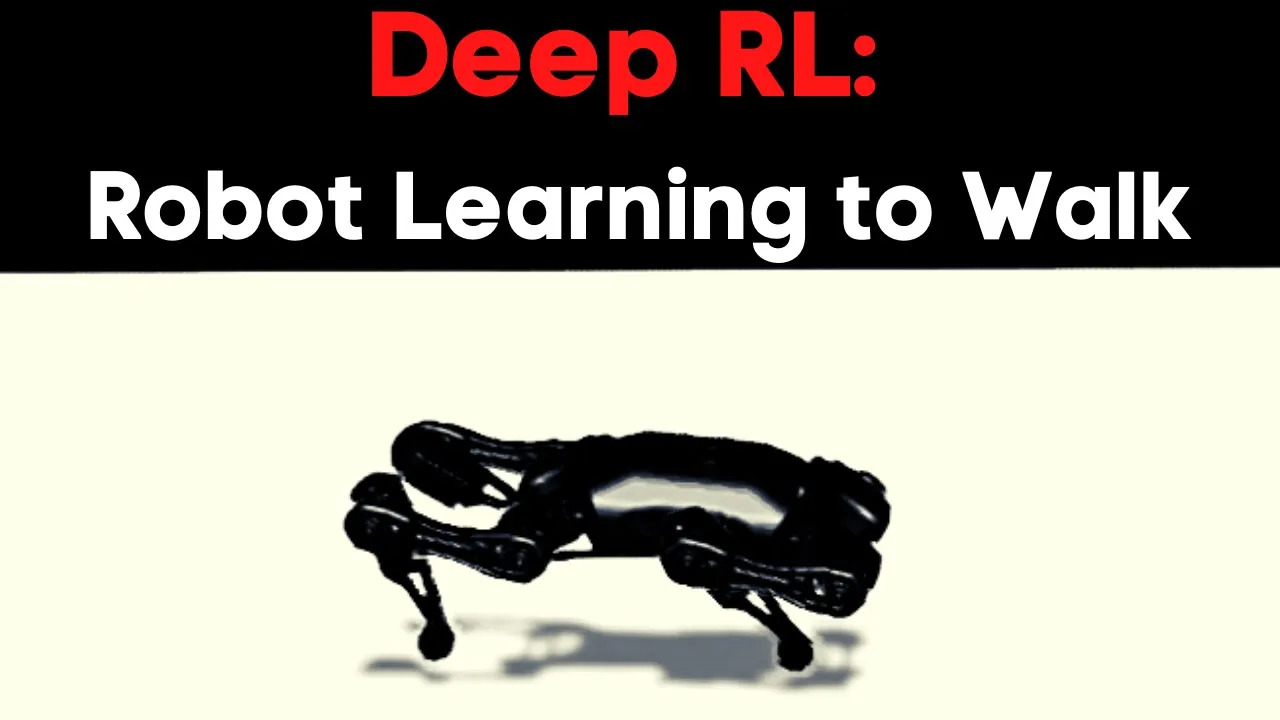
- Why this video is valuable: This video guides you through training robotic configurations using Stable Baselines3 (SB3). It demonstrates how to initialize the PPO agent, connect it to your custom robot environment, monitor rewards, and save the resulting policies.
- Knowledge Checkpoint:
- Initialize a PPO model from the Stable Baselines3 library.
- Set up logging callbacks to track episode lengths and cumulative reward curves over time.
- Save trained models and reload saved policy checkpoints to run inferences.
Module 5: Actuator Control and Hardware Assembly (BLDC & ODrive Control)
Module Overview
To translate simulation results to a physical robot, you must construct robust hardware. This module covers the electrical assembly of a 2-DOF robotic leg using Brushless DC (BLDC) motors, magnetic encoders, a Teensy microcontroller, and ODrive motor controllers.
Recommended Videos
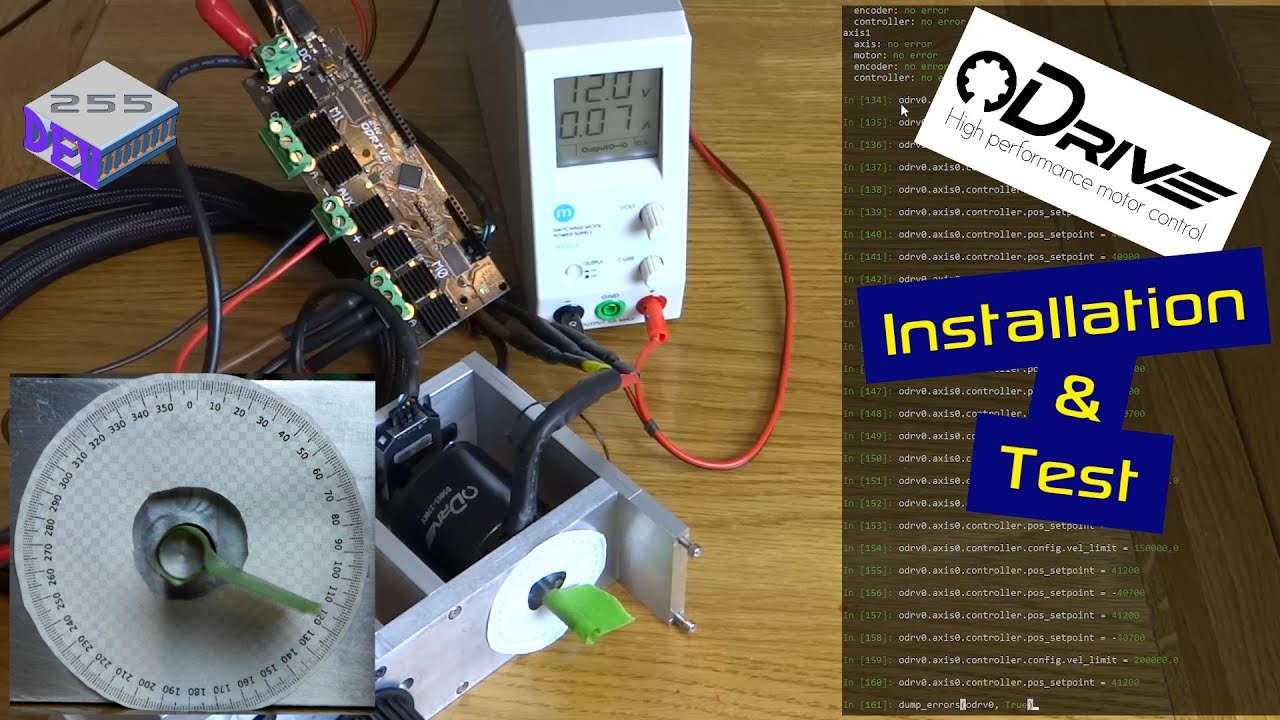
- Why this video is valuable: This video guides you through configuring brushless motors using the ODrive platform via Python/Anaconda shell tools. It covers setting calibration parameters, pole pairs, and encoder resolutions.
- Knowledge Checkpoint:
- Connect a BLDC motor to ODrive and launch the interactive
odrivetoolterminal. - Set critical safety bounds, including current limits and overvoltage protections.
- Execute an automatic motor-calibration routine (
AXIS_STATE_MOTOR_CALIBRATION).
- Connect a BLDC motor to ODrive and launch the interactive
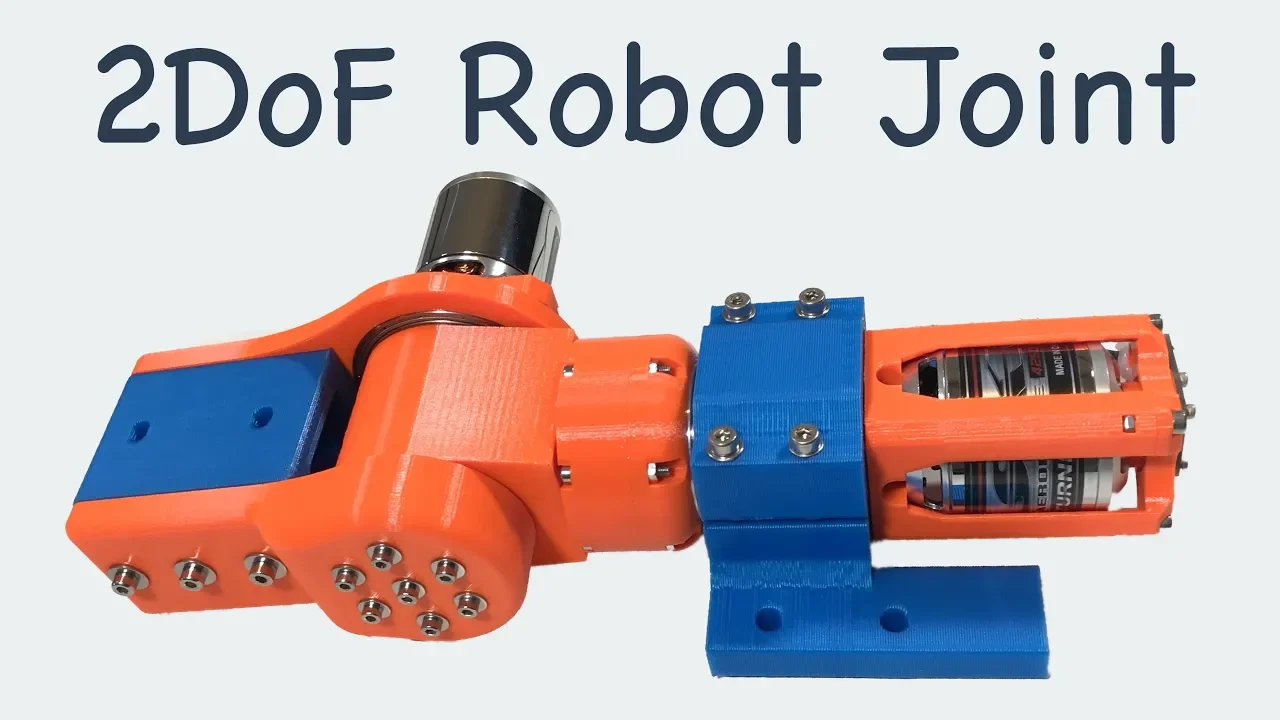
- Why this video is valuable: This video showcases the design and assembly of a 2-DOF brushless joint using two planetary BLDC motors controlled by an ODrive. It provides mechanical inspiration and wiring strategies for your physical leg build.
- Knowledge Checkpoint:
- Assemble a 2-axis articulation using brushless motors and compact planetary or cycloidal gearboxes.
- Mount magnetic encoders securely to ensure feedback for closed-loop control.
- Wire multi-actuator assemblies without binding or tensioning the cables during motion.

- Why this video is valuable: James Bruton maps out the entire electrical architecture of a legged system, showing how a central microcontroller (Teensy 4.1) communicates commands to ODrive units. This setup serves as the primary template for your hardware wiring.
- Knowledge Checkpoint:
- Wire a high-current power distribution system containing LiPo batteries, fuses, and emergency stop switches.
- Establish communication between a central microcontroller (Teensy/Arduino) and an ODrive via UART/CAN bus.
- Implement a safe startup routing sequence to home and arm the motors safely.
Module 6: Sim-to-Real and Policy Deployment
Module Overview
Deploying a neural network trained in simulation directly to real-world hardware often fails due to unmodeled physics, friction, and delays (the Sim-to-Real gap). This module teaches you how to bridge this gap using domain randomization and export your PyTorch policies to run in real-time on physical hardware.
Recommended Videos

- Why this video is valuable: OpenAI co-founder Ilya Sutskever discusses the core philosophy of Sim-to-Real transfer. He explains how training policies under randomized physics parameters forces the neural network to learn adaptive, robust behaviors that generalize to physical hardware.
- Knowledge Checkpoint:
- Describe the conceptual goal of Domain Randomization (DR) in physics simulations.
- List variables to randomize in PyBullet (e.g., link mass, friction coefficients, motor latency, joint noise).
- Explain why a policy trained on randomized physics can infer real-world dynamics without explicit identification.
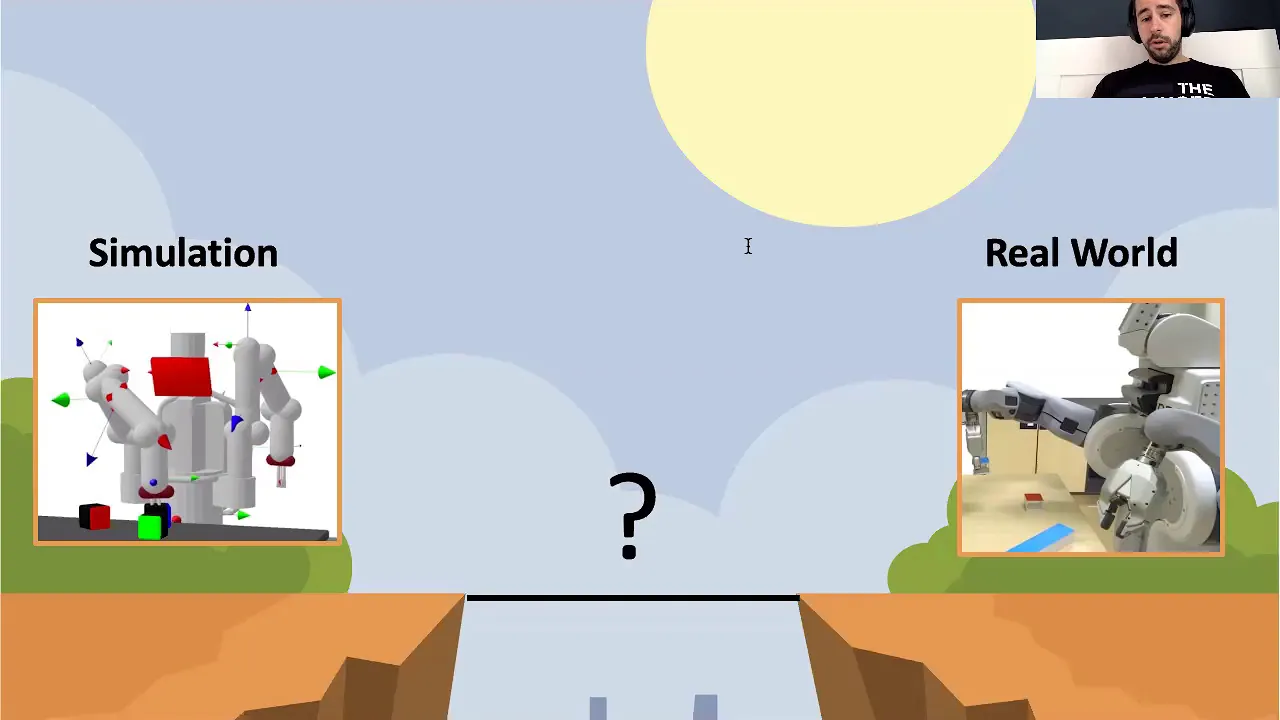
- Why this video is valuable: This academic overview frames the key challenges of Sim-to-Real transfer. It discusses system identification, state estimation errors, and actuator limits, preparing you for the issues you may encounter when deploying policies to hardware.
- Knowledge Checkpoint:
- Identify sources of discrepancy between simulator models and physical systems (the "Sim-to-Real gap").
- Describe how latency in your state-action loop affects control loop stability.
- Explain the trade-off between conservative, robust behavior and highly dynamic policies.

- Why this video is valuable: This video shows the final deployment phase of a trained policy. It illustrates exporting your PyTorch neural network to an open, platform-independent ONNX file format to run in real-time on real-world controller hardware.
- Knowledge Checkpoint:
- Export a trained PyTorch PPO model to the ONNX (Open Neural Network Exchange) format.
- Run real-time forward-pass inference of your policy inside a C++ or Python deployment script.
- Map the floating-point outputs of your network directly into real-time joint torque/position commands.
💡 Sim-to-Real Deployment Note: Standard microcontrollers like an Arduino Uno or ESP32 do not run heavy PyTorch libraries natively. For deployment, compile your trained policy network to ONNX or convert it to light C++ matrices. Run this model on a single-board computer (such as a Raspberry Pi 4/5) connected to your ODrives, or implement simple matrix-multiplication scripts directly on a Teensy 4.1 to execute your policy network's forward pass at or higher.
Course Map
Key People Index
- Ilya Sutskever
- Context: Co-founder and former Chief Scientist of OpenAI. A pioneer of modern deep learning and meta-learning techniques, his work heavily influenced robust simulation-to-reality transfer models through self-play and randomized environments.
- James Bruton
- Context: Former toy designer and independent robotics researcher. His open-source "openDog" and custom actuator design videos provide invaluable practical templates for DIY legged robotic systems.
- Benjamin Rosman
- Context: Professor of Computer Science and Robotics. His lectures provide clear mathematical structures for decision-making models, reward mechanisms, and reinforcement learning agent evaluations.
Final Self-Assessment
Execute this final checklist to verify you have fully mastered the curriculum material and successfully completed your 2-DOF dynamic jumping robot leg project:
- Math & Kinematics: You can write down the 2D forward and inverse kinematic equations for your 2-DOF leg on paper and solve them inside your control script.
- URDF Configuration: You have authored a custom URDF file that defines your robot leg's link mass, joint limits, visual properties, and collision meshes.
- Simulation Environment: You have built a custom Gymnasium-compliant PyBullet environment class that wraps around your URDF model.
- PPO Mechanics: You can explain how the clipping factor in PPO stabilizes gradient descent steps during policy updates.
- Reward Function Design: Your reward function uses shaped rewards (with squared joint-torque penalties) to prevent high-frequency oscillations and hardware self-destruction.
- Successful Training: Your policy successfully trains in PyBullet, showing an upward learning curve that converges on a dynamic jump behavior.
- ODrive Configuration: You have configured your ODrives using Python, set the correct current limits, calibrated the BLDC motors, and achieved closed-loop position control.
- Hardware Wiring: Your physical robotic leg is assembled with a central controller (Teensy/Raspberry Pi) communicating commands directly to the ODrives.
- Domain Randomization: You have integrated domain randomization (varying mass, friction, and command latency) into your PyBullet training pipeline.
- Deployment Pipeline: You have exported your trained policy model to ONNX, loaded it onto your physical controller, and successfully executed a vertical jumping sequence on real hardware.