Soft Robotics: Gripper Fabrication & Pneumatics
Learning Goal: Design and fabricate a soft robotic gripper using silicone casting, and control its actuation using a custom pneumatic control system with solenoid valves.
- Prerequisites: Basic familiarity with 3D modeling concepts (CAD), introductory electronics (Arduino platform), and basic hand-tool safety.
- Estimated Total Study Time: 18 Hours
Module 1: Foundations of Soft Robotics & Pneumatic Actuation
This module introduces the foundational paradigms of soft robotics. Learners will explore the shift from rigid-bodied manipulators to compliant, bio-inspired architectures. Focus is placed on how structural compliance enables safer human-robot interaction and adaptive gripping, as well as the working physics of fluidic elastomer actuators (specifically PneuNets).
Recommended Videos

Why this video: This deep-dive academic lecture serves as a comprehensive primer on the performance envelopes, materials, and mechanics that separate rigid "hard" robots from modern soft robotics. It lays out the design limitations of traditional automated arms and introduces the physical advantages of elastomer-based architectures.

Why this video: Developed by the prestigious Harvard Biodesign Lab, this video demonstrates how flexible and stretchy materials (such as fabrics and silicone rubbers) are used in real-world, workshop-based engineering environments. It illustrates the collaborative, interdisciplinary workflow required to bring a soft actuator from concept to functional test.
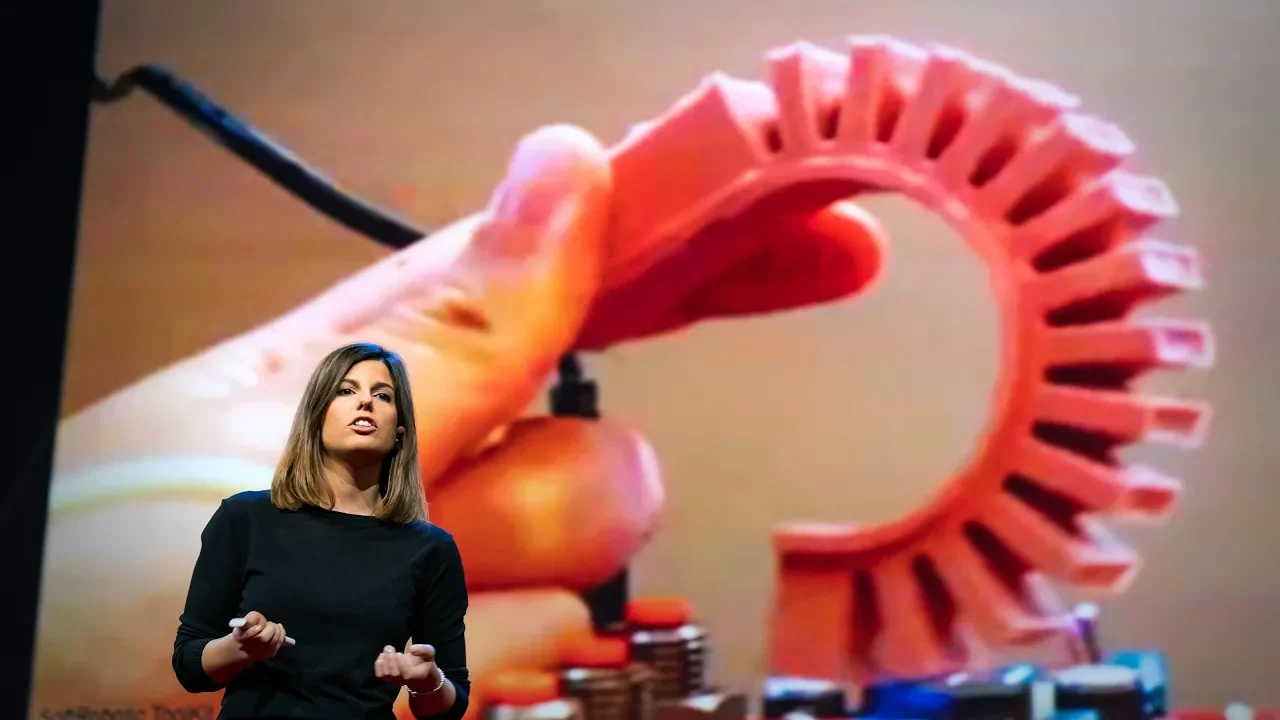
Why this video: This short talk highlights bio-inspired soft robotic platforms (like robotic fish with flexible tails driven by internal air pressure changes). It provides a strong conceptual bridge showing how pressure distribution translates directly to natural, continuum motion.
Knowledge Checkpoint
- Differentiate between the performance axes of traditional rigid assembly-line robots and soft robots.
- Explain the fundamental mechanical concept of "compliance" and why it is useful for unstructured environments.
- Describe how a soft pneumatic network (PneuNet) changes its shape when positive air pressure is introduced.
Module 2: CAD Design & 3D Printing Molds for Silicone
Before casting elastomeric polymers, you must construct highly precise mold geometries. This module covers the digital design workflow for multi-part molds, focusing on draft angles, alignment pins, mating surfaces, and print-orientation strategies.
⚠️ Curriculum Note on Video Gaps: While the video pool contains helpful general-purpose CAD and molding tutorials, step-by-step videos explicitly detailing Fusion 360 parametric modeling for multi-part PneuNet/bellows molds are scarce.
Recommended Independent Search Term: "Fusion 360 PneuNet mold design soft robotics tutorial" to supplement this step.
Recommended Videos

Why this video: Although targeting fishing lures, this is an exceptional, exhaustive masterclass in designing multi-part molds within Autodesk Fusion 360. It teaches you how to construct 2D sketch profiles, use the Form and Extrude tools to generate a positive model, and split bodies to yield functional, matching mold cavities.
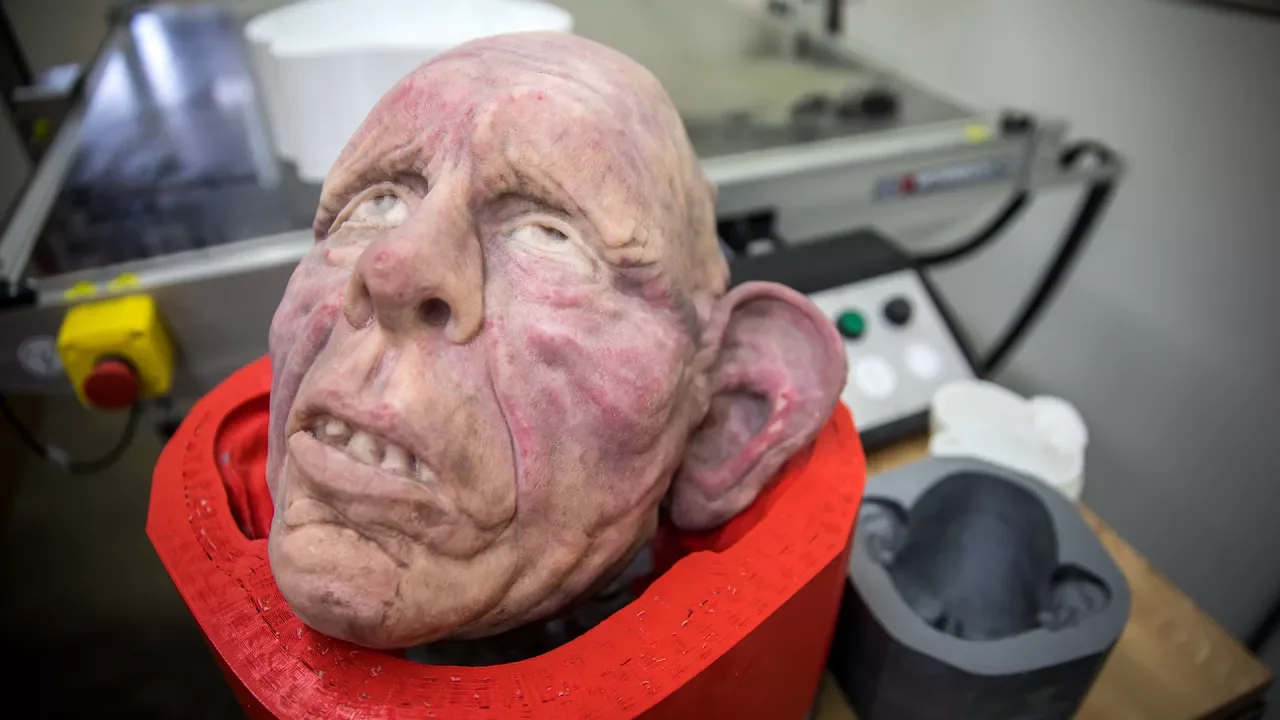
Why this video: This video highlights the digital-to-physical workflow of substituting complex fiberglass molds with modern 3D prints. It covers the core software sculpting steps and explains physical layer-line mitigation strategies crucial for clean silicone release.

Why this video: This tutorial develops spatial reasoning and parametric CAD skills by walking through the assembly of multi-component robot grippers in Fusion 360. Mastering these sketch-based design processes is critical when designing the rigid mounts and connectors that secure your soft actuators to a robotic arm.
Knowledge Checkpoint
- Explain how draft angles prevent silicone casts from tearing or becoming trapped in 3D-printed molds.
- Describe the process of constructing mating lines and registration/alignment keys in a two-part CAD mold assembly.
- Identify which 3D-printing materials (e.g., PLA, PETG, or SLA resin) are compatible with platinum-cure silicones without causing cure inhibition.
Module 3: Silicone Casting, Degassing & Assembly
This module covers the hands-on chemical processing of platinum-cure silicones (such as Smooth-On Ecoflex and Dragon Skin). You will learn how to weigh, mix, and de-gas liquid polymers to eliminate micro-bubbles, and how to execute the final assembly, reinforcement, and sealing processes required to make a PneuNet actuator hold pressurized air.
Recommended Videos

Why this video: This is the premier video in our pool for soft robotics fabrication. It provides a complete, step-by-step physical walkthrough of casting a PneuFlex continuum actuator. It details fiber reinforcement techniques, core pulling, mold assembly, and final elastomer curing.

Why this video: This video focuses on soft robotic gripper design and optimizations. It explains how to introduce inextensible fabric layers to create a "strain-limiting" bottom layer, forcing the actuator to bend inward when pressurized instead of simply expanding like a balloon.

Why this video: A practical guide that uses Ecoflex silicone to build a multi-fingered air-powered soft robotic gripper. It covers raw mixing ratios, pouring speeds, curing behaviors, and structural binding of silicone components to air supply tubes.
Knowledge Checkpoint
- Explain why a strain-limiting layer (such as woven fabric or paper) is bonded to the base of a PneuNet actuator.
- Detail the physical changes that occur when placing mixed liquid silicone in a vacuum chamber, and why degassing is critical to prevent pneumatic rupture.
- Define "pot life" and "cure time" for a typical platinum-cure silicone like Ecoflex or Dragon Skin.
Module 4: Pneumatic Control Systems & Electronics
To actuate your soft gripper, you need a hardware control circuit. This module focuses on the electronics of fluidic systems, showing you how to control 12V air pumps and solenoid valves using low-voltage microcontrollers (Arduino) paired with power transistors (MOSFETs) and protective inductive clamp diodes.
Recommended Videos
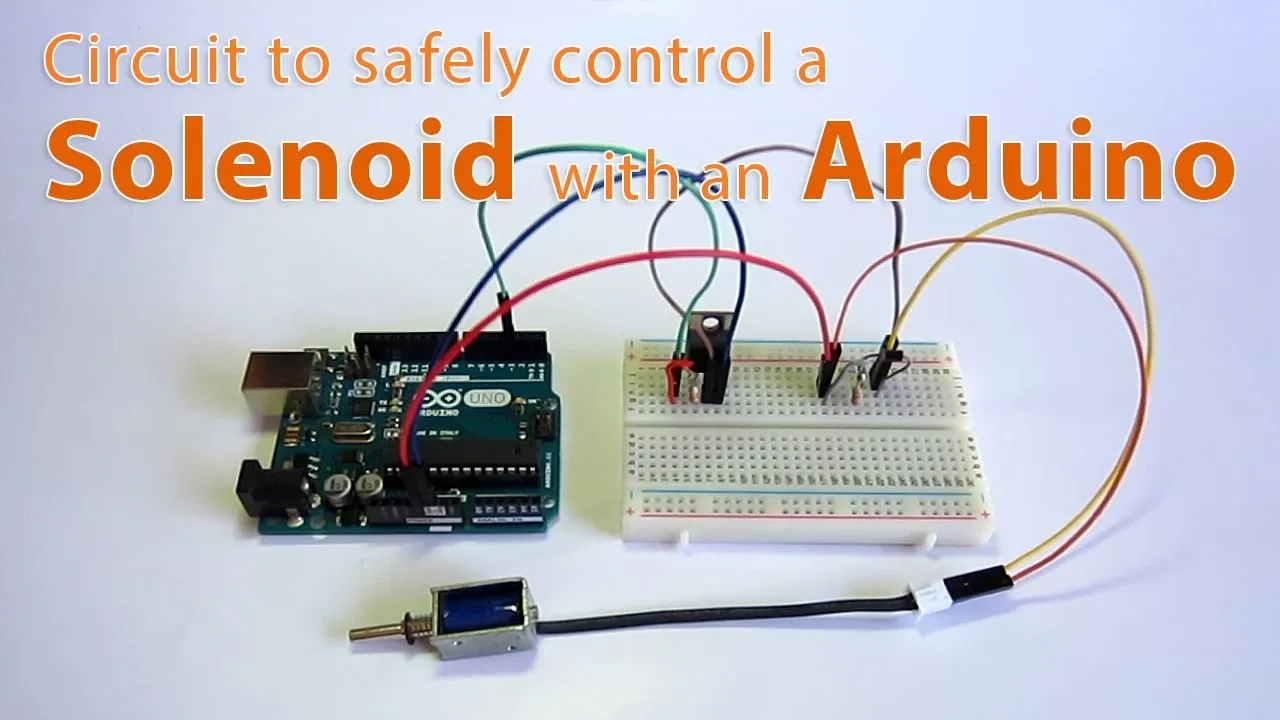
Why this video: An essential guide for circuit safety. Solenoid valves and DC pumps are inductive loads that generate high-voltage back-EMF spikes when turned off, which can easily destroy microcontrollers. This video details how to safely isolate an Arduino using an IRF520 MOSFET transistor and a 1N4007 flyback diode.
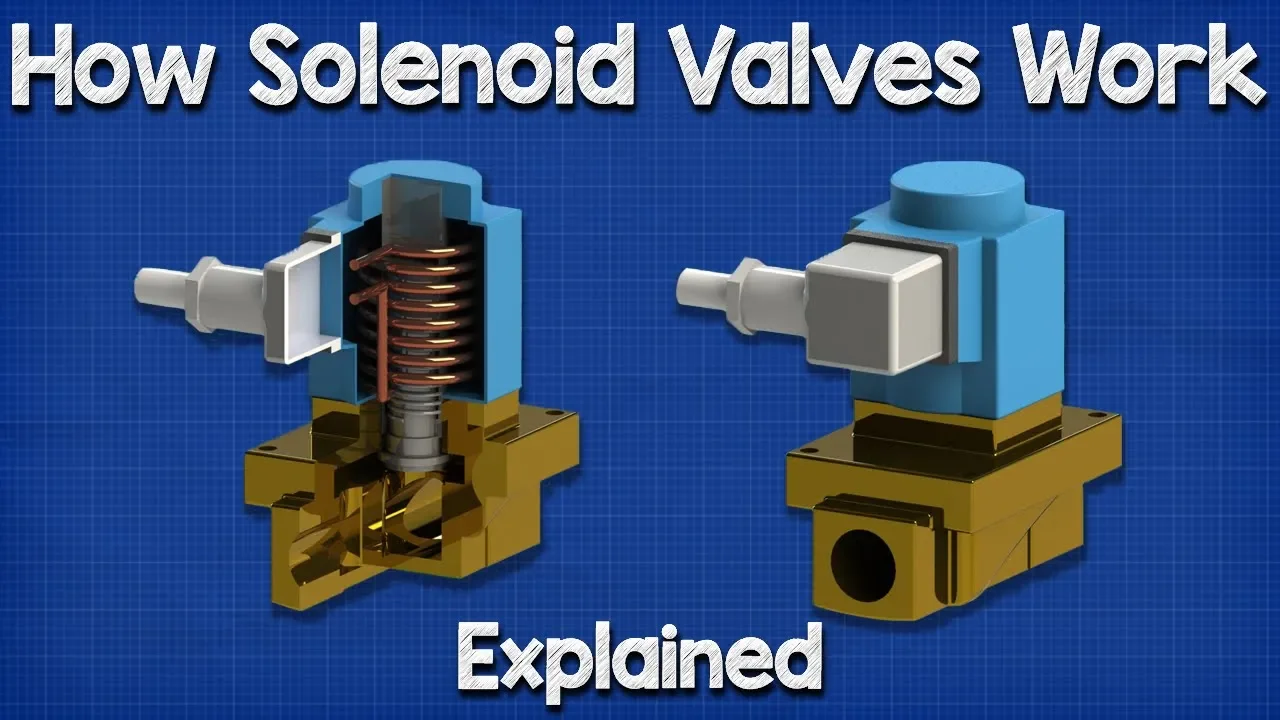
Why this video: A concise animation explaining the electro-mechanical principles of a solenoid valve. It shows how sending current through a copper coil generates an electromagnetic field that lifts an internal plunger to control fluid or gas flow.

Why this video: This practical demonstration bridges the gap between hardware controls and physical actuation. It shows how to wire an Arduino to a solenoid valve using a transistor-driven circuit to control mechanical outputs with simple programming.
Knowledge Checkpoint
- Draw a basic schematic of an Arduino pin driving a 12V inductive load (pump or valve) using an N-channel MOSFET, detailing the placement of a flyback/kickback diode.
- Explain why a kickback diode must be connected in parallel with the solenoid coil, pointing in reverse-bias relative to the power supply.
- Differentiate between a normally open (NO) and normally closed (NC) solenoid valve, and explain how each affects your pneumatic venting strategy.
Module 5: Integration, Programming & Testing
The final module brings your hardware, electronics, and fabricated silicone grippers together into a working system. You will learn how to write Arduino code to coordinate pumps and valves for inflating and venting your soft actuators, enabling automated pick-and-place routines.
⚠️ Curriculum Note on Video Gaps: Our video pool lacks a direct, step-by-step Arduino programming video tailored solely to sequencing mini air pumps and solenoid valves for soft robotic grippers.
To fill this gap, use the conceptual guides below along with the suggested independent search query: "Arduino code for soft robotic pneumatic control".
Recommended Videos

Why this video: This deep-dive presentation introduces "Programmable-Air," an open-source hardware kit designed specifically for soft robotics. It details the complete architecture of a soft-robotic pneumatic controller, demonstrating how to integrate a compressor, vacuum pump, and valves into a single, cohesive system.
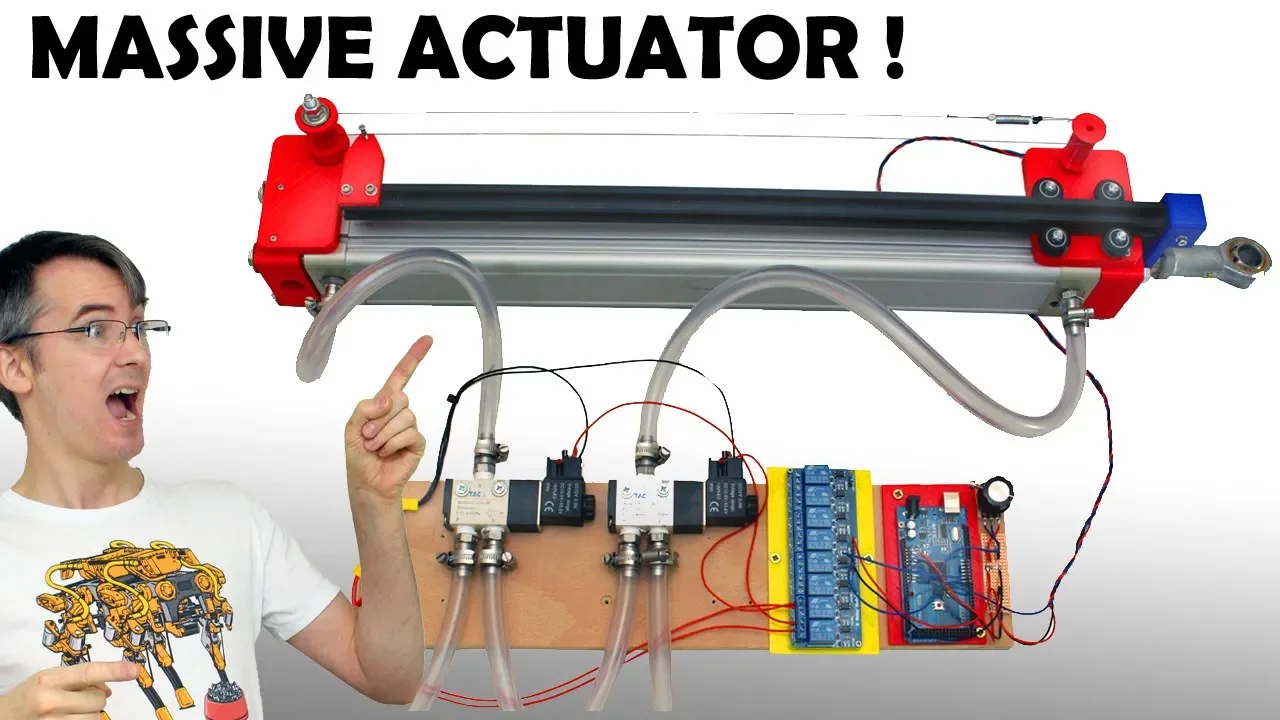
Why this video: Renowned maker James Bruton demonstrates how to build an Arduino-based system to read real-time potentiometer position feedback and actuate relay boards to drive solenoid valves. This serves as an excellent conceptual guide for closed-loop programming of air-powered systems.
Programming Guide & Sample Code
To help bridge the programming gap, review the standard code logic below. A typical soft robotic gripper circuit uses one normally closed (NC) inflation valve (linked to a 12V pump) and one normally closed (NC) exhaust valve (venting to open air).
// Pin allocations const int pumpPin = 3; // Controls 12V Air Pump (via MOSFET) const int inflateValve = 4; // Controls Solenoid Valve 1: Inflate (NC) const int exhaustValve = 5; // Controls Solenoid Valve 2: Exhaust/Vent (NC)
void setup() { pinMode(pumpPin, OUTPUT); pinMode(inflateValve, OUTPUT); pinMode(exhaustValve, OUTPUT);
// Start with everything OFF (Gripper relaxed/unpressurized) allOff(); }
void loop() { // 1. INFLATE/GRIP: Open inflation path and run pump digitalWrite(exhaustValve, LOW); // Keep exhaust closed to hold air digitalWrite(inflateValve, HIGH); // Open inflation path digitalWrite(pumpPin, HIGH); // Turn on pump to inflate delay(2500); // Inflate for 2.5 seconds
// 2. HOLD GRIP: Shut off pump and seal both valves to hold pressure digitalWrite(pumpPin, LOW); // Pump off digitalWrite(inflateValve, LOW); // Close inflation path (air trapped) delay(4000); // Hold object for 4 seconds
// 3. RELEASE/EXHAUST: Open exhaust valve to vent air digitalWrite(exhaustValve, HIGH); // Open vent path to atmosphere delay(3000); // Vent for 3 seconds to fully relax digitalWrite(exhaustValve, LOW); // Close vent path
delay(2000); // Wait 2 seconds before repeating }
void allOff() { digitalWrite(pumpPin, LOW); digitalWrite(inflateValve, LOW); digitalWrite(exhaustValve, LOW); }
Knowledge Checkpoint
- Detail the exact states (On/Off) of the pump, inflation valve, and exhaust valve during the three core phases of operation: Inflation, Holding, and Exhaust.
- Explain why soft pneumatic systems are susceptible to slow leaks and how a closed-loop pressure sensor feedback loop can help mitigate pressure loss.
- What structural failures typically happen when you over-pressurize a silicone PneuNet actuator, and how do you design code to avoid this?
Course Map
Key People Index
- Amitabh Shrivastava (Creator of Programmable-Air): An open-source hardware advocate specializing in accessible, compact pneumatic controller designs for soft robotics.
- James Bruton (Robotics Designer & Educator): Former toy designer and prominent YouTube robotics engineer known for prototyping open-source, Arduino-controlled compliant mechanisms and pneumatic systems.
- Dr. Giada Gerboni (Surgical Soft Robotics Researcher): A prominent soft robotics mechanical engineer specializing in compliant surgical instruments and bio-inspired continuum designs.
Final Self-Assessment
Complete this checklist to verify you have fully mastered the learning goals of this curriculum:
- Theory: You can explain how strain-limiting designs convert uniform pneumatic pressure into a curling motion.
- CAD Modeling: You can design a multi-part, splitting mold box in Fusion 360 featuring draft angles, alignment pins, and dedicated paths for air injection tubes.
- 3D Printing Molds: You can output and print leak-proof plastic mold shells without surface defects that inhibit silicone curing.
- Chemical Safety & Prep: You can calculate 1:1 or 10:1 mixing ratios by weight, handle platinum-cure silicones safely, and use a vacuum degassing chamber to de-air the mix.
- Fabrication: You can cast, reinforce with fabric or fiber, demold, and successfully seal a PneuNet actuator without air leaks or structural thin spots.
- Circuit Design: You can build an Arduino control circuit that drives 12V inductive loads (solenoids/pumps) safely using N-channel MOSFETs and reverse-biased flyback diodes.
- Pneumatic Plumbing: You can plumb a multi-valve pneumatic manifold system connecting a 12V pump, inflation control valve, vent valve, and pressure sensor to the silicone gripper.
- Coding: You can write, compile, and upload an Arduino program that runs structured loops to inflate, hold pressure, and exhaust/vent your soft robotic gripper.
- System Verification: Your finished system can execute an automated pick-and-place task, successfully grasping, lifting, moving, and releasing an delicate target object (like an egg or soft toy) without dropping or damaging it.