Truss Bridge Design (Simulation & Load Testing)
Learning Goal: Design, simulate, and physically load-test a miniature balsa wood truss bridge using structural analysis software to optimize strength-to-weight ratio.
Prerequisites
- Basic high school algebra and geometry (trigonometry, vectors).
- Access to a computer with an internet connection for web-based structural design software.
- Basic safety awareness for using cutting tools (utility knives/razor blades) and adhesives.
Estimated Study Time
- Total Estimated Hours: 15 hours (includes design, software simulation, construction, and destruction testing).
Module 1: Fundamentals of Truss Physics and Statics
Module Overview
Before building or simulating a bridge, you must understand how forces behave within a structure. This module introduces the fundamental physical principles of structural engineering, focusing on vectors, static equilibrium, and the internal forces of tension and compression. You will also learn the core analytical tool of civil engineers: the Method of Joints, which allows you to mathematically calculate the exact forces acting on each member of a truss bridge under load.
Recommended Videos
Video 1: What Are The Main Components Of A Truss Bridge?

- Why this video: This video introduces the structural anatomy of truss bridges. It provides a visual explanation of how top chords, bottom chords, and web members work together to translate a deck load into pure axial forces, preparing you to identify structural roles during your physical build.
Video 2: Truss Tension and Compression

- Why this video: This video clarifies how axial loads distribute through triangular geometry. It explains the physical differences between tension (pulling apart) and compression (pushing together), which dictates how you will select specific balsa grains later on.
Video 3: Truss Analysis Using Method of Joints – Part 1
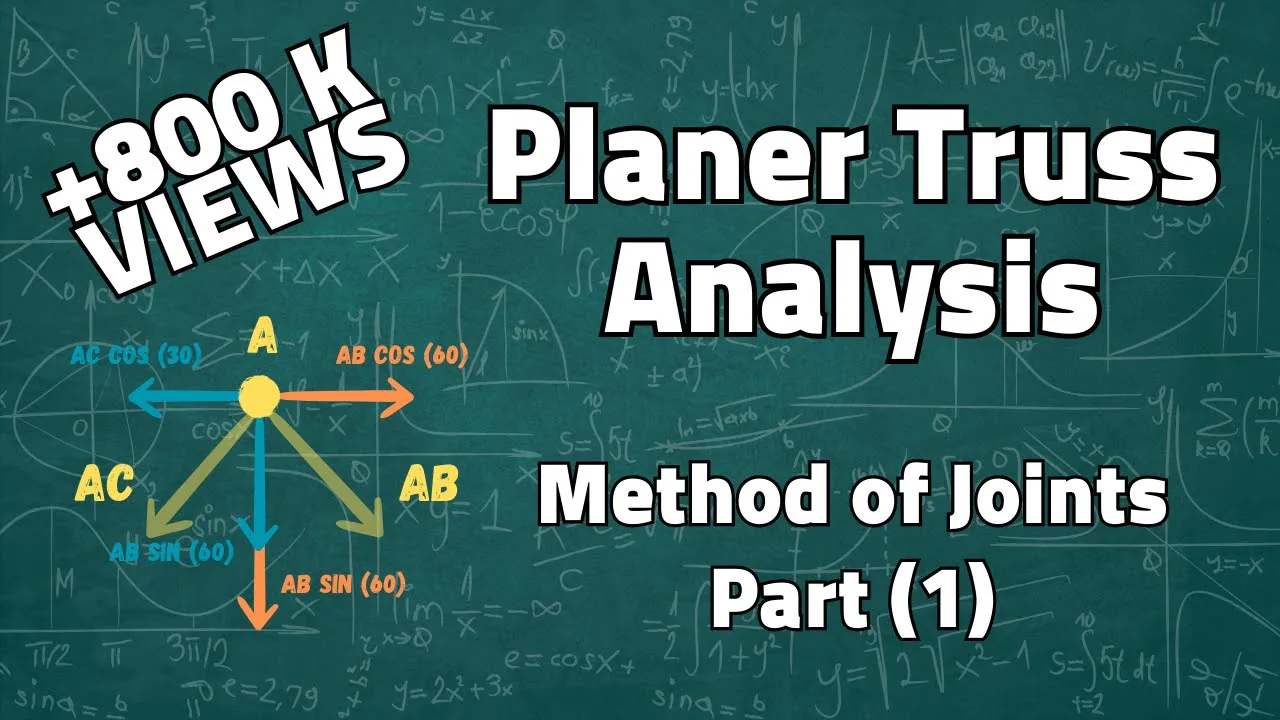
- Why this video: This is a clear step-by-step introduction to the Method of Joints. It demonstrates how to apply static equilibrium equations (, ) at individual pins to solve for unknown internal forces.
Video 4: Truss analysis by method of joints: worked example #1
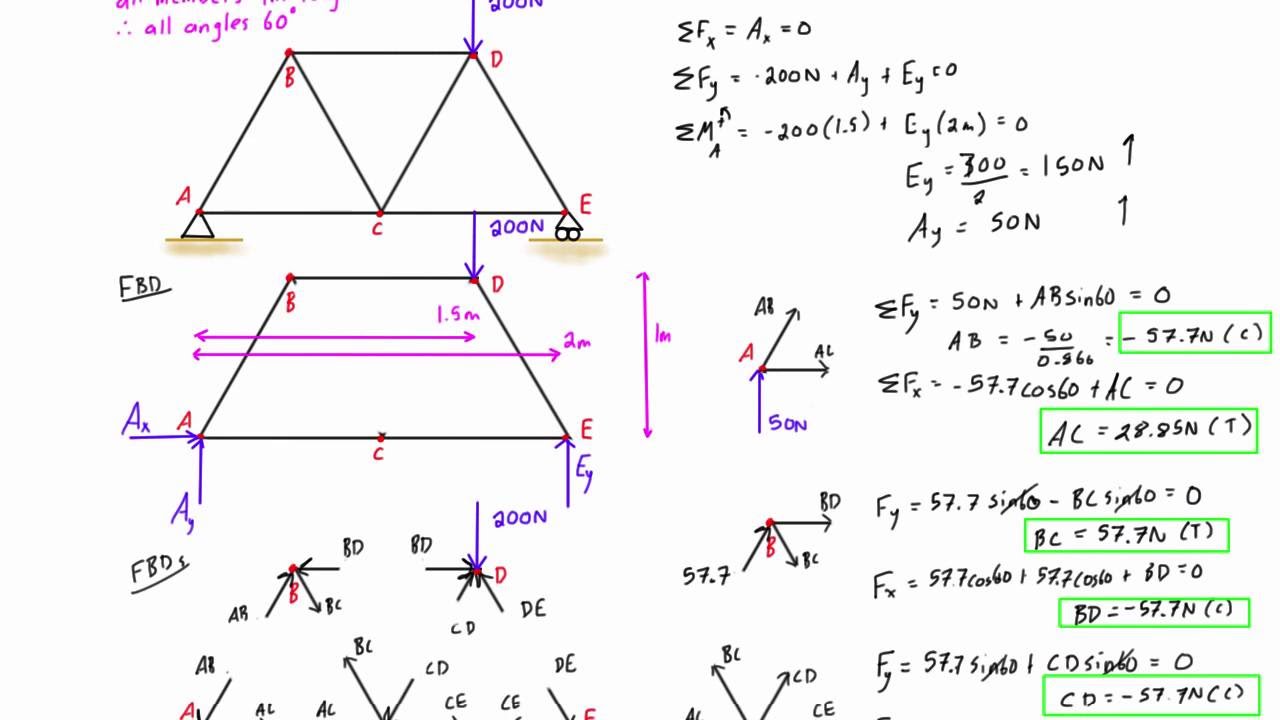
- Why this video: This comprehensive walkthrough of a complete truss problem shows you how to establish global reactions first, then solve for every single member's internal force. This forms the mathematical basis for checking your structural simulation software.
Module 1 Knowledge Checkpoint
- Draw a free-body diagram of a simple triangular truss and correctly assign arrow directions representing tension and compression.
- State the equations of static equilibrium used to resolve forces at a concurrent 2D joint.
- Calculate the support reaction forces for a symmetric truss loaded vertically at its center.
- Successfully use the Method of Joints to determine if a specific diagonal member is under tension or compression.
Module 2: Balsa Wood Material Properties & Joinery
Module Overview
To design a physical bridge that matches virtual simulations, you must understand the material limits of balsa wood. This module covers the structural differences of balsa wood based on its grain direction, and the physics of high-strength joinery. Wood is an anisotropic material—it has vastly different properties depending on the direction of the force relative to its grain. You will learn to categorize balsa wood into A, B, and C grain types and select the correct adhesives and joinery techniques (such as lap joints and gusset plates) to ensure your joints do not fail before your members do.
Recommended Videos
Video 1: Extremely weak wood…

- Why this video: A short, impactful demonstration showing that while balsa wood can be easily dented by hand, its strength-to-weight ratio makes it an incredibly powerful structural material when loaded correctly along its grain lines.
Video 2: Dick Ealy Firecracker Wing pt1 (Balsa Grain Explanation)

- Why this video: This video addresses a critical engineering gap by outlining the classification of balsa wood grain. It explains the physical characteristics of A-grain (flexible), B-grain (general-purpose), and C-grain (stiffest, highly warp-resistant) balsa.
Video 3: The Secret To Miters That Never Crack (Wood Glue VS CA Glue)
- Why this video: This video tests joint strength using PVA wood glue vs. CA glue with activator. It demonstrates how different adhesives interact with porous wood fibers, helping you select the right adhesive system for your bridge joints.
Video 4: How To Make Trestles Episode 1 (Plywood/Wood Gussets)
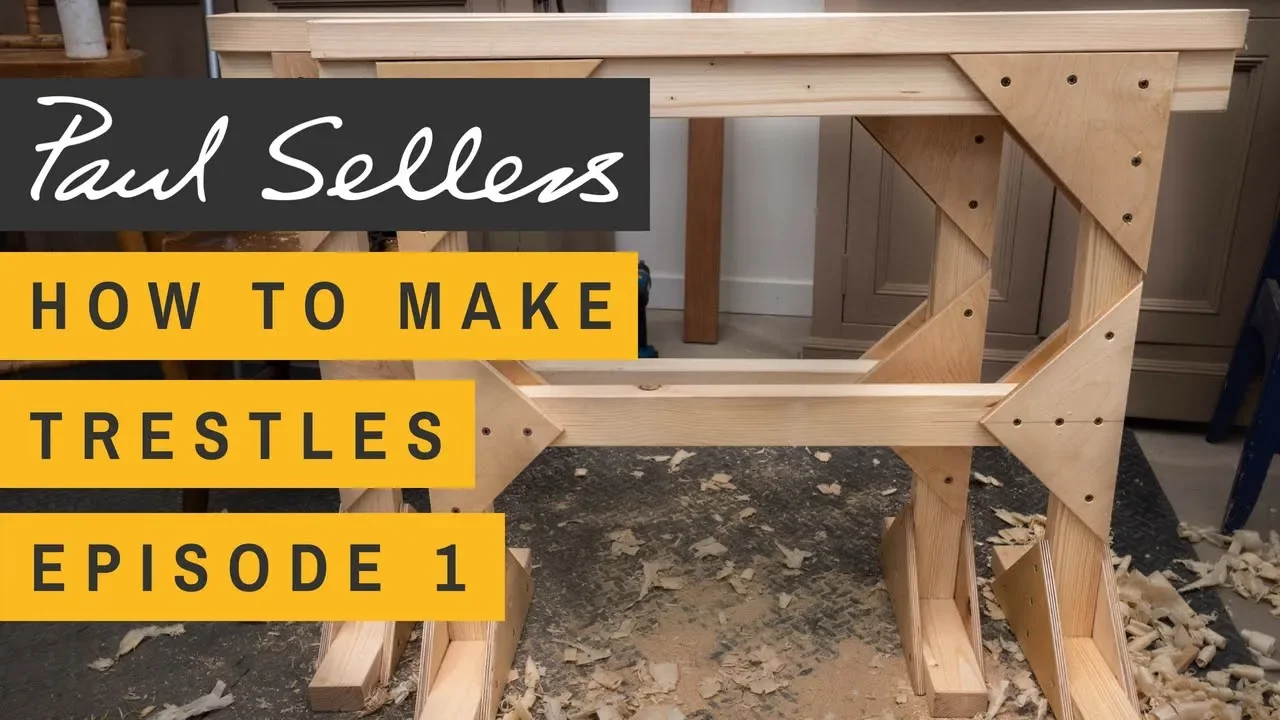
- Why this video: This video demonstrates how to lay out and cut gusset plates to reinforce wood joints. The same geometric rules (45-degree alignments and maximizing face-grain contact) apply directly to reinforcing miniature balsa wood joints.
Supplemental Engineering Guide: Balsa Classification & Joinery
To build an optimized bridge, you must apply the following structural principles during material selection and prep:
Balsa Wood Grain Classification:
-
A-Grain: Long, continuous grain fibers visible along the sheet/stick. It is highly flexible across the grain. Use A-grain for parts of your bridge that may require slight bending or curves. Do not use A-grain for long, slender compression members as it bends easily under load.
-
B-Grain: Grain lines are less defined than A-grain, showing a intermediate angle. It possesses balanced properties and is suitable for general diagonal web members and space-bracing.
-
C-Grain: Very stiff, showing a mottled or speckled pattern. It is highly resistant to bending but splits easily if cut improperly. C-grain is ideal for compression members (top chords) because it resists buckling.
A-GRAIN B-GRAIN C-GRAIN
┌─────────────────┐ ┌─────────────────┐ ┌─────────────────┐ │─────────────────│ │ \ \ \ \ \ \ \ \ │ │░░░░░░░░░░░░░░░░░│ │─────────────────│ │ \ \ \ \ \ \ \ │ │░░░░░░░░░░░░░░░░░│ └─────────────────┘ └─────────────────┘ └─────────────────┘ (Long fibers; (Semi-diagonal; (Mottled texture; very flexible) general purpose) stiff, brittle)
Joint Design for Miniature Bridges:
-
Butt Joint: Weakest joint. Glue is applied to end grain, which absorbs glue like a straw, leading to starvation of the bond line. Avoid butt joints at critical nodes.
-
Lap Joint: Members overlap and are glued face-grain-to-face-grain. This creates a much stronger bond than end-to-end gluing.
-
Gusset Plates: Tiny triangular or polygonal pieces of thin balsa (or cardstock) glued over butt joints. Gussets bridge the joint, transferring tensile and shear forces safely across members by converting end-grain joints into high-strength face-grain bonds.
BUTT JOINT LAP JOINT GUSSET JOINT (Weakest) (Stronger) (Strongest) ┌───┐ ┌───┐ ┌───┐ │ │ │ │ │ │ ═══╪═══╡ ═══╧═══╪═══ ═══╪═══╡ │ │ │ │ ┌─┴─┐ │ <- Gusset └───┘ └───┘ └─┬─┘ │ Plate └───┘
Module 2 Knowledge Checkpoint
- Identify and sort balsa sticks into A-grain, B-grain, and C-grain types using visual and physical bending tests.
- Explain why gluing balsa end-grain to end-grain (butt joint) creates an incredibly weak connection.
- Describe how a gusset plate transfers forces across a node to avoid joint shearing.
- Explain the trade-offs between PVA wood glue (stronger, slower curing) and CA glue (faster curing, brittle).
Module 3: Computer-Aided Structural Simulation
Module Overview
With a solid understanding of statics and materials, you can now model your bridge digitally. This module covers how to use 2D frame and truss analysis software (specifically SkyCiv) to build a structural model, define joints as coordinates, apply support constraints, and model realistic simulated loads. This allows you to evaluate your bridge design digitally before committing physical materials.
Recommended Videos
Video 1: SkyCiv Truss Tutorial
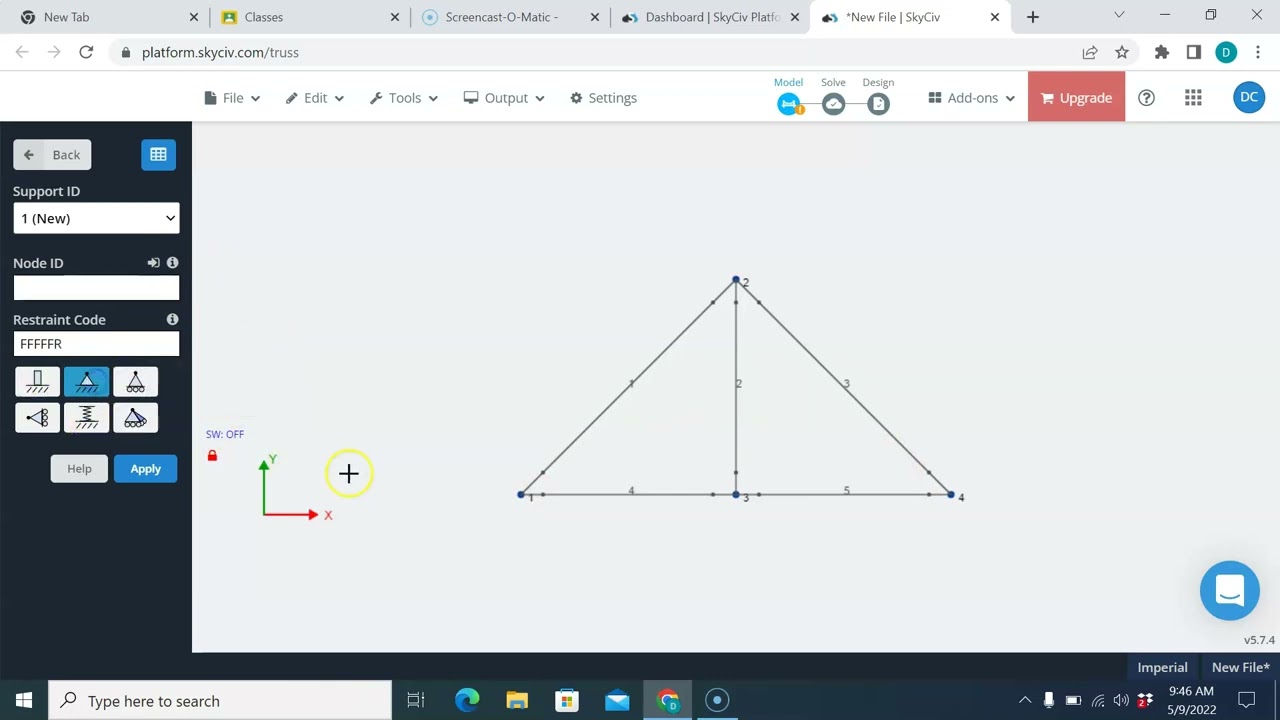
- Why this video: This student-friendly tutorial walks through modeling a truss in SkyCiv. It covers plotting nodes on Cartesian coordinates, connecting nodes with members, assigning pins and roller supports, and applying point loads.
Video 2: Free Online Truss Calculator Tutorial - SkyCiv Engineering

- Why this video: The official SkyCiv guide on utilizing their web-based truss tool. It teaches you how to interpret the software's structural output diagrams (axial forces, reactions, and deflection maps) to find weaknesses in your bridge.
Video 3: Structural analysis of a frame using 2D Frame Analysis software by Engissol
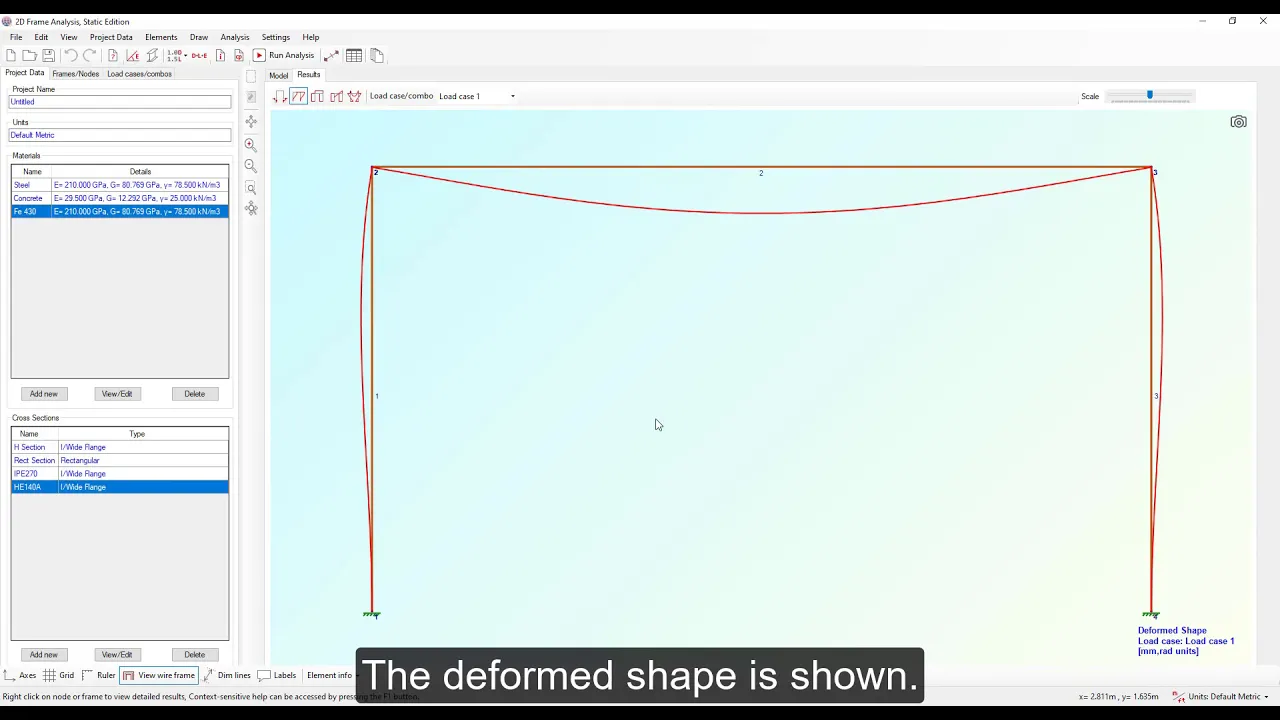
- Why this video: This video demonstrates how alternative 2D finite-element solvers handle complex loading and frame deformation, showing you how digital solvers calculate bending and shear moments in rigid structures.
Module 3 Knowledge Checkpoint
- Define the node locations of a 30cm span Warren truss using and coordinates in SkyCiv.
- Apply a fixed pin support to one end of your bridge simulation and a rolling support to the other end to allow correct thermal/load deflection.
- Apply a point load () to your bridge's center deck node and solve the model.
- Identify which members carry the highest tension (marked in blue/green) and which carry the highest compression (marked in red).
Module 4: Iterative Design and Truss Optimization
Module Overview
Structural optimization is the heart of engineering. Simply building a thick, heavy bridge is not optimization; your goal is to maximize the strength-to-weight ratio. This module teaches you how to identify failure modes in your simulated bridge. You will explore structural buckling, analyze how member length impacts buckling risk (Euler's Buckling formula), and compare classic truss types (Pratt vs. Howe vs. Warren) to see which minimizes the total mass of compression members.
Recommended Videos
Video 1: Understanding Buckling

- Why this video: Buckling is the primary cause of balsa bridge failures. This visual explanation breaks down why long, slender members under compression suddenly bow out and fail catastrophically long before reaching their material crushing strength.
Video 2: Bridge Design Tutorial - Pratt vs Howe Truss

- Why this video: This video compares Pratt and Howe trusses. It explains why Pratt configurations are typically more efficient: they place the longer diagonals in tension (where they cannot buckle) and the shorter verticals in compression, saving weight.
Video 3: Science Olympiad Boomilever - Advice & Tips

- Why this video: Although focused on Science Olympiad cantilevers, this deep dive shares advanced tips for balsa selection, weight minimization, joint reinforcement, and structural optimization directly applicable to high-efficiency bridge building.
Module 4 Knowledge Checkpoint
- Explain Euler's Buckling Theory: how doubling the length of a compression member changes its critical buckling load capacity.
- Determine why tension members can be made much thinner than compression members in a balsa bridge.
- Modify your 2D simulation to convert long compression web members into shorter members using bracing nodes, recalculating the updated buckling resistance.
- Calculate the target structural efficiency ratio: .
Module 5: Physical Construction and Destruction Testing
Module Overview
This final module guides you through building and physically testing your optimized design. You will translate your CAD design into a 1:1 scale paper template, assemble two side trusses under wax paper, join them into a 3D structure with transverse bracing, and build a standard mechanical load-testing rig. Finally, you will test your bridge to destruction, filming the failure in slow motion to pinpoint the exact failure location for post-mortem analysis.
Recommended Videos
Video 1: Bridge Building (Pitsco Blueprinting and Assembly)
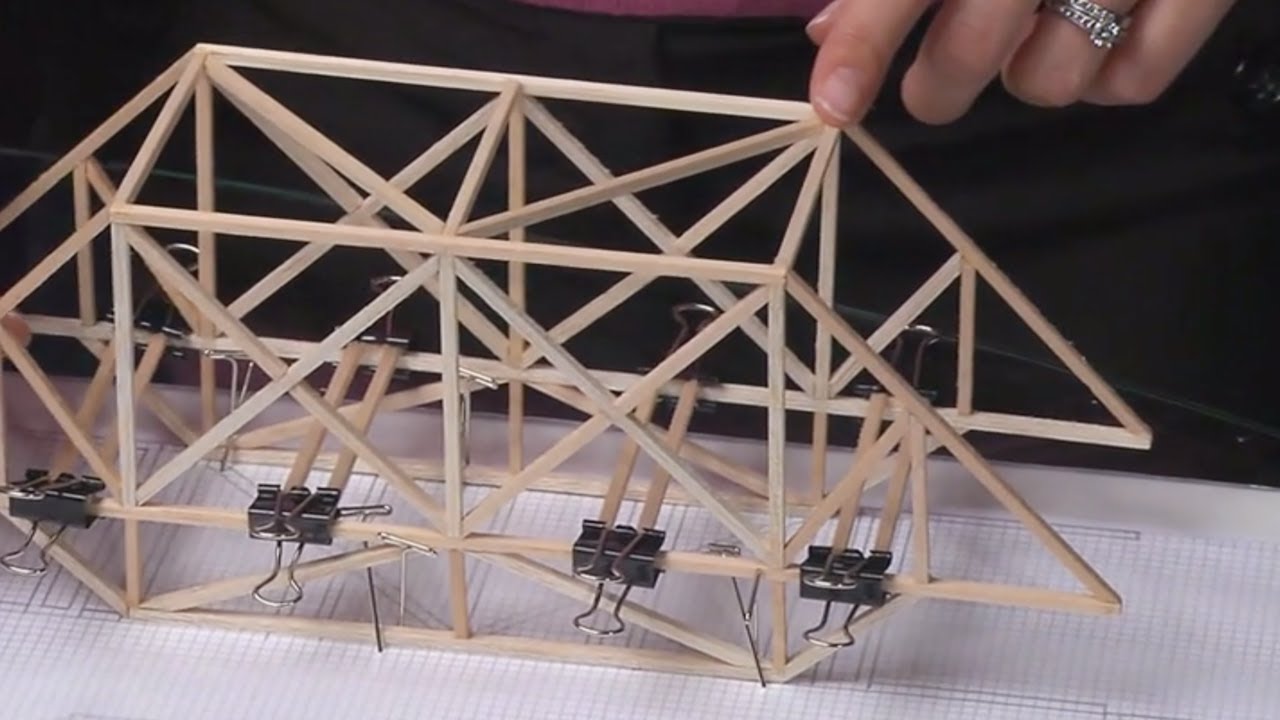
- Why this video: This video shows how to draft a 1:1 construction template, secure it to a building board, protect the drawings with wax paper, pin structural members in place, and apply glue with precision.
Video 2: Bridge Design Truss Construction
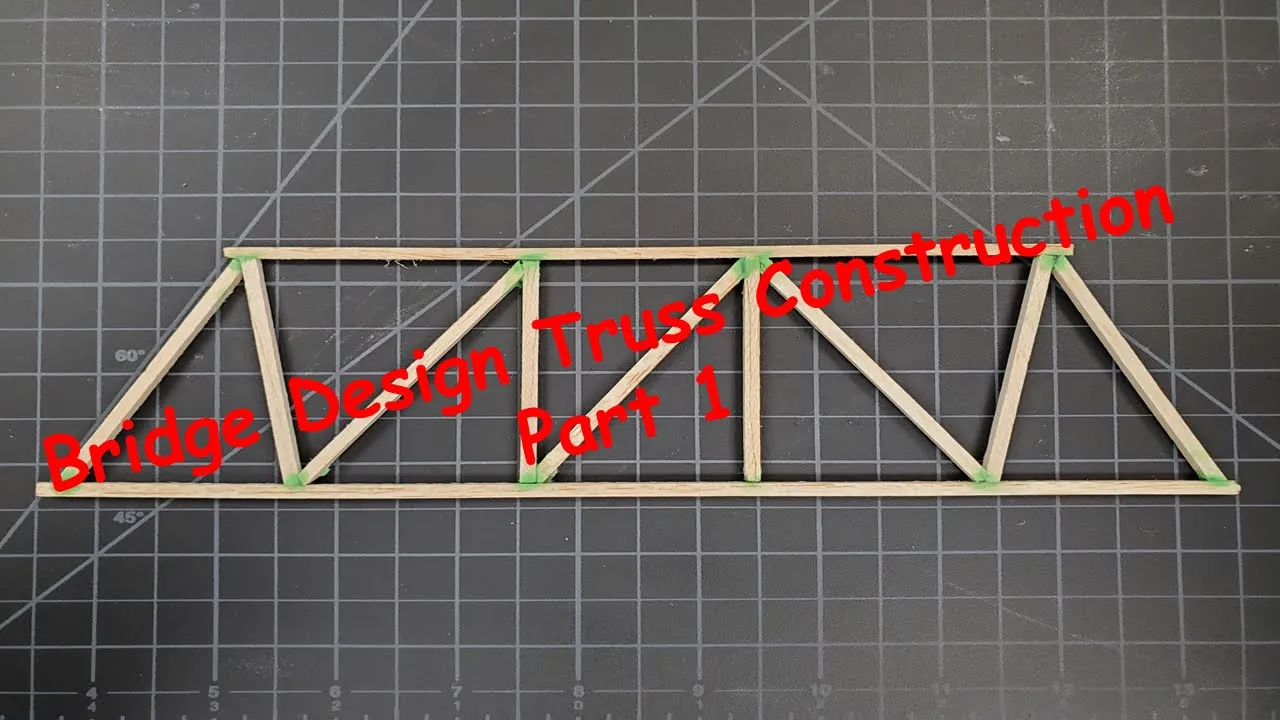
- Why this video: A practical bench-top demonstration of cutting angles, using wood glue efficiently (dipping stick ends rather than dripping glue), and assembling structural side frames over templates.
Video 3: Building Bridge Test Fixture (DIY Rig Setup)

- Why this video: Shows how to build a simple wooden testing rig to safely support your bridge during testing. It covers building supports and setting up the mechanics for loading.
Video 4: Balsa Wood Bridge Load Test - Warren Truss

- Why this video: This video shows a real classroom load-testing scenario using a bucket, threaded rod, loading block, and water/sand. It shows what balsa failure looks like in practice.
Supplemental Engineering Guide: DIY Load-Testing Rig Setup
To complete the physical load testing phase of your bridge, you need to construct a standard hanging bucket load rig. This ensures safe, controlled loading.
Equipment Needed:
-
Two elevated support platforms (e.g., two sturdy tables separated by your bridge's span, or a wooden test box).
-
One loading block (a hardwood block measuring roughly with a center hole drilled through it, designed to rest across the top of your bridge's road deck).
-
One threaded eye-bolt (with a matching washer and nut to fit through the loading block).
-
One high-capacity S-hook or carabiner.
-
One heavy-duty 5-gallon bucket.
-
A hanging scale (digital luggage or crane scale) to measure the load in real time, or a bathroom scale to weigh the bucket post-test.
-
Loading medium (dry sand, water, or iron weights).
-
Safety glasses (essential for protection against flying balsa splinters during sudden failure).
          [ BRIDGE UNDER TEST ]
 ═══════════════╤═══╤═══════════════   <- Bridge Deck
███ │▓▓▓│ ███ <- Support Blocks ███ └─┬─┘ ███ │ <- Eye-bolt │ (S) <- S-Hook │ ┌───┴───┐ <- Digital Scale └───┬───┘ │ ┌───┴───┐ │ │ <- 5-Gallon Bucket │ │ (Gradually loaded with └───────┘ sand or water)
Step-by-Step Test Procedure:
- Weigh the Bridge: Use a high-precision digital pocket scale to record the dry mass of your completed balsa bridge in grams ().
- Position the Bridge: Set up your elevated supports to your designated span (e.g., 30cm). Place the bridge across the gap, ensuring both ends rest evenly on the bearing surfaces.
- Install Loading Block: Place the loading block at the center of the span across your deck. Pass the eye-bolt down through the block and between the lower chords of the bridge.
- Attach Scale & Bucket: Underneath the bridge, hook your digital scale to the eye-bolt, and suspend your empty bucket from the bottom hook of the scale. (If using weights or weighing the bucket post-test, hook the bucket directly to the eye-bolt).
- Tare/Zero Check: Record the baseline weight of the empty bucket and hardware ().
- Apply the Load: Wear safety glasses. Slowly and continuously pour dry sand or water into the bucket. Ensure you do not lean on or touch the bucket, as dynamic force spikes can cause early failure.
- Record Failure Point: Continue adding load until you hear a cracking sound and the bridge structurally collapses.
- Final Calculation: Record the total mass of the bucket, scale, hardware, and sand/water at failure (). Subtract the empty bucket weight if necessary to isolate the structural carrying capacity.
- Post-Mortem Analysis: Review your slow-motion video. Did a compression chord buckle? Did an end joint shear? Match this point to your digital 2D model to check its accuracy.
Module 5 Knowledge Checkpoint
- Build a symmetrical balsa truss bridge from a 1:1 blueprint, keeping total weight under a specified target (e.g., 15-25 grams).
- Construct a safe, level hanging-load test rig.
- Load-test your bridge structure to failure while recording the failure load using a digital scale.
- Calculate the physical strength-to-weight ratio of your bridge and compare the actual failure point against your computer simulation.
Course Map
Key People Index
- Paul Sellers: A world-renowned master woodworker and educator who teaches traditional hand-tool woodworking, emphasizing timber physics and joint geometry.
- The Efficient Engineer: An engineering educator specializing in visually clear, highly accurate mechanical and material engineering video animations (buckling, finite element analysis).
- Stephen Liggett: A practical educator focused on DIY testing setups and hands-on structural analysis methods.
Final Self-Assessment
- I can resolve vector components and apply the Method of Joints to determine the tension or compression of any member in a 2D truss.
- I can categorize balsa wood into A, B, and C grain types and select the correct grain for structural roles.
- I can design high-strength lap joints and gusset plates to prevent premature node failures.
- I can model a truss, apply support constraints, and run a structural simulation in SkyCiv or Engissol.
- I can identify tensile and compressive members on an axial force diagram.
- I can explain Euler’s Buckling formula and identify methods to increase a member's buckling resistance.
- I can design a truss bridge that places long diagonals in tension and short vertical members in compression.
- I can translate a 2D CAD design into a 1:1 physical layout template.
- I can build a structural balsa bridge from a scale drawing, maintaining structural alignment and using glue sparingly.
- I can set up a secure hanging-bucket test rig to apply static loads to a bridge deck.
- I can perform a load-to-failure test, calculate the final strength-to-weight ratio, and identify the point of failure using video analysis.