Chest Imaging: X-Ray & CT Interpretation Guide
Learning Goal: To establish a structured, clinical-grade methodology for reading and interpreting chest radiographs (CXR) and computed tomography (CT) scans. Learners will develop the ability to confidently identify normal thoracic anatomy, identify major cardiopulmonary pathology, systematically apply specialized diagnostic algorithms (such as the Fleischner criteria), and articulate findings clearly in clinical practice.
Prerequisites
- Basic clinical terminology (familiarity with cardiopulmonary anatomy).
- No prior formal radiology training required.
Estimated Study Time
- Total Time: ~14 Hours (comprising video lectures, guided image-review sessions, and self-directed clinical practice cases).
Module 1: Thoracic Anatomy and Imaging Physics
This module establishes the physical principles and biological structures underlying chest imaging. Before interpreting pathology, a clinician must understand how images are formed. You will master the physics of X-ray attenuation, the mathematical concept of Hounsfield Units (HU) in computed tomography, and the baseline 3D structural anatomy of the thoracic cavity.
Recommended Videos
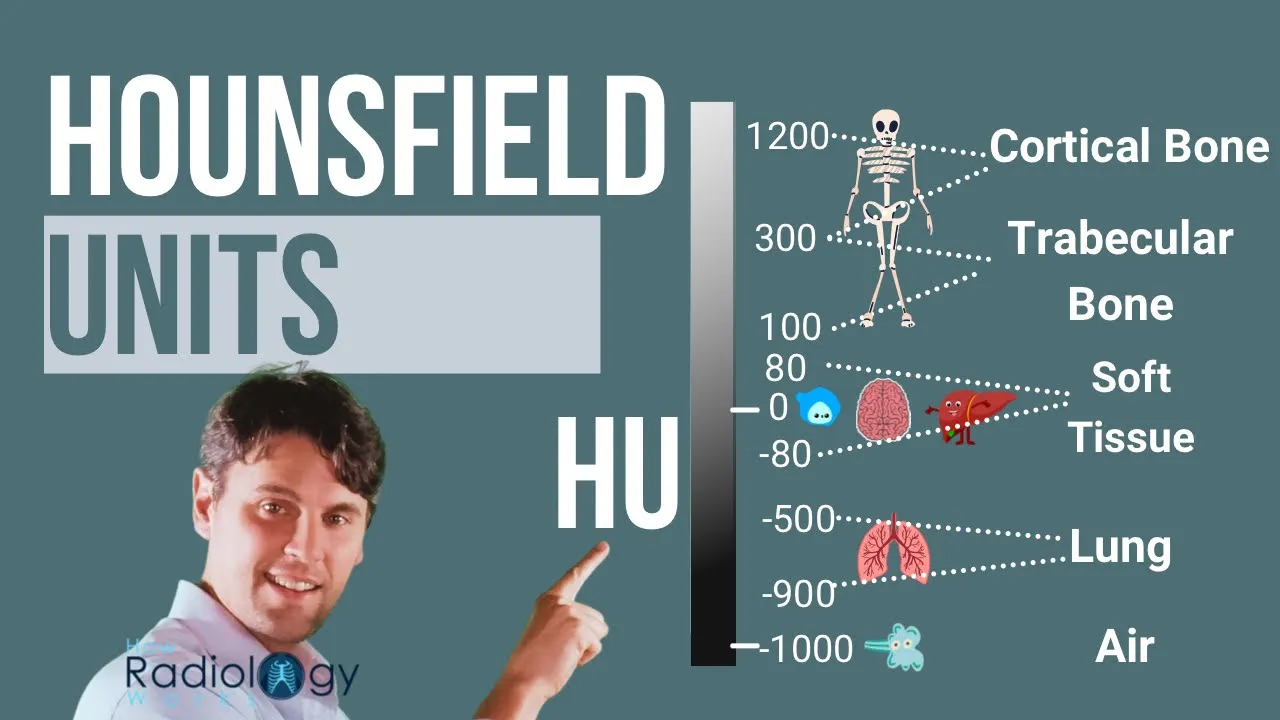
Why this video is valuable: Understanding Computed Tomography requires mastering the Hounsfield Unit (HU) scale. This video provides an elegant, physically accurate walkthrough of how CT numbers are derived using linear attenuation coefficients compared to water. It explicitly bridges the gap between pure medical physics and raw clinical gray-scale display, enabling you to understand why specific tissues appear dark or bright on a CT scan.
- Knowledge Checkpoint:
- State the mathematical formula used to calculate Hounsfield Units (HU).
- Define the exact HU values assigned to air (-1000 HU), water (0 HU), and cortical bone (+1000 HU).
- Explain how a CT scanner translates tissue linear attenuation coefficients () into digital CT numbers.

Why this video is valuable: This tutorial breaks down the absolute foundation of 2D projection imaging: the five basic radiographic densities. It shows how air, fat, soft tissue/fluid, bone/calcium, and metal absorb X-ray photons differently to construct the classical black-to-white radiographic spectrum.
- Knowledge Checkpoint:
- List the 5 primary radiographic densities in order from most radiolucent (darkest) to most radiopaque (brightest).
- Explain why pleural fluid and consolidated lung parenchyma share the same radiographic density (soft tissue/fluid), and why they cannot be easily differentiated on density alone.
- Describe the clinical significance of recognizing metallic densities (e.g., pacemakers, surgical clips) on an initial scan.

Why this video is valuable: This highly visual anatomical review maps out the physical structures of the thoracic cavity on anatomical models, linking gross dissection structures directly with what you will see on clinical imaging. It reviews the rib cage, sternum, lobes of the lung, pleural cavities, diaphragm, and key mediastinal structures.
- Knowledge Checkpoint:
- Differentiate between true ribs, false ribs, and floating ribs based on their anterior sternal attachments.
- Trace the anatomical course of the trachea, the main stem bronchi, and the dividing lines of the lung lobes (oblique and horizontal fissures).
- Identify the borders and contents of the mediastinal subdivisions (superior, anterior, middle, and posterior).
Module 2: Systematic Approach to Chest X-Ray (CXR)
To avoid diagnostic pitfalls like "satisfaction of search" (missing a second finding because you stopped looking after finding the first), clinicians must use a highly disciplined, systematic approach when looking at a chest radiograph. This module covers the classic "ABCDE" method, technical quality assessment (Inspiration, Penetration, Rotation, Magnification), and clinical search patterns.
Recommended Videos
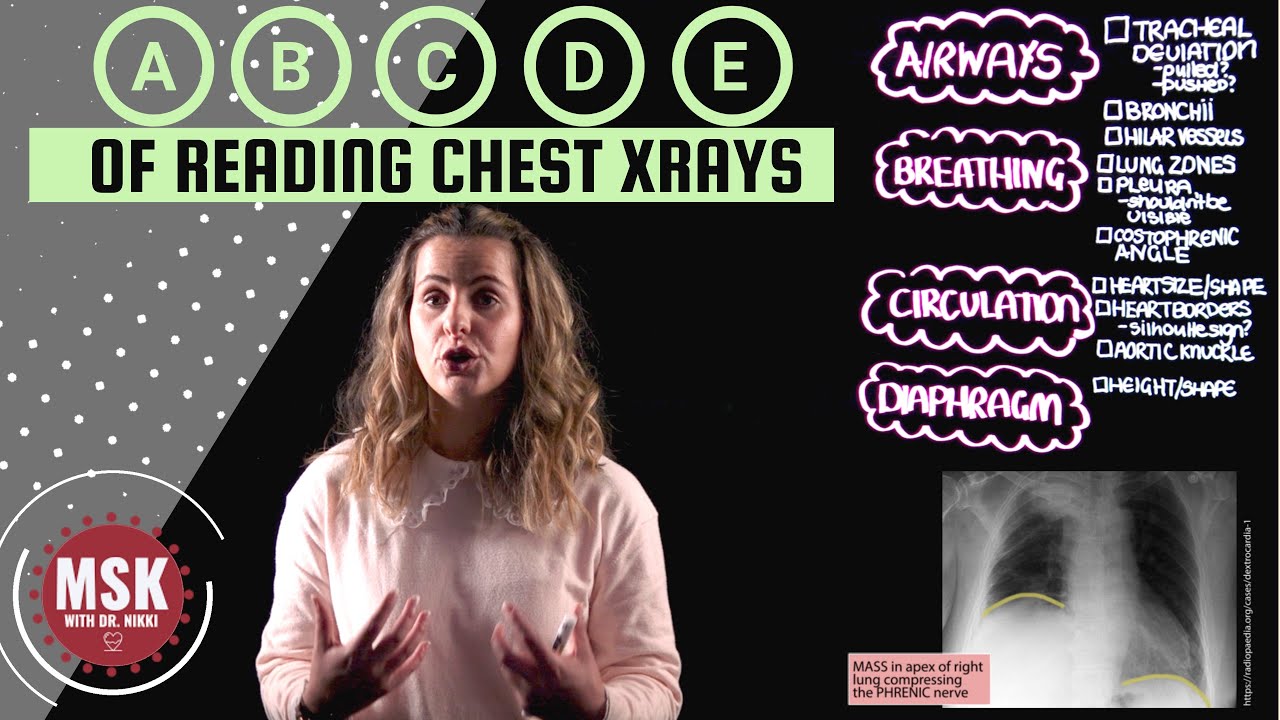
Why this video is valuable: This video provides a clinical walk-through of the standard ABCDE checklist on real chest radiographs. It guides you from top to bottom, detailing how to evaluate the trachea (Airway), lungs (Breathing), cardiac silhouette (Circulation), costophrenic angles (Diaphragm), and soft tissues/tubes (Everything else).
- Knowledge Checkpoint:
- Outline each letter of the ABCDE mnemonic and list at least two specific structures to check under each letter.
- Describe how to determine if a trachea is deviated pathologically or rotated technically.
- Define a normal cardiothoracic ratio on a standard Posteroanterior (PA) projection.
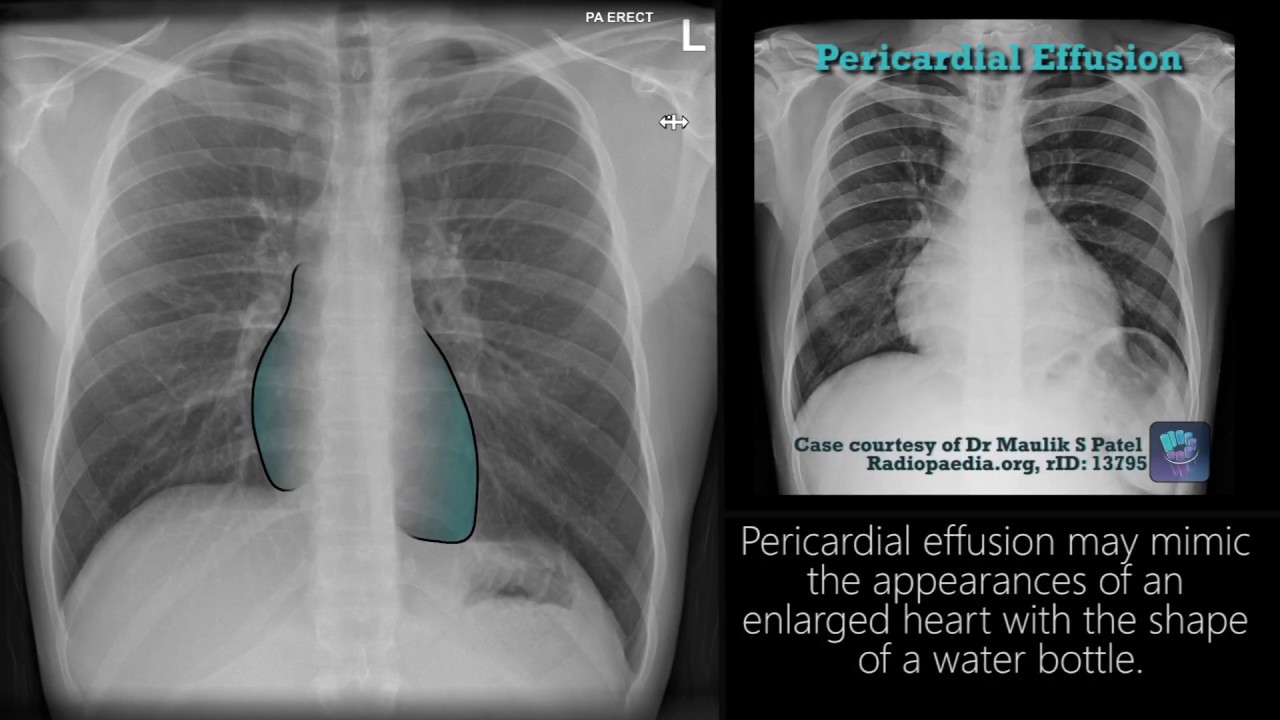
Why this video is valuable: A rapid, high-yield overview of how to evaluate the technical adequacy of a chest radiograph before rendering a diagnosis. It teaches you how to quickly grade inspiration (rib counting), rotation (clavicular alignment), penetration (visibility of thoracic spine), and projection (AP vs. PA).
- Knowledge Checkpoint:
- State how many posterior ribs must be visible above the diaphragm to indicate adequate inspiratory effort.
- Describe how to identify patient rotation by looking at the medial ends of the clavicles relative to the spinous processes.
- Explain why the heart silhouette appears artificially enlarged on an Anteroposterior (AP) view compared to a Posteroanterior (PA) view.

Why this video is valuable: Dr. Gill models an active, practical "search pattern" in a real-time clinical format. He demonstrates how to actively sweep through the lung fields, compare sides, and systematically inspect "blind spots" like the retrocardiac region, subdiaphragmatic spaces, and apices.
- Knowledge Checkpoint:
- Identify the clinical "blind spots" on a chest radiograph where pathologies are frequently missed.
- Explain the clinical approach of comparing the left and right lung zones sequentially (upper, middle, lower).
- Recognize when a lateral chest view is necessary to supplement a frontal view.
Module 3: Identifying Common Pathologies on Chest X-Rays
This module focuses on identifying common thoracic pathologies on plain-film radiographs. By the end of this module, you will be able to distinguish between alveolar processes (pneumonia), space-occupying pleural pathologies (pneumothorax vs. pleural effusion), and signs of cardiac congestion.
Recommended Videos

Why this video is valuable: This tutorial addresses a key clinical gap by providing a deep, isolated look at Kerley B-lines: what they are, where they are found, and the exact pathophysiology of why they appear on a chest X-ray. It is an essential watch for mastering congestive heart failure (CHF) interpretation.
- Knowledge Checkpoint:
- Define a Kerley B-line and state its typical length, orientation, and anatomical location (perpendicular to the pleura at the lung bases).
- Explain the pathophysiological mechanism (interstitial edema and pulmonary venous congestion) that causes these lines to appear.
- Differentiate Kerley B-lines from Kerley A-lines and bronchovascular markings.
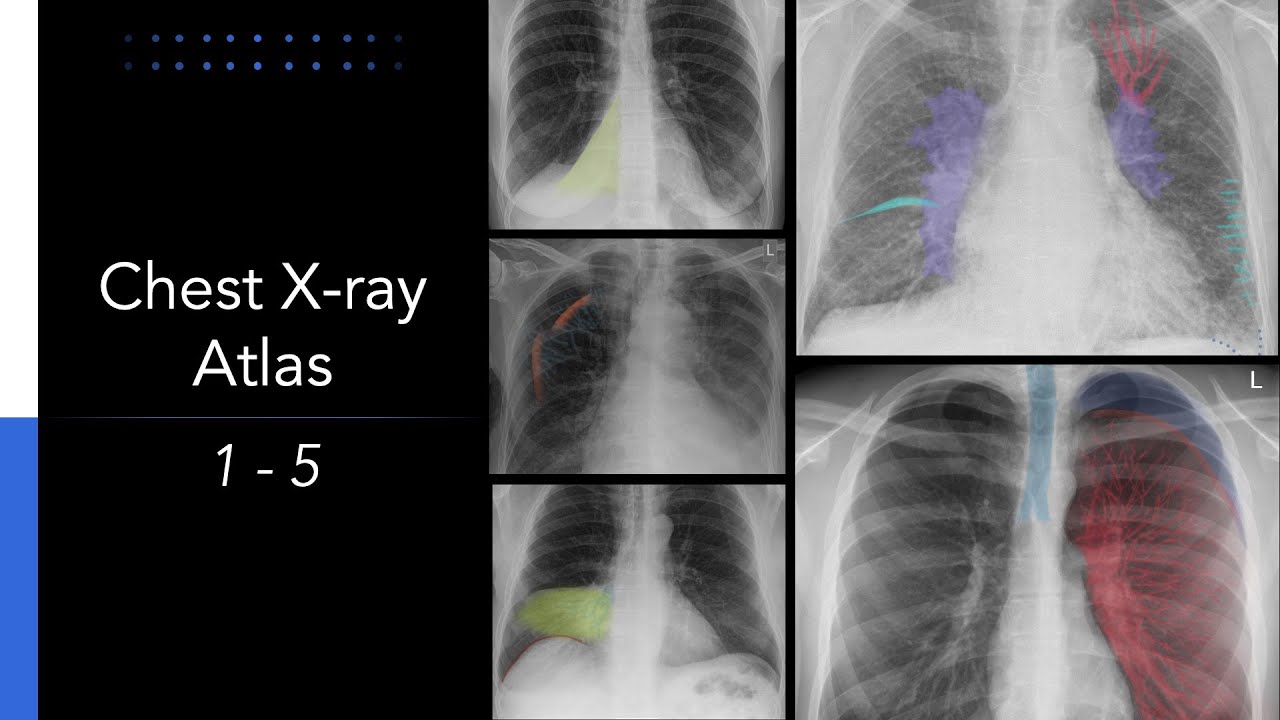
Why this video is valuable: This high-yield video contrasts right middle lobe pneumonia with right lower lobe atelectasis. It explains how to recognize consolidations, identify air bronchograms, and apply the classic "Silhouette Sign" to localize pathology.
- Knowledge Checkpoint:
- Define the "Silhouette Sign" and explain how losing the right heart border localizes a consolidation to the Right Middle Lobe (RML).
- Describe the appearance and diagnostic significance of "air bronchograms" within a consolidation.
- Compare the radiographic features of lobar consolidation (volume preserved) versus lobar atelectasis (volume lost, fissure displacement).

Why this video is valuable: A concise, imaging-focused overview of the key progression of congestive heart failure signs on a chest radiograph. It visually illustrates the steps of volume overload: cardiomegaly, cephalization of pulmonary vasculature, interstitial edema, and pleural effusions.
- Knowledge Checkpoint:
- Explain the term "cephalization" and how it alters the normal caliber ratio of upper-lobe vs. lower-lobe pulmonary vessels.
- Identify the radiographic features of alveolar edema (often described as a "batwing" or "butterfly" distribution).
- Describe how to identify fluid tracking within the horizontal or oblique fissures on a frontal radiograph.

Why this video is valuable: This interactive clinical case review teaches you how to identify pleural space pathology. It focuses on the radiologic diagnosis of a pneumothorax (air in the pleural space) and pleural effusion (fluid in the pleural space), highlighting subtle signs that are easily missed.
- Knowledge Checkpoint:
- Identify the "visceral pleural line" on a chest radiograph and explain how to verify a pneumothorax by confirming the absence of vascular lung markings peripheral to it.
- Define the "meniscus sign" and describe how a pleural effusion blunts the costophrenic and cardiophrenic angles.
- Identify the signs of a tension pneumothorax, including tracheal and mediastinal shift away from the affected side.
Module 4: Fundamentals of Chest CT Anatomy and Windows
This module marks the transition from 2D plane projection imaging to 3D cross-sectional chest anatomy. To read a chest CT, you must learn to navigate the axial plane, master the concept of CT "windowing" (differentiating lung, mediastinal, and bone windows), and identify vital mediastinal structures.
Recommended Videos

Why this video is valuable: This tutorial addresses a key gap in CT interpretation: how and why windowing works. It provides a visual explanation of how adjusting the "Window Width" (WW) and "Window Level" (WL) changes the contrast and brightness of a scan, allowing clinicians to optimize images for different tissues.
[--- Narrow Window Width (WW ~ 400 HU) ---]
-1000 HU -----------------------|-- WL (+40 HU) --|--------------------- +1000 HU (Air) Soft Tissue (Mediastinal Window) (Bone)
[------------------------- Wide Window Width (WW ~ 1500 HU) -------------------------] ---|-------------------------- WL (-600 HU) --------------------------|--------------- Air Lung Parenchyma (Lung Window) Bone
- Knowledge Checkpoint:
- Explain the difference between Window Width (WW) and Window Level (WL/Window Center).
- Describe how a wide window width is useful for evaluating high-contrast structures (like the lungs) and why a narrow window width is needed for low-contrast soft tissues (like the brain or mediastinum).
- Predict what happens to the visual appearance of soft tissues when you decrease the window level.

Why this video is valuable: This peer-led review session focuses on identifying specific window presets on real CT chest cases. It teaches you how to quickly switch your mind between a lung window, a mediastinal (soft-tissue) window, and a bone window when reviewing a scan.
- Knowledge Checkpoint:
- State the approximate window width and level values used for a standard "lung window" vs. a "mediastinal window".
- Identify which window setting is best for evaluating rib fractures, lung parenchyma nodules, and mediastinal lymphadenopathy.
- Describe the appearance of normal pulmonary vessels on a standard lung window.

Why this video is valuable: This comprehensive, step-by-step video walks through chest CT slices from the lung apices down to the upper abdomen. It reviews technical scan parameters, contrast timing, and provides a detailed guide to axial anatomy.
- Knowledge Checkpoint:
- Identify the major mediastinal structures at the level of the "aortic arch" slice (including the superior vena cava, trachea, and esophagus).
- Differentiate between a non-contrast chest CT, a contrast-enhanced chest CT, and a pulmonary CT angiogram based on which vascular structures are opacified.
- Trace the path of the right and left pulmonary arteries starting from the main pulmonary trunk.
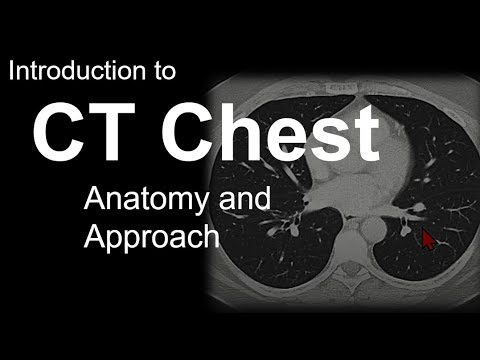
Why this video is valuable: This concise, high-yield anatomy reference simplifies how to recognize the main branches of the aorta and coronary arteries on axial slices. It serves as an excellent visual quick-reference for your clinical rotations.
- Knowledge Checkpoint:
- Name the three major arterial branches that arise from the aortic arch, in order from anterior to posterior.
- Describe the position of the descending aorta relative to the vertebral column and esophagus.
- Identify the main coronary arteries (LAD, Circumflex, RCA) and where they sit in the fat pads surrounding the heart.
Module 5: Interpreting Chest CT Pathologies in Clinical Practice
This final module focuses on using CT imaging to diagnose emergency and chronic lung diseases. You will learn how to identify a pulmonary embolism on a CT angiogram, apply the Fleischner Society guidelines to manage incidental lung nodules, and recognize common high-resolution CT (HRCT) patterns of interstitial lung disease.
Recommended Videos
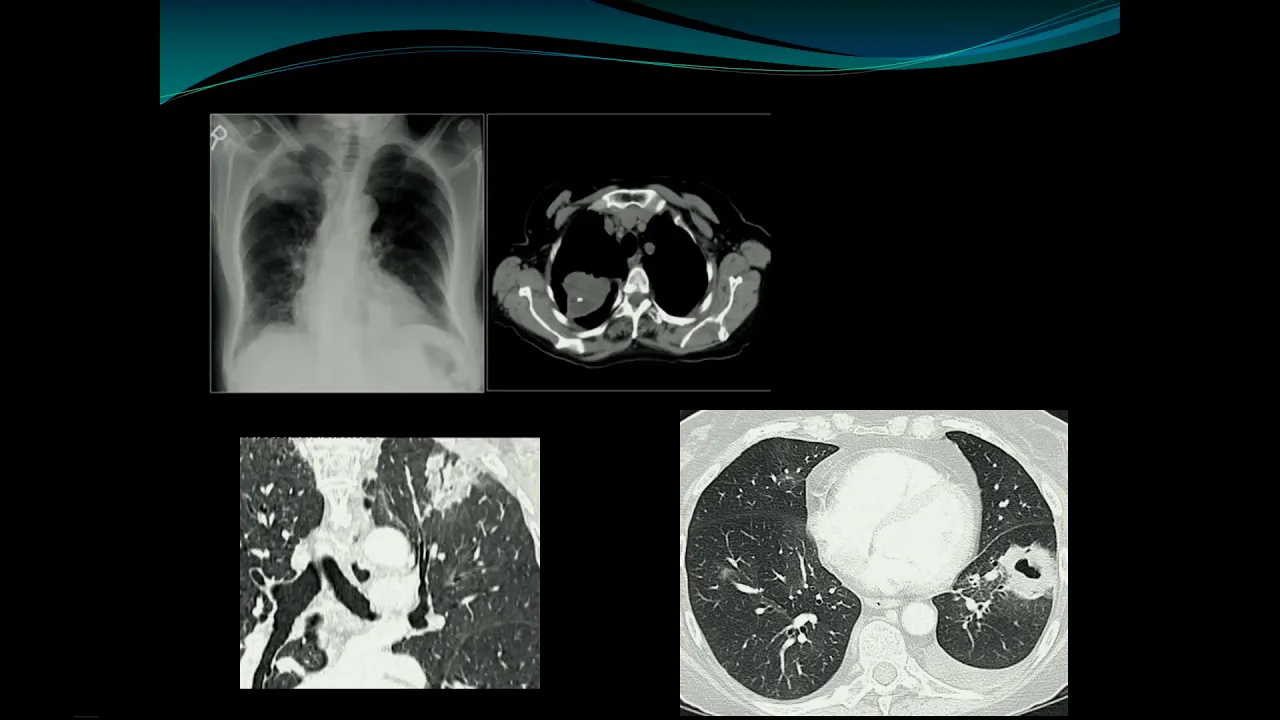
Why this video is valuable: Led by thoracic imaging expert Dr. Theresa McLoud, this video provides an in-depth review of how to evaluate and manage incidentally discovered lung nodules. It covers the Fleischner Society guidelines, detailing when to recommend a follow-up scan based on nodule size, characteristics, and patient risk factors.
- Knowledge Checkpoint:
- State the size threshold below which a single solid nodule in a low-risk patient does not require routine follow-up under Fleischner criteria.
- Differentiate between solid, part-solid, and ground-glass nodules, explaining why subsolid nodules require longer follow-up.
- List key clinical factors that classify a patient as "high risk" for lung cancer when managing incidental nodules.
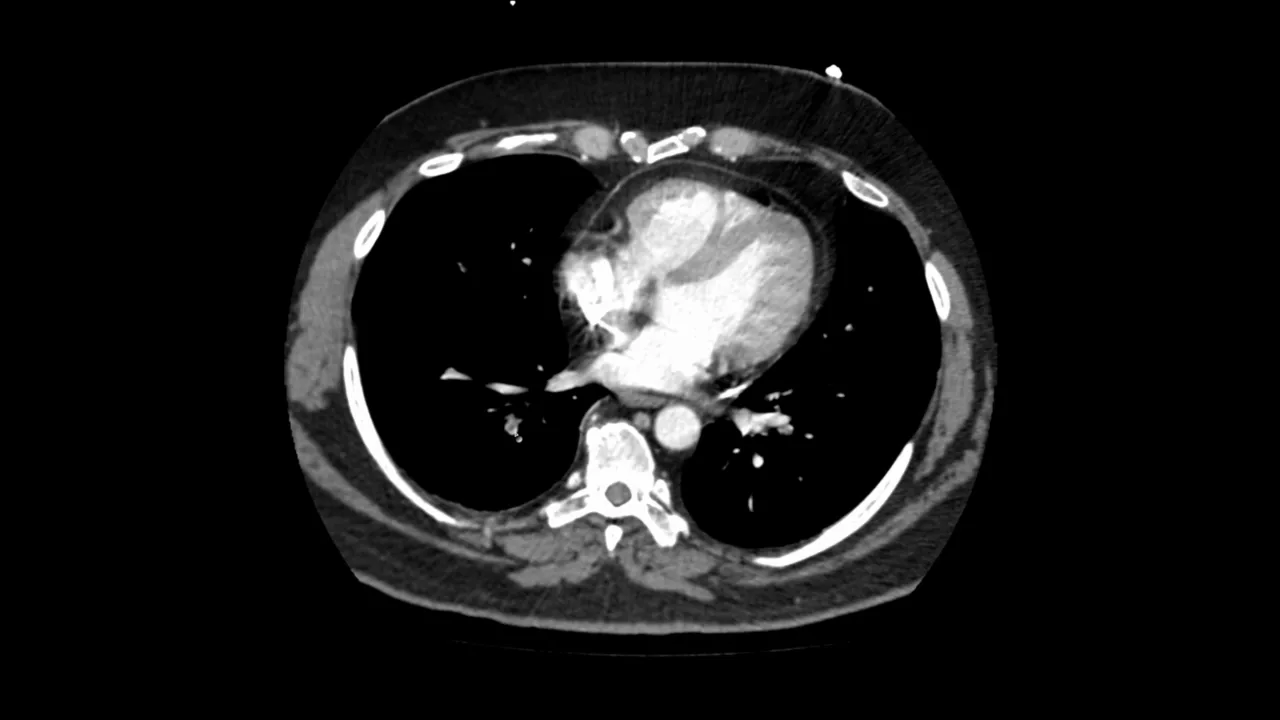
Why this video is valuable: This practical, clinical video demonstrates how to read a Computed Tomography Pulmonary Angiogram (CTPA) to find a pulmonary embolism (PE). It teaches you how to identify acute "filling defects" within the pulmonary arterial tree.
- Knowledge Checkpoint:
- Describe the appearance of an acute filling defect within a contrast-filled pulmonary artery.
- Explain how to differentiate a true pulmonary embolus from a technical artifact (such as poor contrast bolus timing or motion artifact).
- Identify CT signs of right heart strain (such as right ventricular enlargement or deviation of the interventricular septum).
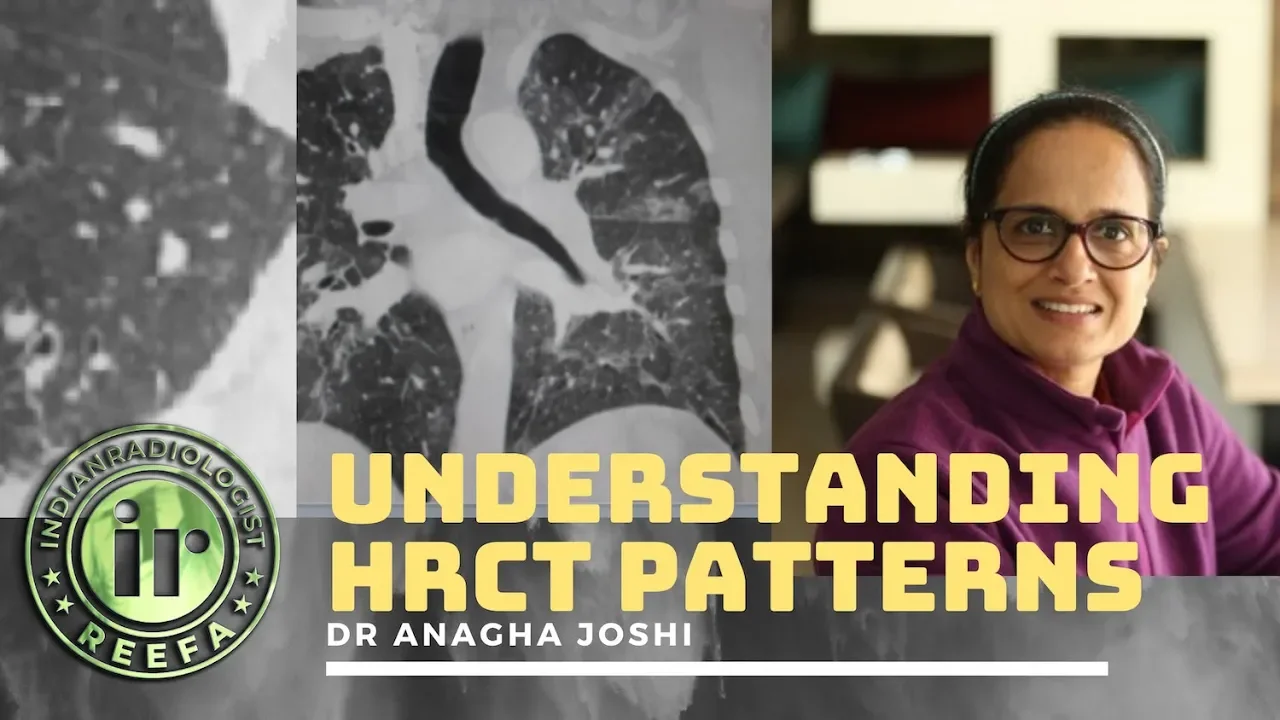
Why this video is valuable: High-Resolution CT (HRCT) is the gold standard for diagnosing interstitial lung disease (ILD). Dr. Anagha Joshi reviews key HRCT patterns, explaining how to spot septal thickening, bronchiectasis, and different nodule distributions (centrilobular, perilymphatic, and random).
- Knowledge Checkpoint:
- Explain the technical parameters that define a "High-Resolution" CT scan of the chest (e.g., thin collimation slices).
- Differentiate between a centrilobular nodular pattern and a perilymphatic distribution, listing one common condition associated with each.
- Describe the appearance of "honeycombing" on HRCT and state its clinical significance (signaling end-stage pulmonary fibrosis).

Why this video is valuable: This short video highlights when Fleischner Society guidelines do not apply. It teaches clinicians to recognize situations where standard nodule management algorithms should be bypassed, such as in patients with a known history of cancer, those under age 35, or patients undergoing active lung cancer screening.
- Knowledge Checkpoint:
- Identify two patient populations to whom the Fleischner Society guidelines cannot be applied.
- Explain why the Fleischner guidelines are not used for patients with a known primary malignancy (e.g., breast cancer, colon cancer).
- Describe the alternative management pathways used for nodules detected during formal lung cancer screening programs (e.g., Lung-RADS).
Course Map
This map outlines the recommended progression through the curriculum. Master the fundamentals of 2D anatomy and imaging physics before moving on to plain film interpretation and 3D cross-sectional CT imaging.
Key People Index
- Dr. Theresa McLoud (Vice Chair of Education, Mass General Hospital): A pioneer in thoracic radiology who helped establish the Fleischner Society guidelines. Her work standardized the clinical evaluation and follow-up of incidentally detected pulmonary nodules.
- Dr. Anagha Joshi (Professor & Head of Radiology): An expert educator specializing in High-Resolution Chest CT (HRCT). She is known for teaching systematic approaches to identifying complex interstitial lung patterns.
- Dr. James Gill: A clinical educator who focuses on bridging the gap between textbook radiology and real-world clinical decision-making for primary care and emergency clinicians.
Final Self-Assessment
Complete this checklist after finishing all modules. This self-assessment is designed to verify your clinical readiness to interpret chest radiographs and CT scans.
- Technical QA: Can you check a chest radiograph for proper quality (Inspiration, Rotation, Penetration, Projection) in under 15 seconds?
- The ABCDE Method: Can you systematically review a chest radiograph using the ABCDE method without missing subtle findings?
- The Silhouette Sign: Can you explain how losing a specific cardiac or diaphragmatic border localizes a pulmonary consolidation (e.g., losing the right heart border localizes a consolidation to the right middle lobe)?
- CHF Signs: Can you identify the classic radiographic progression of congestive heart failure, including cephalization, Kerley B-lines, and alveolar edema?
- Pneumothorax Identification: Can you find a subtle pneumothorax by identifying the thin, visceral pleural line and confirming the absence of vascular markings outside of it?
- CT Windowing: Can you explain the difference between a lung window, a mediastinal window, and a bone window, including why different window widths and levels are used?
- Mediastinal Anatomy: Can you identify the great vessels (ascending aorta, descending aorta, SVC, pulmonary trunk) and airways on an axial chest CT slice?
- Nodule Management: Can you apply the Fleischner Society guidelines to recommend an appropriate follow-up plan for an incidentally discovered lung nodule?
- Pulmonary Embolism Diagnosis: Can you identify an acute filling defect on a CT Pulmonary Angiogram (CTPA) and look for associated signs of right heart strain?
- HRCT Patterns: Can you identify common high-resolution CT patterns of interstitial lung disease, such as honeycombing, ground-glass opacities, and centrilobular nodules?