Voice Leading for Keyboardists: Applying Classical Part-Writing Rules, Voice-Exchange, and Suspensions to Singer-Songwriter Arrangements
Learning Goal: Master classical voice-leading principles, voice-exchange mechanisms, and formal suspensions (4-3, 7-6, 9-8) on the keyboard to transform standard pop sheet music/chord charts into fluid, elegant, and professional singer-songwriter arrangements.
Prerequisites
- No prior keyboard experience is strictly required, though familiarity with basic treble/bass clef reading is helpful.
- Access to a piano, keyboard, or digital piano (preferably 61 keys or more).
Estimated Total Study Time
- 12 Hours (including video instruction, keyboard practice drills, and arrangement assignments).
Module 1: Keyboard Harmony Basics & Triad Construction
This module establishes your foundation. You will learn keyboard layout geography, build major and minor triads from scratch, and decode chord progressions using Roman numeral analysis.
Why this video
Before building chords, you must master keyboard geography. This video provides a highly structured overview of the 12-note repeating pattern, the layout of black key groups (twos and threes), and proper hand posture to prevent tension.
Knowledge Checkpoint
- Locate any note (A through G) instantly using the black-key groups as guides.
- Demonstrate relaxed wrist movement and proper finger curvature on the keys.
- Identify half-steps vs. whole-steps across the white and black keys.
Why this video
This video explains how to build major and minor triads by stacking thirds (root, third, and fifth). It bridges the gap between raw notes and actual chord shapes (C, F, G) on the keyboard.
Knowledge Checkpoint
- Explain the interval construction of a major triad (Root + Major 3rd + Perfect 5th) and a minor triad (Root + Minor 3rd + Perfect 5th).
- Play a C major, F major, G major, and A minor chord in root position using the 1-3-5 fingering in the right hand.

Why this video
To transpose voice-leading patterns to any key, you must think analytically. This video introduces Roman numeral analysis, explaining how uppercase letters designate major chords and lowercase letters designate minor chords.
Knowledge Checkpoint
- Explain why Roman numeral analysis is essential for transposing chord progressions.
- Identify the difference between uppercase (e.g., I, IV, V) and lowercase (e.g., ii, iii, vi) numerals.
- Analyze a simple C-Am-F-G progression using Roman numerals in the key of C major.

Why this video
This concise video demonstrates the concept of diatonic triads. It shows how stacking thirds on each scale degree of a major scale naturally produces a set of seven distinct chords.
Knowledge Checkpoint
- Name the seven diatonic triads in the key of C major in order (I, ii, iii, IV, V, vi, vii°).
- Play all seven diatonic triads up and down the C major scale with your right hand.
Module 2: Smooth Chord Transitions & Inversions
Now that you can construct raw chords, you will learn to connect them smoothly. This module introduces chord inversions and the core rule of voice leading: keeping common tones fixed and moving other notes the shortest distance possible.
Why this video
This lesson breaks down the physical layout of chord inversions (root position, first inversion, and second inversion) on the keyboard, showing how rearranging the note order eliminates large hand jumps.
Knowledge Checkpoint
- Play a C major chord in Root Position (C-E-G), 1st Inversion (E-G-C), and 2nd Inversion (G-C-E).
- Describe which chord degree acts as the lowest sounding note (the bass) in each inversion.
Why this video
This video explains the fundamental rule of voice leading: keeping common tones held down while moving the remaining chord tones to their nearest scale degrees in the next chord.
Knowledge Checkpoint
- Define the term "voice leading" in your own words.
- Connect a C major chord directly to an F major chord without lifting your hands, maintaining the common tone (C) in the same physical register.
Why this video
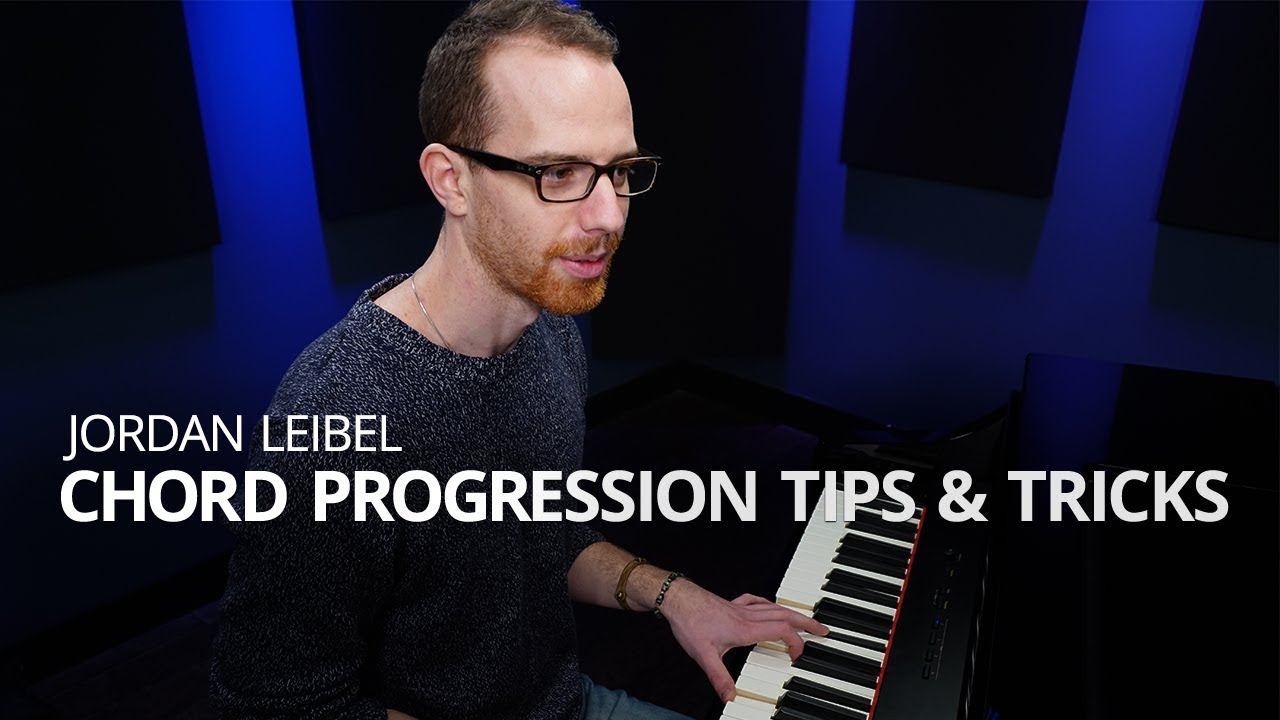
This lesson demonstrates smooth voice leading within standard chord progressions. It highlights how common tones act as visual and physical anchors on the keyboard during key changes.
Knowledge Checkpoint
- Transition smoothly from C minor (C-Eb-G) to Ab major (Ab-C-Eb) by moving only one note up a half step.
- Transition smoothly from Ab major to Eb major by identifying and keeping the common tone (Eb) stationary.

Why this video
To make voice leading second-nature, your fingers need spatial awareness. Arpeggiating inversions up and down the keyboard trains your muscle memory to find these chord shapes instantly.
Knowledge Checkpoint
- Practice playing a triad and its inversions as broken arpeggios up and down the keyboard.
- Transition between block chord shapes and broken arpeggios without losing tempo.
Module 3: Classical Part-Writing Rules on Keyboard
In classical part writing (SATB), we treat our chord tones as four independent voices: Soprano, Alto, Tenor, and Bass. This module focuses on adapting these rules to the keyboard, managing voice spacing, and avoiding parallel fifths and octaves.
Gap Note: Because direct video guides on keyboard-specific SATB physical execution are rare, we use classical chorale tutorials. On the keyboard, we translate SATB by playing the Soprano and Alto in the Right Hand, and the Tenor and Bass in the Left Hand.

Why this video
This tutorial presents basic chord progressions in classical chorale style (SATB). It demonstrates how to distribute chord tones between your hands on the keyboard to achieve balanced spacing.
Knowledge Checkpoint
- Distribute a major chord across both hands using SATB chorale spacing (LH plays Bass/Tenor, RH plays Alto/Soprano).
- Identify which hand is playing which voice part in a standard I-IV-V keyboard setup.

Why this video
This video explains the mechanics of building a proper bass line first, and then filling in the inner voices (Tenor, Alto) while following classical SATB rules. It is crucial for understanding how to balance your hand arrangements.
Knowledge Checkpoint
- Draft a bass line for a progression, then fill in the Soprano, Alto, and Tenor lines on the keyboard.
- Apply classical doubling rules (e.g., doubling the root in root position chords) on the keys.
Why this video
To keep voices sounding independent, you must avoid parallel perfect fifths and octaves. This quick video defines these errors and explains why classical composers avoided them.
Knowledge Checkpoint
- Define parallel fifths and parallel octaves.
- Identify and fix a parallel progression in a short musical score.

Why this video
Dr. B teaches you how to identify and avoid parallel intervals on the keyboard. This skill is key to keeping your accompaniment textures rich and independent rather than hollow-sounding.
Knowledge Checkpoint
- Play a chord progression on the keyboard while verifying that no two voices move in parallel fifths or octaves.
- Identify which voice combinations (e.g., Bass to Soprano) are most susceptible to parallel movement.
Module 4: Voice-Exchange & Linear Progressions
Voice-exchange is a classical technique where two voices swap their notes over a chord progression (e.g., the bass moves from root to third while the soprano moves from third to root). Combined with passing and neighbor tones, this technique creates melodic, flowing lines.

Why this video
This video explains the mechanics of voice-exchange, showing how a chord can be prolonged (such as transitioning from I to ) by swapping the inner and outer voices. This creates smooth horizontal movement on the keyboard.
Knowledge Checkpoint
- Define "voice-exchange" and describe how it prolongs a single harmony.
- Play a progression on the keyboard, demonstrating a voice-exchange between the bass and soprano voices.

Why this video
To bridge chords smoothly, you need linear transitions. This lesson teaches you how to use passing tones (stepping in the same direction) and neighbor tones (stepping away and returning) to add melodic movement to your chords.
Knowledge Checkpoint
- Distinguish between a passing tone (approached by step, left by step in the same direction) and a neighbor tone (approached by step, left by step returning to the original note).
- Improvise a passing tone in the right-hand melody voice while moving between a I and a iii chord.
Module 5: Suspensions and Emotional Tension
Suspensions are powerful tools for creating harmonic tension and release. In this module, you will learn the three stages of a classical suspension—Preparation, Suspension, and Resolution—and apply them to standard keyboard patterns.

Why this video
This video details the mechanics of the 4-3 suspension, showing how a consonant note from a previous chord is held over into the next chord to create dissonance before resolving downward to a third.
Knowledge Checkpoint
- Explain the three phases of a suspension: Preparation (consonance), Suspension (dissonance on a strong beat), and Resolution (stepwise downward resolution).
- Play a formal 4-3 suspension over a G major chord, resolving the C (4th) down to B (3rd).

Why this video
Rick Beato explains why suspensions create such strong emotional draw, analyzing their numerical intervals (4-3, 9-8) above the bass and showing how these classical structures underpin modern popular music.
Knowledge Checkpoint
- Identify a suspension by its interval notation relative to the bass note.
- Explain how a 9-8 suspension differs in sound and structure from a standard 4-3 suspension.

Why this video
This video provides a practical practice pattern to build muscle memory for playing suspensions. It helps you fluidly prepare, hold, and resolve suspensions within a repeating rhythm.
Knowledge Checkpoint
- Play the suspension practice pattern in time, keeping a steady tempo.
- Execute continuous suspensions (e.g., 4-3 transitioning into a 7-6) across a descending bass line.
Module 6: Singer-Songwriter Arrangements & Song Application
In this final module, you will bring all these concepts together. You will apply classical voice leading, voice-exchanges, and suspensions to transform standard pop leadsheets into rich, cohesive piano accompaniments.
Why this video
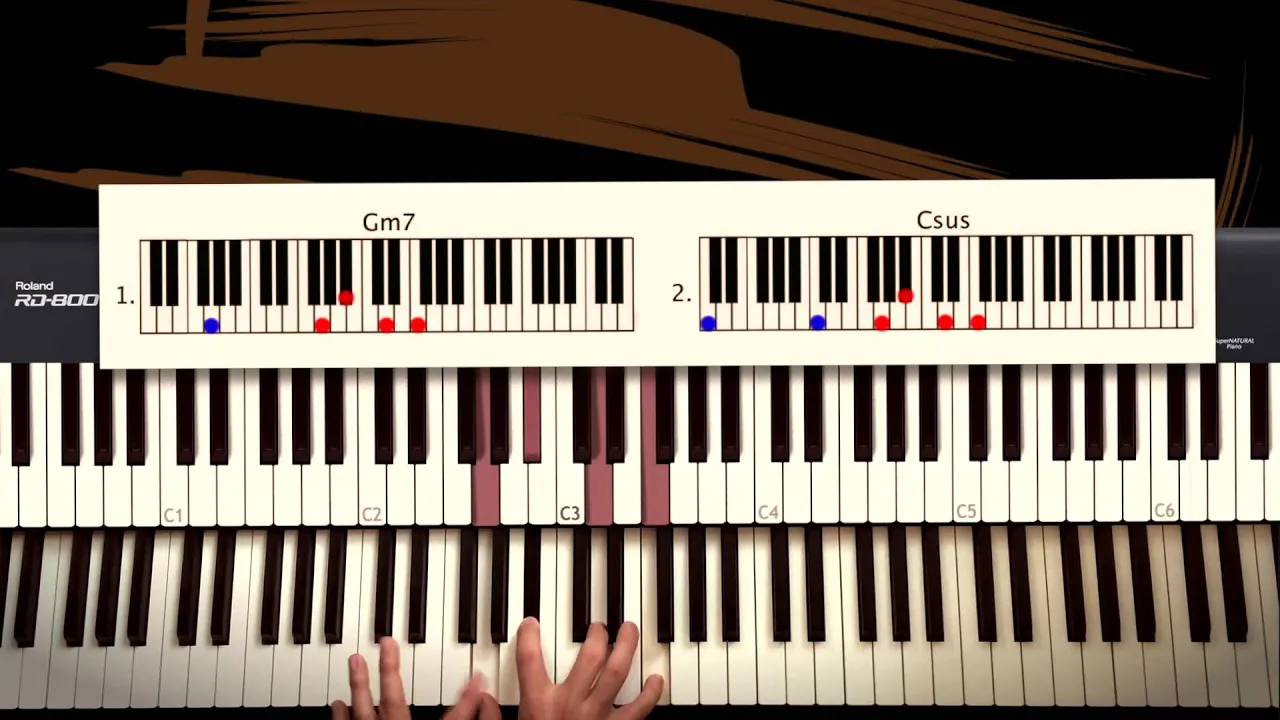
Elton John's "Rocket Man" is a masterclass in pop piano voicing. This tutorial shows how to use flexible chord shapes, arpeggiated movement, and smooth transitions to create an engaging singer-songwriter accompaniment.
Knowledge Checkpoint
- Play the core chord progression of "Rocket Man" with smooth inversions in your right hand.
- Balance your rhythmic left-hand bass notes with step-wise melody transitions in your right hand.
![How to play “Let It Be” [Piano Tutorial/Chord Accompaniment in 3 Levels]](https://i.ytimg.com/vi/-OKoQWWSFvE/maxresdefault.jpg)
Why this video
"Let It Be" uses a classic diatonic progression. This video breaks down three levels of accompaniment, helping you move from simple block chords to a flowing, voice-led arrangement.
Knowledge Checkpoint
- Play the "Let It Be" chord progression using smooth keyboard inversions.
- Connect the descending bass line of the progression using passing scale steps in your left hand.
Why this video
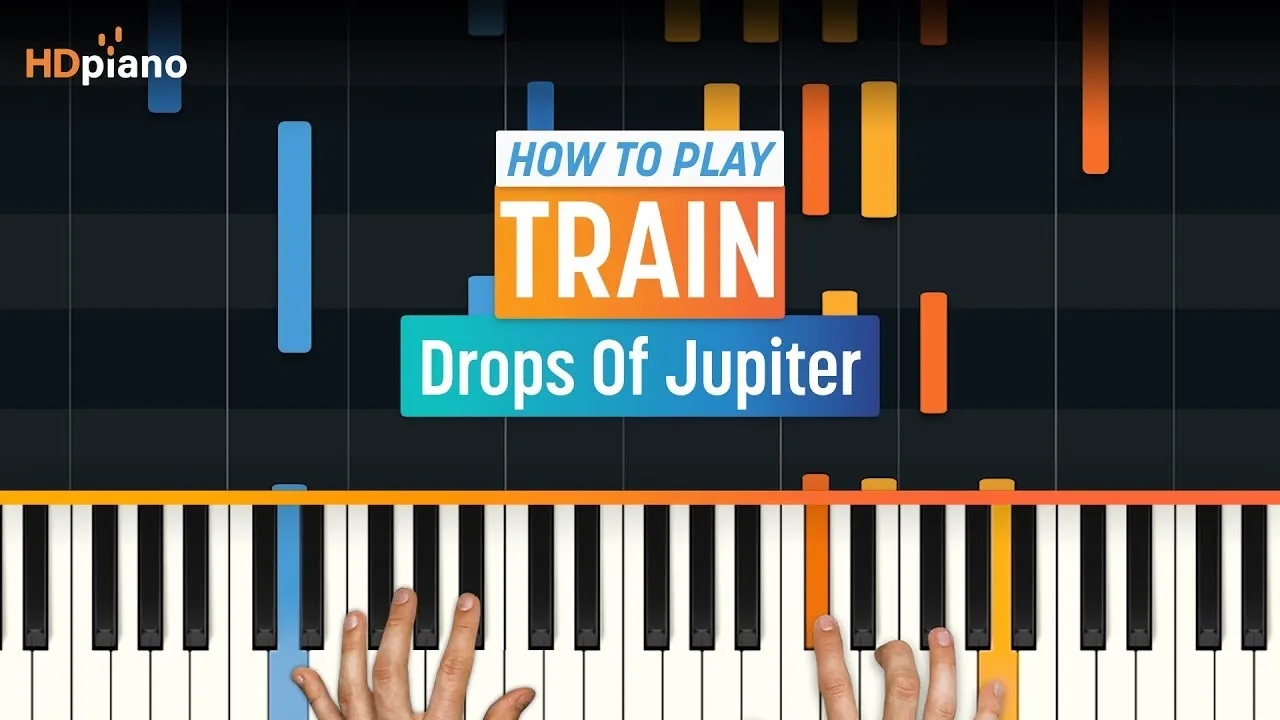
This lesson demonstrates smooth voice leading in action. It highlights a common singer-songwriter transition: moving from a C major chord to a G major chord by keeping two anchor notes fixed while resolving the top voice by step.
Knowledge Checkpoint
- Transition from C major to G major by keeping the common tones (G and C) stationary while resolving the top note.
- Apply this transition pattern to similar intervals in other keys.
Course Map
This map outlines the recommended progression through the modules, leading to the final singer-songwriter arrangements.
Key People Index
- Bill Hilton (@BillHilton): Piano educator known for clear tutorials on keyboard geography and beginner mechanics.
- Rick Beato (@RickBeato): Multi-instrumentalist and theorist who bridges classical music analysis with rock and pop songs.
- Dr. Christopher Brellochs (@ChristopherBrellochs): Academic music theorist whose lectures break down classical harmony rules for modern students.
- Ian Green (@IanGreenPiano): Keyboard specialist focused on classical performance and chorale arrangements.
Final Self-Assessment
Use this checklist to test your skills at the keyboard. Can you complete each task smoothly and without hesitation?
- Major & Minor Triad Drill: Play all 12 major and minor triads in root position within 60 seconds.
- Inversion Drill: Take any diatonic triad in C major and play it in Root, 1st, and 2nd inversions up and down the keys.
- Common Tone Identification: Play a I - vi - IV - V progression in G major, keeping your hand shifts to a minimum by holding common tones.
- SATB Keyboard Spacing: Play a I-IV-V progression in C major with SATB spacing, playing the Soprano/Alto in your right hand and the Tenor/Bass in your left.
- Parallel Interval Check: Play a chord progression and confirm that no perfect fifths or octaves are moving in parallel motion between any two voices.
- Voice-Exchange Application: Play a progression, showing a smooth voice-exchange between the bass and soprano voices.
- Passing & Neighbor Tones: Play a slow ascending scale step in the bass, using passing tones to smoothly connect chord roots.
- 4-3 Suspension Drill: Play a Cadential 6-4 progression, resolving a 4-3 suspension over the dominant chord (e.g., G4 resolving to G3 before C major).
- 9-8 Suspension Drill: Prepare and resolve a 9-8 suspension on a tonic chord, letting the 9th step down to the root.
- Let It Be Arrangement: Play a full chorus of "Let It Be" using smooth voice leading, a step-wise bass line, and a 4-3 suspension on the dominant chord.