Forensic Anthropology: Search, Recovery & ID
Learning Goal: Apply forensic anthropological techniques to search, recover, and identify human remains in legal, mass disaster, and human rights investigation contexts.
- Prerequisites: High school-level biology or general anatomy is recommended, but not strictly required.
- Estimated Total Study Time: 32 Hours
Module 1: Introduction to Forensic Anthropology and Human Osteology
This module introduces you to the core scope of forensic anthropology as a distinct subdiscipline of physical anthropology. You will learn the major landmarks of the axial and appendicular human skeleton, master proper osteological terminology, and explore the physical structures of bone tissue. Additionally, we will cover the primary baseline methodologies for differentiating human skeletal remains from non-human (faunal) remains.
Recommended Videos
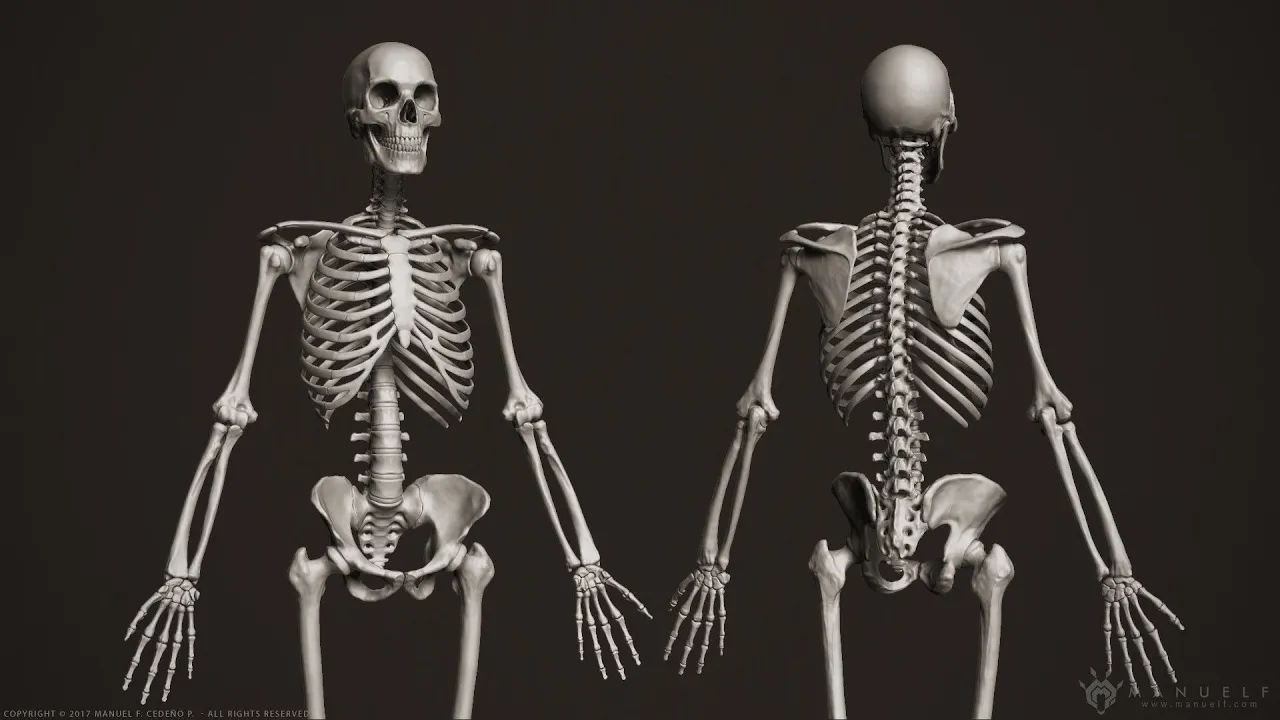
Why this video: This structured academic tutorial introduces the fundamental anatomy of the human skeleton. It breaks down the system into the axial skeleton (skull, vertebral column, thoracic cage) and appendicular skeleton (limbs and girdles), providing the foundational anatomical terminology necessary for any osteological investigation.

Why this video: Presented by one of the world's leading forensic anthropologists, this lecture clarifies the exact legal and anatomical scope of the discipline. It demystifies the field, correcting common media misconceptions and laying out the scientific expectations of an expert witness in the courtroom.

Why this video: This clip provides a practical, real-world example of how forensic scientists distinguish human bones from animal bones at the microscopic level. It details the histological differences, specifically highlighting how circular osteon patterns in human cross-sections contrast with the linear plexiform patterns found in many animal species.
Coverage Acknowledgment & Study Guide
Note on Video Coverage Gaps: While the included videos touch upon cross-sectional osteon configurations, the video pool lacks a comprehensive, step-by-step tutorial on macroscopic, morphological differentiation between human and faunal remains (e.g., comparing plexiform bone structures, metapodials, or rib curvatures).
Independent Study Search Query: To supplement this gap, search for: "human vs animal bone identification forensic anthropology" to review comparative anatomy manuals, paying attention to the differences between human and non-human mammal pelvises, scapulae, and dentition.
Module 1 Knowledge Checkpoint
- Identify and locate all major bones of the human axial skeleton (skull, hyoid, vertebrae, ribs, sternum) and appendicular skeleton (scapula, clavicle, humerus, radius, ulna, carpals, pelvis, femur, tibia, fibula, tarsals).
- Explain the histological difference between human cortical bone (characterized by circular, irregular Haversian systems/osteons) and non-human mammal bone (often featuring highly structured, linear plexiform layers).
- Define the legal role and limitations of a forensic anthropologist in a medical-legal death investigation.
Module 2: Forensic Archaeology: Search, Mapping, and Excavation
This module transitions the study from the lab to the field. You will learn to implement systematic search strategies to locate surface-scattered or buried remains. Once located, you will apply forensic archaeological principles to set up grids, map evidence with high precision, reconstruct taphonomic contexts (the processes affecting remains from death to recovery), and excavate burials using controlled, stratigraphic methods that preserve physical evidence.
Recommended Videos
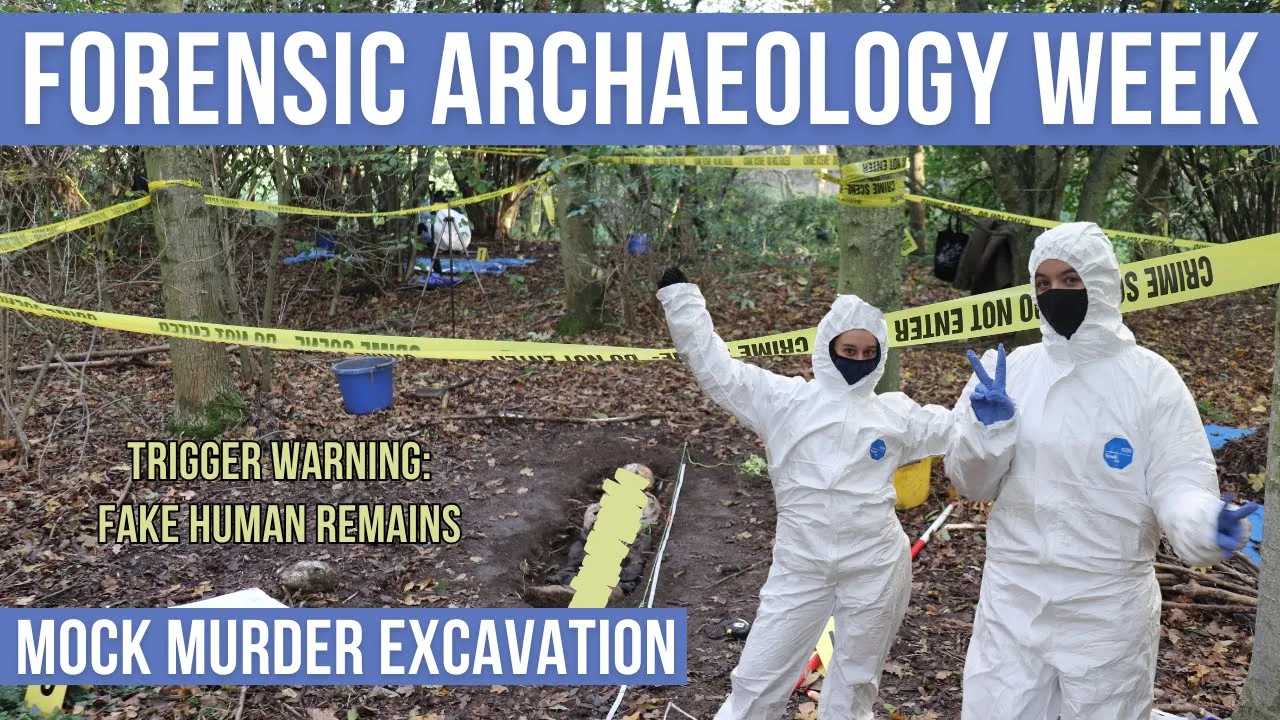
Why this video: This video provides a first-hand look at the practical, step-by-step field execution of an excavation. It demonstrates how archaeological techniques are adapted for forensics, covering baseline setups, soil stratigraphy analysis, recognizing "cut" features in soil, and preserving the context of buried evidence.

Why this video: This academic presentation introduces the core concepts and methodologies of forensic archaeology. It explains the legal necessity of preserving the context of remains and details how controlled recovery ensures that all associated evidence (such as tool marks in soil or insect pupae) remains admissible in court.

Why this video: This segment illustrates the setup of a physical search grid over a large outdoor crime scene. It shows how dividing an area into systematic, one-meter squares ensures that search teams completely document a surface scatter of bone fragments without skipping territory.
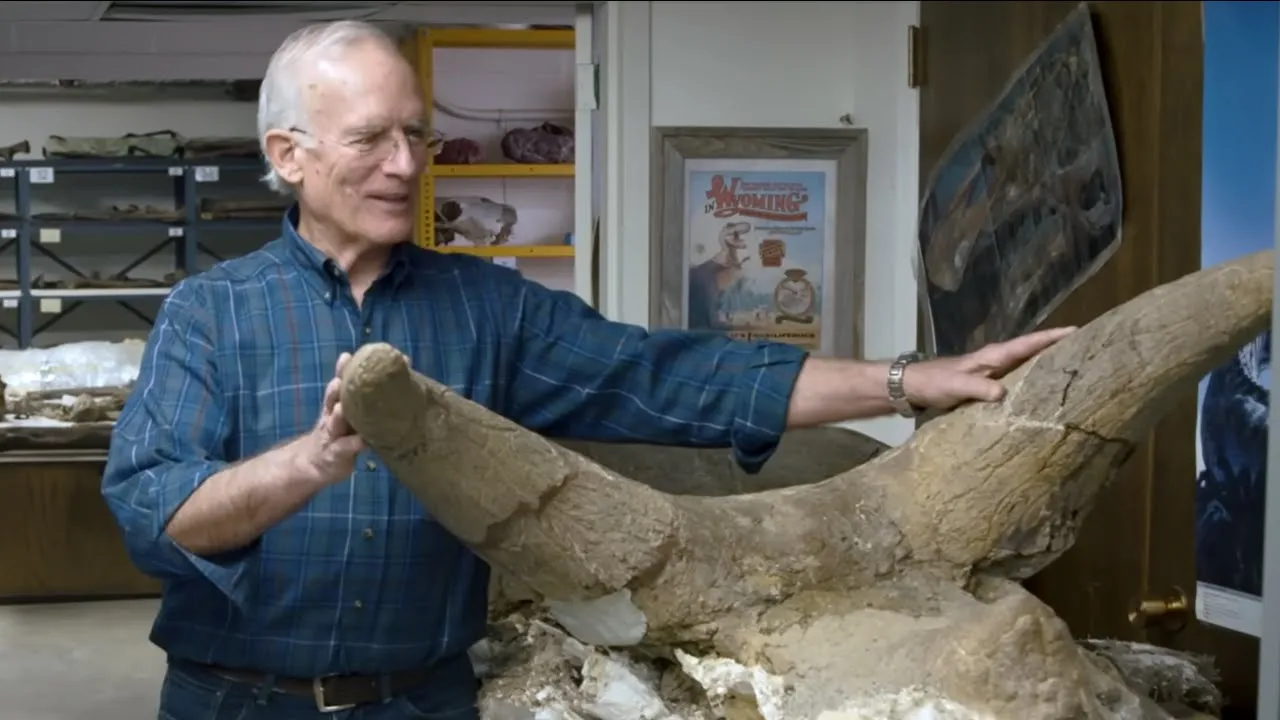
Why this video: This video provides an excellent definition and visualization of the core principles of taphonomy. Understanding how environmental exposure, water transport, weathering, and animal scavenging modify skeletal assemblages over time is crucial for reconstructing postmortem intervals and deposition history.
Coverage Acknowledgment & Study Guide
Note on Video Coverage Gaps: While the mock burial and grid videos demonstrate search and excavation workflows, they do not provide a detailed mathematical or technical tutorial on specific outdoor mapping techniques, such as hand-drawn trilateration, total station integration, or global coordinate mapping.
Independent Study Search Query: To supplement this gap, search for: "forensic archaeology mapping and grid search techniques" to learn how to establish a physical datum point, run baselines, and record coordinate points () for all mapped elements.
Module 2 Knowledge Checkpoint
- Explain how to design and execute a systematic line search and a grid search to locate scattered bone fragments across varying terrains.
- Describe the process of establishing a forensic datum and using trilateration or grid coordinates to document the spatial relationships of bones and associated physical evidence.
- Detail the proper archaeological excavation process of a grave, including horizontal skimming, soil screening, and maintaining the pedestal of remains.
- Define the term "taphonomy" and list at least four environmental factors (e.g., soil acidity, carnivore scavenging, root etching, sun bleaching) that alter bone preservation.
Module 3: Estimating the Biological Profile
Once skeletal remains are safely recovered, they are transferred to the laboratory for analysis. The immediate goal is to reconstruct the biological profile of the deceased. In this module, you will learn to analyze morphological differences in the pelvis and skull to estimate biological sex, evaluate dental development and epiphyseal fusion to estimate age, calculate stature using regression equations from long bones, and understand how ancestry is assessed.
Recommended Videos
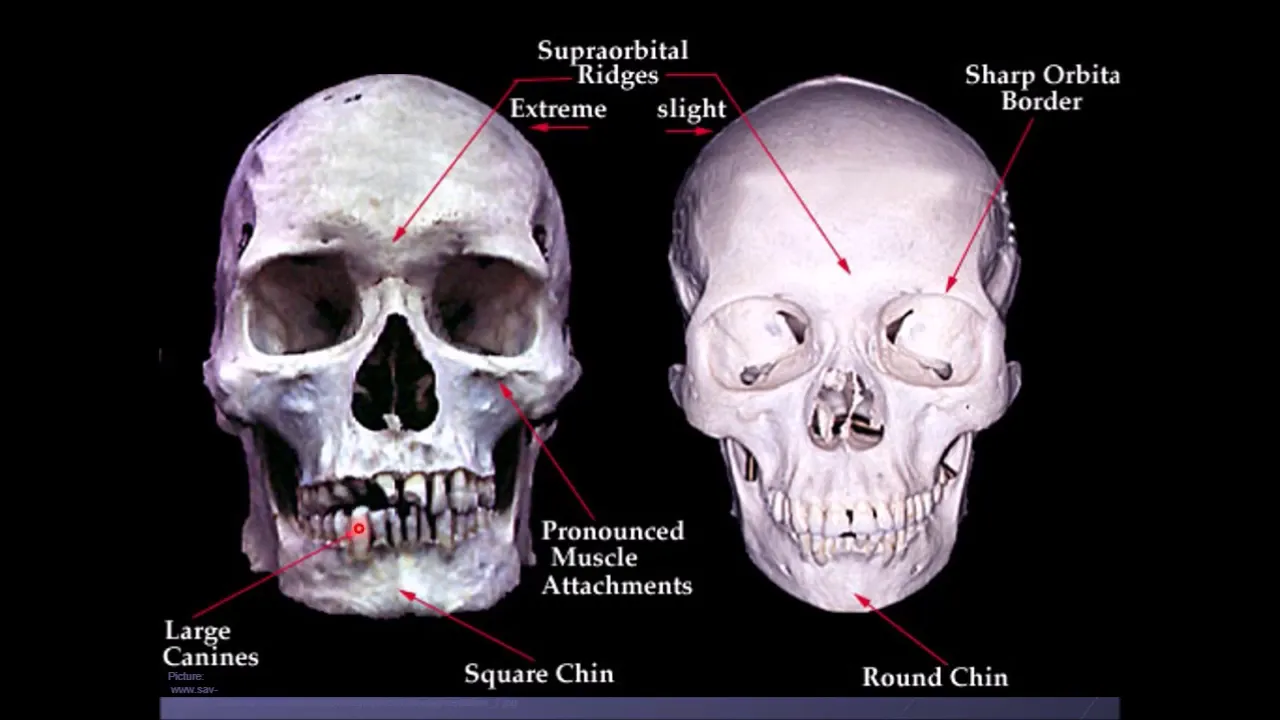
Why this video: This deep-dive, university-level video lecture is the core instructional asset for this module. It provides a highly detailed walkthrough of the physical, skeletal changes used to determine age, biological sex, and stature. It highlights key morphological areas like the pelvic girdle, cranial sutures, and long bone lengths.
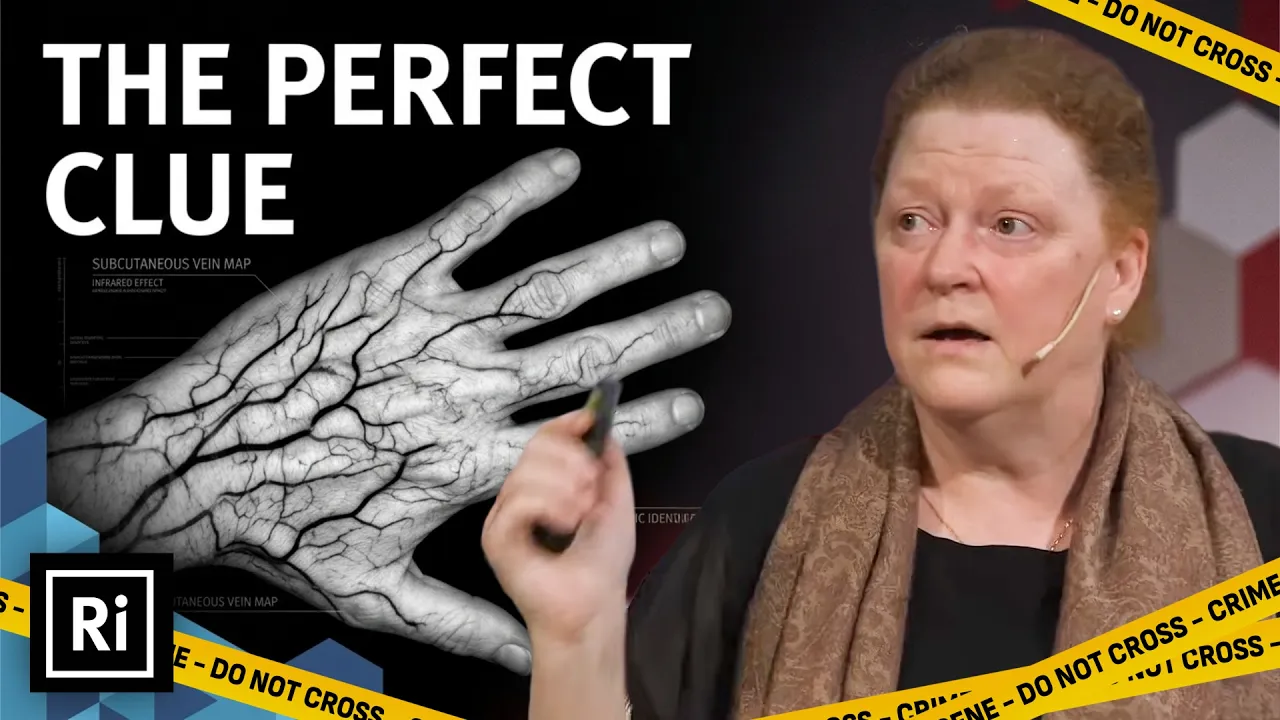
Why this video: This video walks you through the step-by-step assembly of a biological profile from a real-world case (the McDill Wood case). It highlights how multiple, distinct skeletal features are combined to restrict the search parameters of missing persons databases, demonstrating the practical application of biological profile estimation.
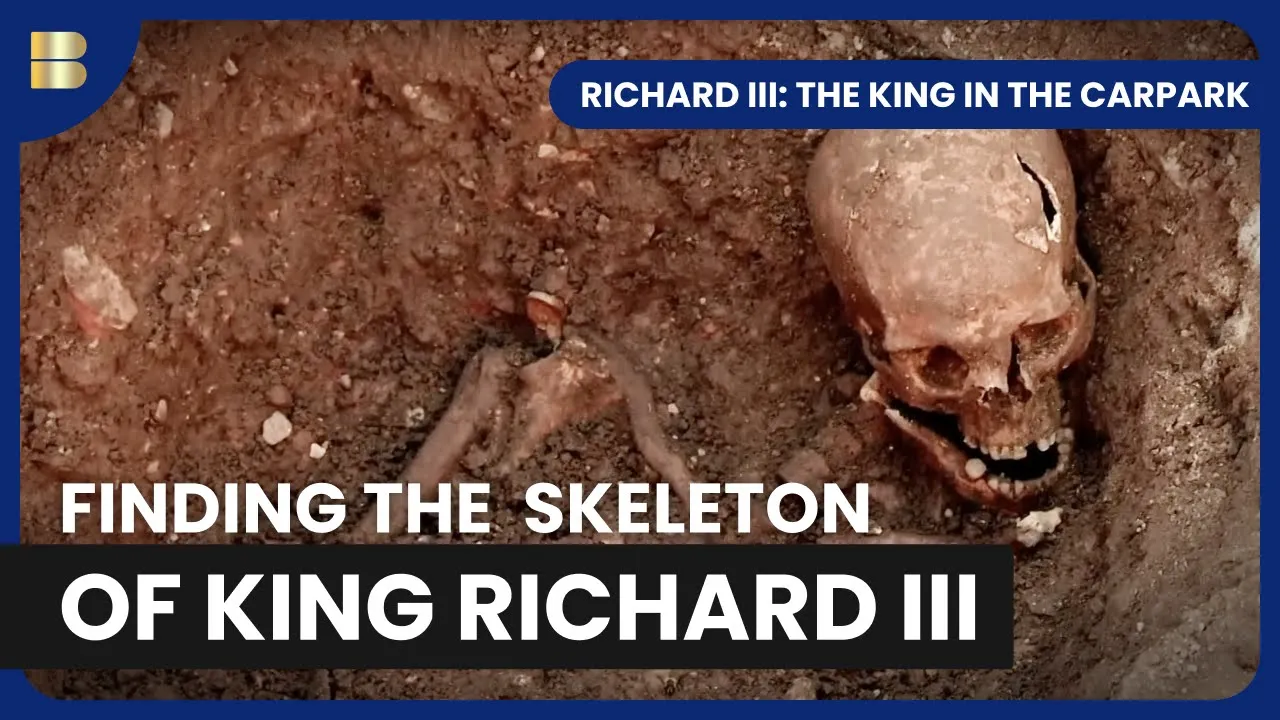
Why this video: This video focuses on the pelvic indicators used to determine biological sex. It shows researchers examining the sciatic notch and sub-pubic angles, explaining how childbirth adaptations make the female pelvic inlet broader and more circular than the narrow, heart-shaped male pelvis.
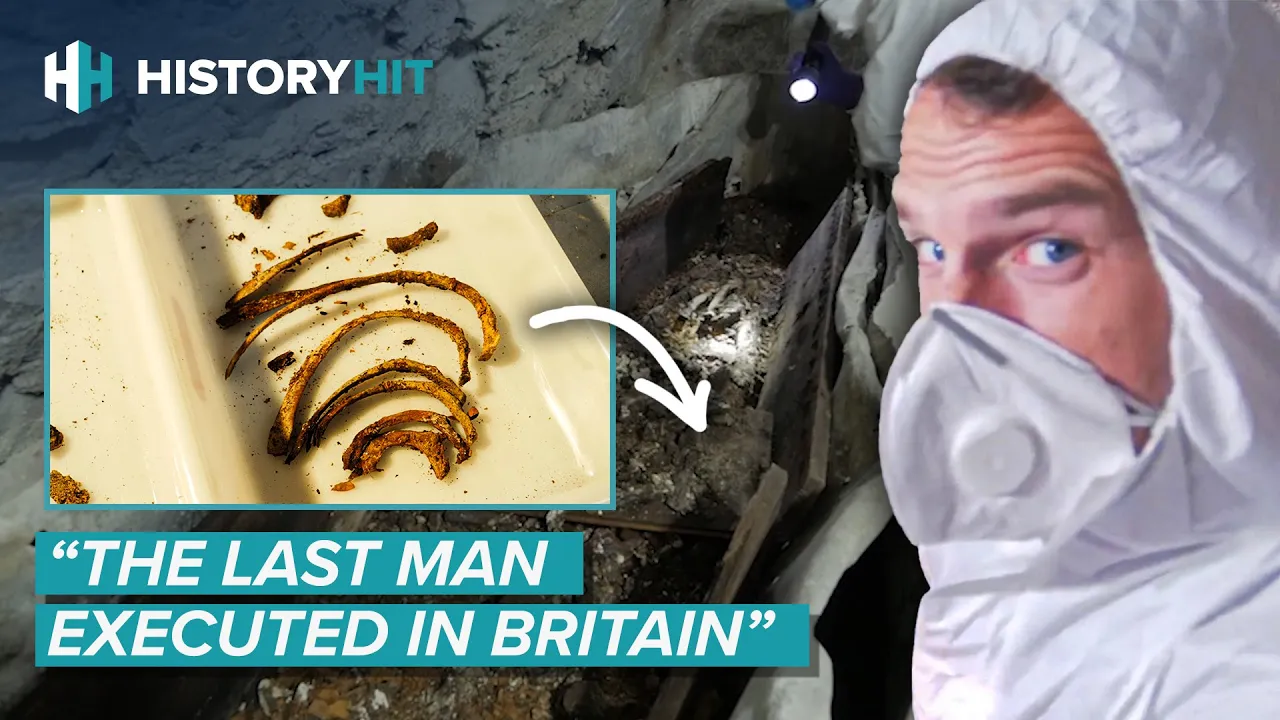
Why this video: This clip provides a clear visual demonstration of sexual dimorphism in human remains. It shows the morphological differences in the sacrum and skull, detailing how male skulls generally display more robust features, such as larger mastoid processes and prominent brow ridges.
Module 3 Knowledge Checkpoint
- Explain the key pelvic differences used to estimate biological sex, including the sciatic notch width, sub-pubic angle, ventral arc, and the overall shape of the pelvic inlet.
- List cranial landmarks used in sex estimation (mastoid process, supraorbital ridge, mental eminence, nuchal crest) and rank them on a robusticity scale (1 to 5).
- Describe how age is estimated across the lifespan using:
- Dental eruption and epiphyseal fusion for subadults.
- Pubic symphysis degradation (Suchey-Brooks method) and auricular surface changes for adults.
- Explain how osteometric boards are used to measure maximum long bone lengths (e.g., femur, humerus) to calculate stature using forensic regression formulas.
Module 4: Trauma Analysis and Pathology
This module teaches you to analyze injuries to bone tissue. You will learn to recognize the physical evidence of skeletal trauma, categorize it by mechanism (blunt force, sharp force, or ballistic trauma), and determine the timing of the trauma relative to death (antemortem, perimortem, or postmortem).
Recommended Videos

Why this video: This courtroom clip introduces the vital distinction between antemortem, perimortem, and postmortem injuries. The expert witness explains how the presence of hemorrhaging and cellular healing responses in bone tissue indicates that an injury occurred while the individual was alive.

Why this video: In this video, an orthopedic surgeon analyzes the biomechanics of bone fractures. He explains how bone behaves under stress, detailing how force magnitude, surface area contact, and anatomy determine fracture patterns (such as spiral, transverse, or comminuted fractures).

Why this video: This episode segment focuses on postmortem skeletal damage, specifically highlighting "recovery trauma." It demonstrates how excavators or environmental forces can accidentally break dry bones, and explains how to differentiate these clean, unhealed, postmortem breaks from perimortem fractures.
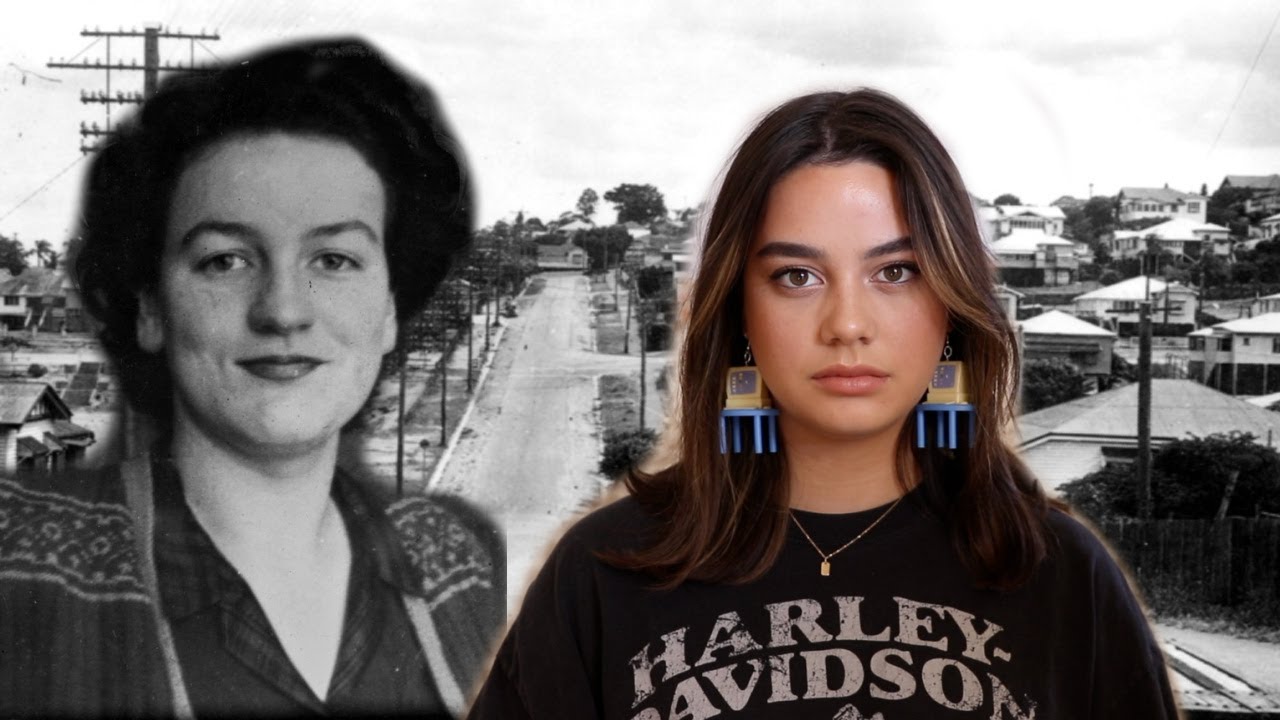
Why this video: This clip illustrates the morphological distinctions between blunt force and sharp force trauma. It discusses how heavy, blunt objects cause widespread crushing and radiating fractures, whereas sharp implements (like knives) create localized cuts or kerfs with clean edges.
Coverage Acknowledgment & Study Guide
Note on Video Coverage Gaps: While these videos highlight the differences in tissue damage and fracture mechanics, they do not provide a structured academic lecture on the exact diagnostic criteria of ballistic trauma (e.g., distinguishing entry vs. exit wounds by internal/external beveling) or the physics of bone viscoelasticity.
Independent Study Search Query: To supplement this gap, search for: "skeletal trauma analysis antemortem perimortem postmortem" to study clinical/forensic manuals detailing green bone vs. dry bone fracture behaviors.
Module 4 Knowledge Checkpoint
- Define and distinguish between:
- Antemortem Trauma: Shows osteogenic activity (bone remodeling or rounded margins of a fracture).
- Perimortem Trauma: Occurs when bone is fresh ("green"), characterized by angled margins, radiating fractures, and plastic deformation.
- Postmortem Damage: Jagged, light-colored bone breaks with perpendicular angles and no radiating microfractures.
- Describe the biomechanical behavior of bone under tension, compression, bending, shear, and torsion forces.
- Identify key signatures of blunt force trauma (e.g., concentric and radiating fractures, depression fractures) versus sharp force trauma (e.g., cut marks, chop marks, shave marks, kerfs).
- Differentiate entry and exit gunshot wounds in cranial bone by analyzing internal and external beveling patterns.
Module 5: Mass Disasters, Human Rights, and Positive Identification
This module focuses on applying forensic anthropology to mass casualty events, humanitarian human rights investigations, and legal identification. You will explore the standardized protocols of Disaster Victim Identification (DVI), learn how investigators excavate and document mass graves to gather evidence of war crimes, and study the techniques used to establish positive identification via dental records (forensic odontology) and skeletal DNA.
Recommended Videos

Why this video: This video is a comprehensive introduction to the internationally standardized Disaster Victim Identification (DVI) process. It details the systematic, four-stage workflow: (1) Scene examination and recovery, (2) Postmortem data collection, (3) Antemortem data profiling, and (4) Reconciliation, showing how anthropology serves mass-disaster responses.

Why this video: This FRONTLINE segment provides a powerful look at the archaeological excavation of mass graves for international war crimes tribunals. It shows how forensic experts recover commingled remains, assess trauma patterns, and construct legally-binding evidence to document human rights violations.

Why this video: This courtroom expert testimony explains positive identification using DNA extracted from bone. It highlights why mitochondrial DNA (mtDNA) is highly effective for degraded, skeletonized, or burned remains, detailing how biological samples are cross-referenced with family members to confirm identity.
Why this video: This historical and methodological lecture details the foundation of forensic human rights investigations. It highlights the pioneering work of Dr. Clyde Snow training the Argentine Forensic Anthropology Team (EAAF) to identify the "disappeared," showing how forensic science can restore identity to victims of state violence.
Coverage Acknowledgment & Study Guide
Note on Video Coverage Gaps: While the videos introduce mass graves and the DVI workflow, they do not provide a step-by-step technical guide to the complex laboratory task of sorting commingled bones (e.g., using osteometric sorting, visual pair-matching, or calculating the Minimum Number of Individuals - MNI).
Independent Study Search Query: To supplement this gap, search for: "mass grave excavation forensic anthropology human rights protocols" to study the United Nations (UN) Minnesota Protocol and the International Committee of the Red Cross (ICRC) guidelines on forensic identification.
Module 5 Knowledge Checkpoint
- Explain the four phases of INTERPOL's Disaster Victim Identification (DVI) protocol: Scene, Postmortem (PM), Antemortem (AM), and Reconciliation.
- Define Commingling and describe the mathematical and anatomical processes used to determine the Minimum Number of Individuals (MNI) and Number of Identified Specimens (NISP).
- Discuss the ethical, social, and logistical challenges of recovering and identifying human remains in active or post-conflict human rights investigations.
- Differentiate between presumptive identification methods (e.g., personal items, biological profile matching) and positive identification methods (e.g., comparative dental radiography, surgical implants, nuclear/mitochondrial DNA matching).
Course Map
Below is the recommended pathway for navigating this curriculum. It tracks the logical workflow of a real-world forensic anthropology case: starting with baseline identification in the lab, moving to field recovery, back to the lab for profiling and trauma analysis, and culminating in large-scale legal investigations.
Key People Index
The following notable pioneers and contemporary forensic scientists are highlighted throughout this curriculum:
- Professor Dame Sue Black
A world-renowned Scottish forensic anthropologist and anatomist. Dame Sue Black is celebrated for her forensic work in the UK and her international humanitarian contributions, including identifying victims of the Kosovo conflict. Her lectures highlight the rigorous legal standards of forensic testimony. - Dr. Clyde Snow (1928–2014)
One of the most influential figures in the history of forensic anthropology. Dr. Snow revolutionized the field by applying physical anthropology directly to human rights abuses. He founded the Argentine Forensic Anthropology Team (EAAF) in 1984, establishing protocols for investigating mass graves and state-sanctioned killings. - Dr. Murray Marks
A highly active, board-certified forensic anthropologist who has participated in high-profile cases (including the examinations of Brian Laundrie and Joel Guy Jr.). His clinical and academic work focuses on skeletal trauma, taphonomic changes, and modern forensic identification. - Dr. C. Owen Lovejoy
An influential biological anthropologist noted for his contributions to biomechanics, human evolution (including the reconstruction of the "Lucy" fossil), and skeletal aging methodologies. His research forms the basis of many modern age and sex estimation techniques.
Final Self-Assessment
Test your mastery of the material by completing the following checklist. To consider this course complete, you should be able to confidently perform or explain each of the following tasks:
- Skeletal Inventory: Explain how to perform a full skeletal inventory of recovered remains, detailing how you would document bone preservation and fragmentation.
- Human vs. Non-Human: Describe three morphological features of the pelvis that can immediately differentiate a human skeleton from a quadruped animal of similar size.
- Taphonomic Analysis: Look at a bone surface and identify marks left by carnivore gnawing (tooth punctures/scoring) versus postmortem excavation damage (sharp, unweathered, light-colored scrapes).
- Excavation Setup: Describe how to lay out a grid system using the 3-4-5 triangle method to establish perfect right angles at a mock crime scene.
- Sex Estimation: Given a skull and pelvis, identify the five cranial landmarks of robusticity and three pelvic landmarks to estimate the biological sex of the individual.
- Subadult vs. Adult Aging: Explain why skeletal age estimation is highly precise for children (using dental development and epiphyseal fusion) but becomes increasingly variable for older adults (using joint degeneration and cranial suture closure).
- Fracture Biomechanics: Explain the concept of "plastic deformation" in bone fractures, and explain why it occurs in perimortem trauma but is absent in postmortem dry-bone breakage.
- Cranial Gunshot Trauma: Analyze a circular defect in a cranial bone to determine the direction of fire based on beveling, and distinguish entry from exit wounds.
- MNI Calculation: Calculate the Minimum Number of Individuals (MNI) for an assemblage containing: 7 left humeri, 4 right humeri, 12 left femora, and 9 right femora.
- DVI Operations: List the primary professional roles (e.g., forensic odontologist, anthropologist, pathologist, fingerprint examiner) that collaborate within the Reconciliation phase of a DVI team.