Acoustics: DIY Panel Build, Placement & REW
Learning Goal: Design and build custom acoustic absorption panels for a home studio, calculating optimal placement and measuring acoustic frequency response improvements using Room EQ Wizard (REW).
- Prerequisites: Basic comfort with simple woodworking hand tools, basic computer literacy (installing software and configuring audio drivers), and a basic understanding of audio interfaces/microphones.
- Estimated Total Study Time: 14 hours (including video studies, hands-on construction, software installation, calibration, and room tuning runs).
Module 1: Fundamentals of Sound & Room Acoustics
Overview
Before you cut your first piece of wood or buy insulation, you must understand how sound behaves inside an enclosed room. When a speaker generates sound, the waves do not simply reach your ears and vanish—they bounce off the walls, floor, and ceiling. This module breaks down the physics of sound reflections, standing waves, and room modes, and clarifies the critical boundary between treating your room's internal sound versus soundproofing your room from neighbors.
Recommended Videos
Why this video is valuable: This video clears up the most common point of confusion for beginners: the difference between acoustic treatment and soundproofing. It clearly explains that acoustic treatment works on the internal sound quality of a space by controlling reflections and reverberation using porous absorbers. In contrast, soundproofing is about decoupling and adding dense mass to prevent sound from entering or leaving a space entirely.
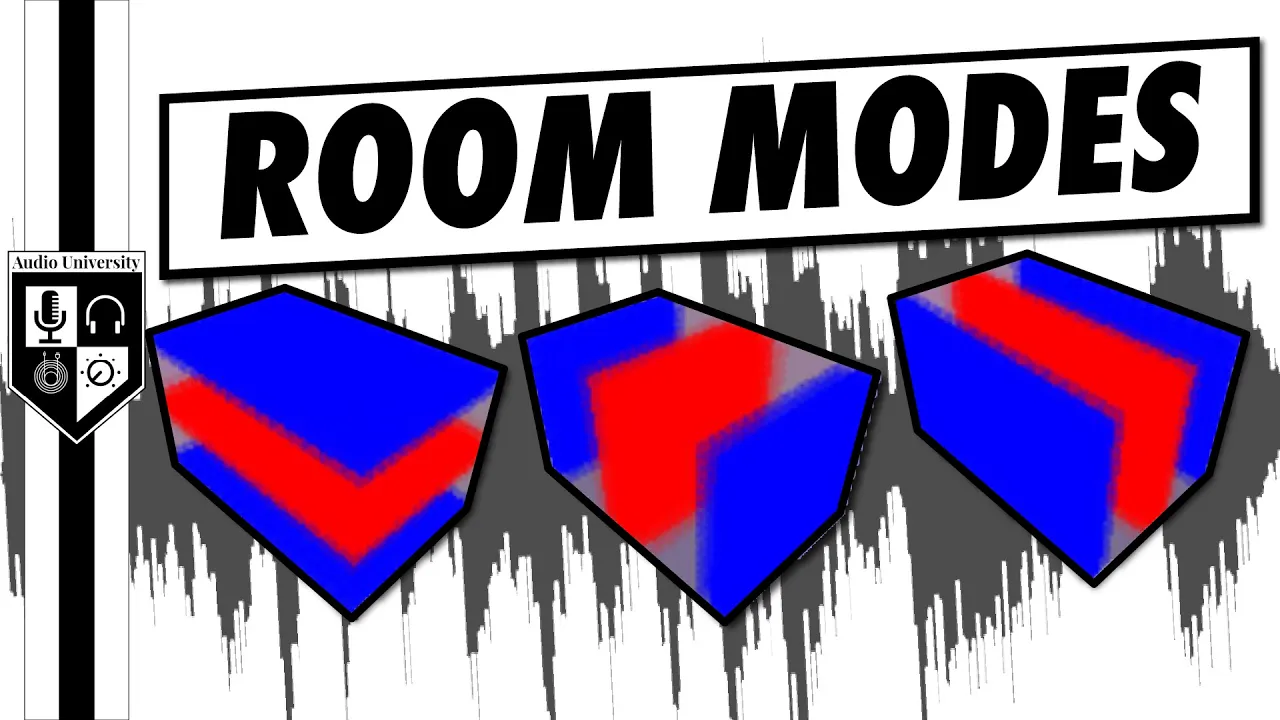
Why this video is valuable: This visual explainer addresses the "room mode" gap highlighted in initial curriculum reviews. It illustrates how standing waves are created when sound reflects between parallel surfaces in a room. You will learn the exact math of how fundamental room modes are directly proportional to a room's physical dimensions () and how these resonances degrade mixing accuracy in small rooms.

Why this video is valuable: This video provides a solid step-by-step primer on room modes. It explains how sound waves match room dimensions to build high and low-pressure points. It helps you visualize how standing waves interact with physical obstacles, highlighting why strategic absorption placement is critical to flattening your listening room's frequency response.
Module 1 Knowledge Checkpoint
- Can you explain the difference between soundproofing and acoustic treatment, and identify why thin acoustic foam fails to treat low-frequency standing waves?
- How do physical room boundaries create axial room modes? Use the formula to explain why lower frequencies present a larger acoustic problem in small rooms.
- What is a standing wave, and why does its geometry result in alternating points of extreme pressure peaks and complete nulls at specific listening positions?
Module 2: Material Science: Selecting Insulation & Fabric
Overview
The efficiency of an acoustic panel relies on the physics of porous absorption. When sound waves hit porous insulation material, the vibrating air molecules penetrate the material, rubbing against fibers and converting acoustic energy into thermal energy (heat). To design a highly effective panel, you must choose core materials with optimal gas flow resistivity and wrap them in a fabric that allows sound waves to pass through unhindered.
Recommended Videos
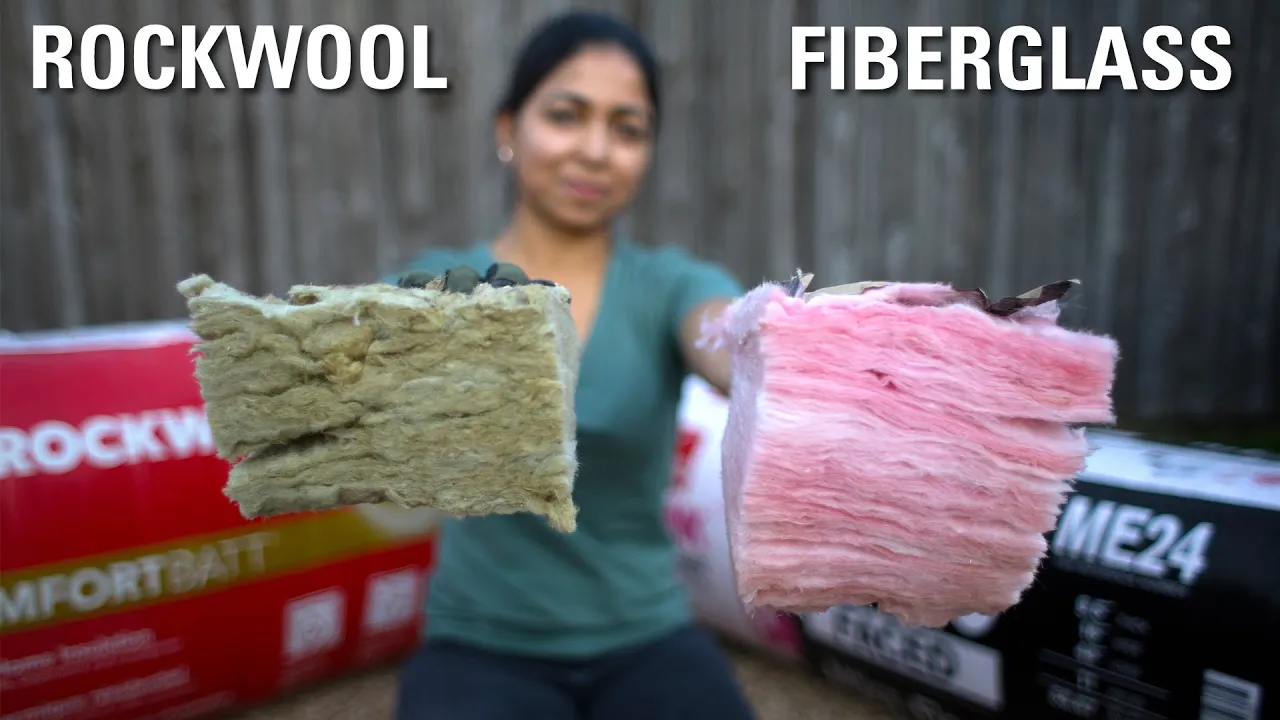
Why this video is valuable: This deep dive compares the two most popular core materials: Rockwool (stone wool) and Fiberglass. You will learn the mechanical differences, manufacturing origins, and structural properties of both. This knowledge is crucial for selecting a core material that offers structural rigidity, safe handling parameters, and superior acoustic performance.

Why this video is valuable: This video directly addresses the gap regarding fabric breathability testing. It demonstrates two simple, practical DIY tests to run on any potential wrapping fabric: the breath test (breathing through the fabric to feel airflow on your hand) and the voice test (speaking through the fabric to ensure high frequencies are not muffled or reflected).
Why this video is valuable: This video highlights why selecting 100% breathable cotton is ideal for custom panel wraps. It provides clear, actionable instructions on choosing cheap, highly breathable, yet structurally solid fabrics that let sound travel straight through to your acoustic insulation rather than bouncing off the panel face.
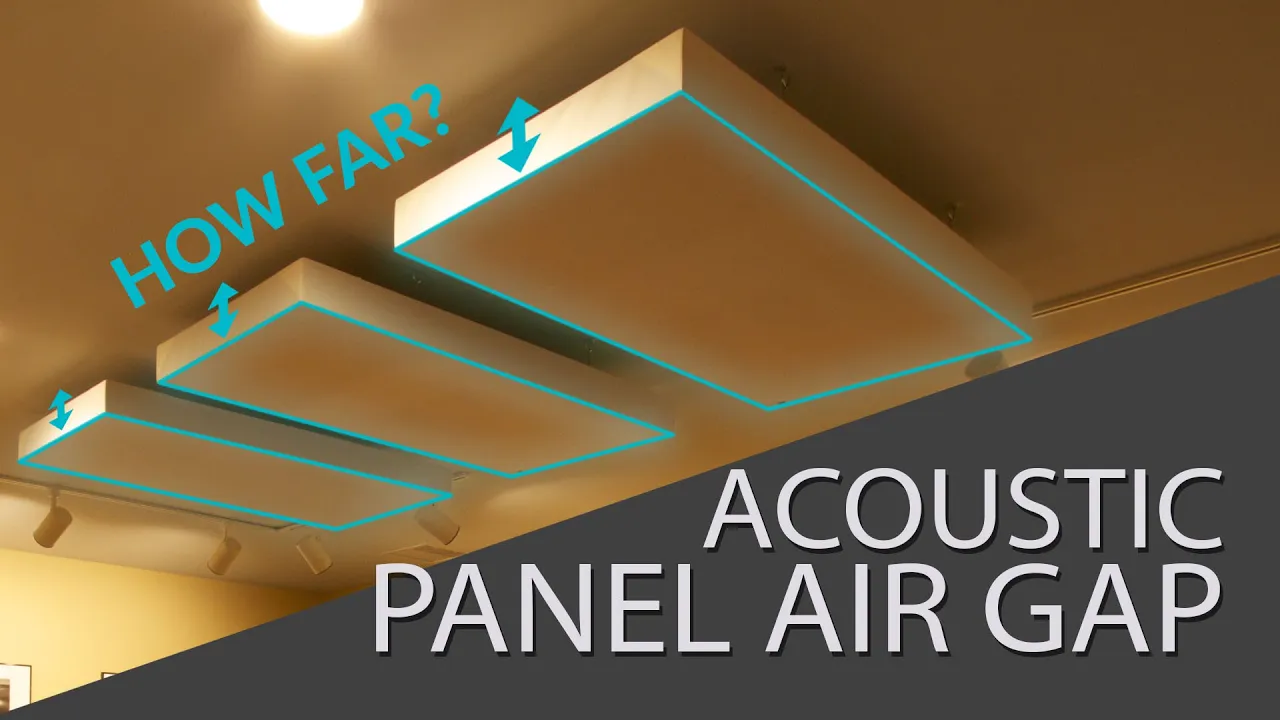
Why this video is valuable: This tutorial explains the physics behind acoustic air gaps. It demonstrates how leaving a physical space between the wall and the back of your acoustic panel effectively doubles its low-frequency absorption capacity without requiring you to purchase more core insulation.
Module 2 Knowledge Checkpoint
- What is gas flow resistivity, and why do mineral wool and dense fiberglass outperform cheap open-cell packing foam in managing low frequencies?
- How do you perform a breathability test to confirm a fabric is acoustically transparent?
- Explain how an air gap behind a 4-inch panel changes the quarter-wavelength relationship of sound waves and improves low-frequency absorption.
Module 3: Step-by-Step DIY Panel Construction
Overview
This module transitions from theory to practical woodworking and assembly. You will learn to construct robust wooden frames, safely cut and fit mineral wool batts, wrap them cleanly, and staple the corners for a professional finish.
Recommended Videos
Why this video is valuable: This video provides a complete start-to-finish workflow for fabricating frames from scratch. It details step-by-step tasks, including ripping plywood strips to size, using miter cuts for joints, pre-drilling screw holes, inserting insulation, and wrapping panels for a clean look.

Why this video is valuable: This wrapping tutorial shows you how to achieve clean, crisp corners on your acoustic panels. It guides you through using a breathable backing liner, wrapping front fabrics with uniform tension, folding corner flaps, and stapling clean, bulk-free edges.
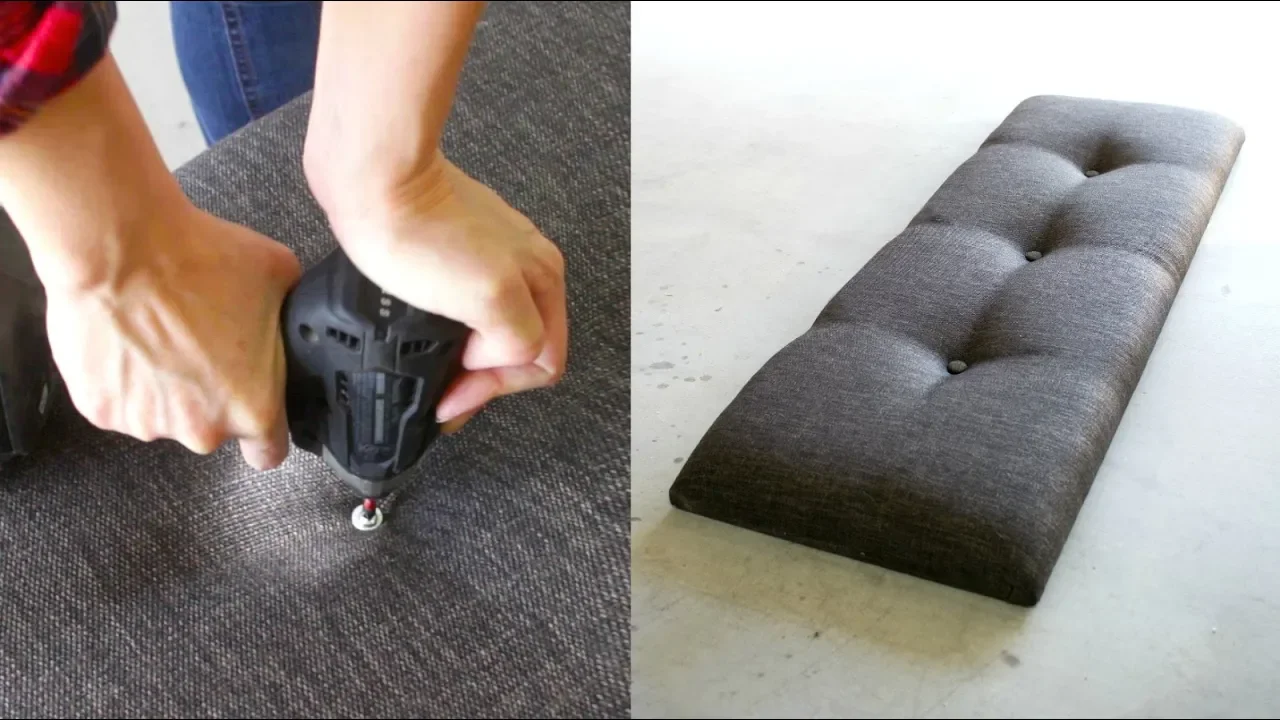
Why this video is valuable: This video focuses on wrapping neat upholstery corners. By demonstrating how to pull fabric tight, trim excess inner bulk with scissors, and fold corners neatly like a gift box, this clip helps you avoid bulky, unsightly lumps at your panel frame corners.
Module 3 Knowledge Checkpoint
- What structural dimensions are required for framing a standard 2' x 4' insulation batt, and how do you ensure the frame joints remain square?
- What safety precautions must you take when cutting and handling fiberglass or Rockwool insulation cores?
- Explain the folding and tensioning sequence required to wrap fabric over a wooden frame without creating wrinkles or bulky corners.
Module 4: Acoustic Panel Placement & Studio Geometry
Overview
Even professional-grade acoustic panels will fail to perform if placed incorrectly. Sound waves travel in straight lines and reflect like light. To optimize your room's acoustics, you must align your monitors using precise geometry, locate the high-velocity reflection points on your walls, and treat your corners to capture build-ups of bass energy.
Recommended Videos

Why this video is valuable: This video establishes the geometric baseline for your studio. It covers the "38% Rule" (placing the listening position at 38% of the room's total depth to avoid severe room mode peaks and nulls) and outlines how to position your monitors to form a perfect equilateral triangle with your listening spot.

Why this video is valuable: This video addresses the "mirror trick" gap. It walks you through using a mirror along your side walls to find first reflection points. By marking where you see your monitor's tweeter in the glass, you can place your panels exactly where they will catch early reflections.

Why this video is valuable: This quick guide shows why bass traps are placed in corners. It explains how low-frequency energy travels along walls and pools in corners. Placing heavy panels in these high-pressure zones helps absorb problematic low-end resonances.
Module 4 Knowledge Checkpoint
- What is the "38% rule" for listening position depth, and why does this position yield a flatter frequency response before applying treatment?
- How do you execute the "mirror trick" with an assistant to identify early reflection points on your left wall, right wall, and ceiling?
- Why do low-frequency sound waves build up in corners, and how do corner bass traps help treat these areas?
Module 5: Room EQ Wizard (REW) Setup & Calibration
Overview
Acoustics is a science of precision. To know if your DIY treatment is working, you must measure your room's response before and after installation. Room EQ Wizard (REW) is the industry standard for this task. In this module, you will set up a calibrated measurement microphone, configure your audio interface, and run your first test sweep.
Recommended Videos
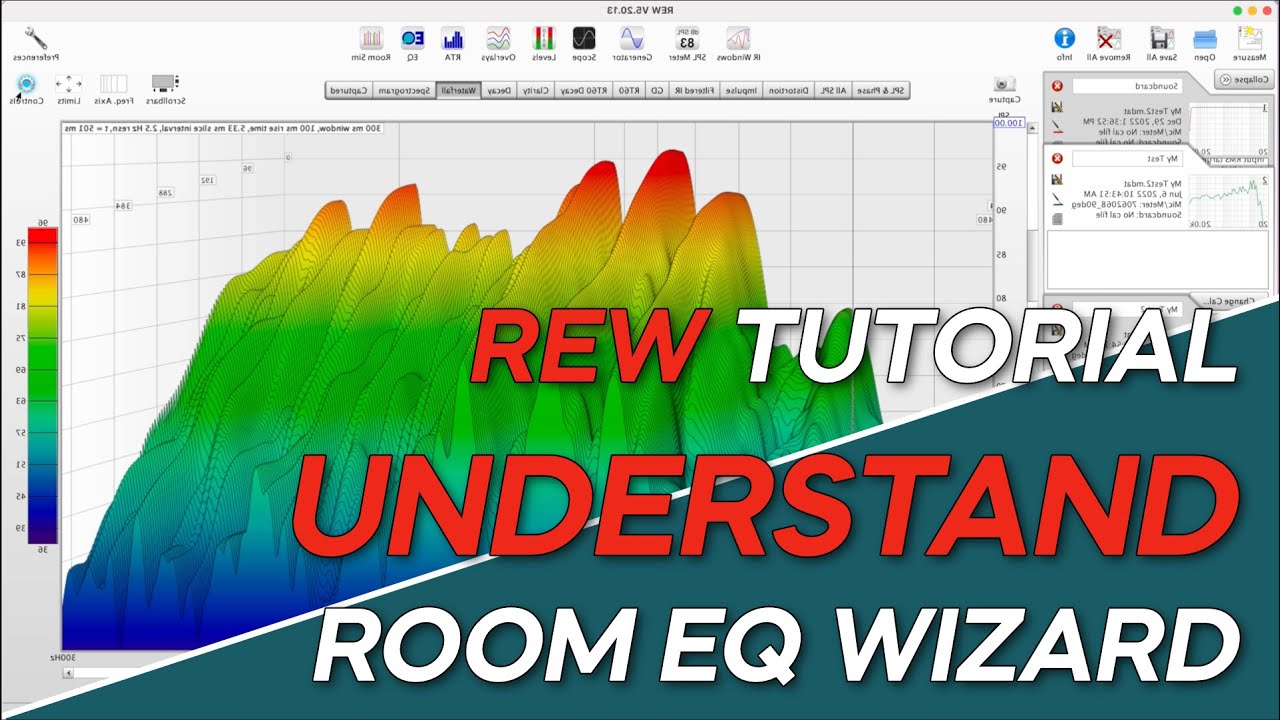
Why this video is valuable: This tutorial from GIK Acoustics provides a step-by-step walkthrough of installing REW, connecting a measurement microphone, and running basic sweeps. It is a clear, accessible guide to getting your software up and running.

Why this video is valuable: This video details the physical setup of measurement gear, focusing on audio interface routing and level matching. It guides you through calibrating your output volumes to a safe level of around 75–80 dB SPL to ensure clean, low-distortion sweeps.
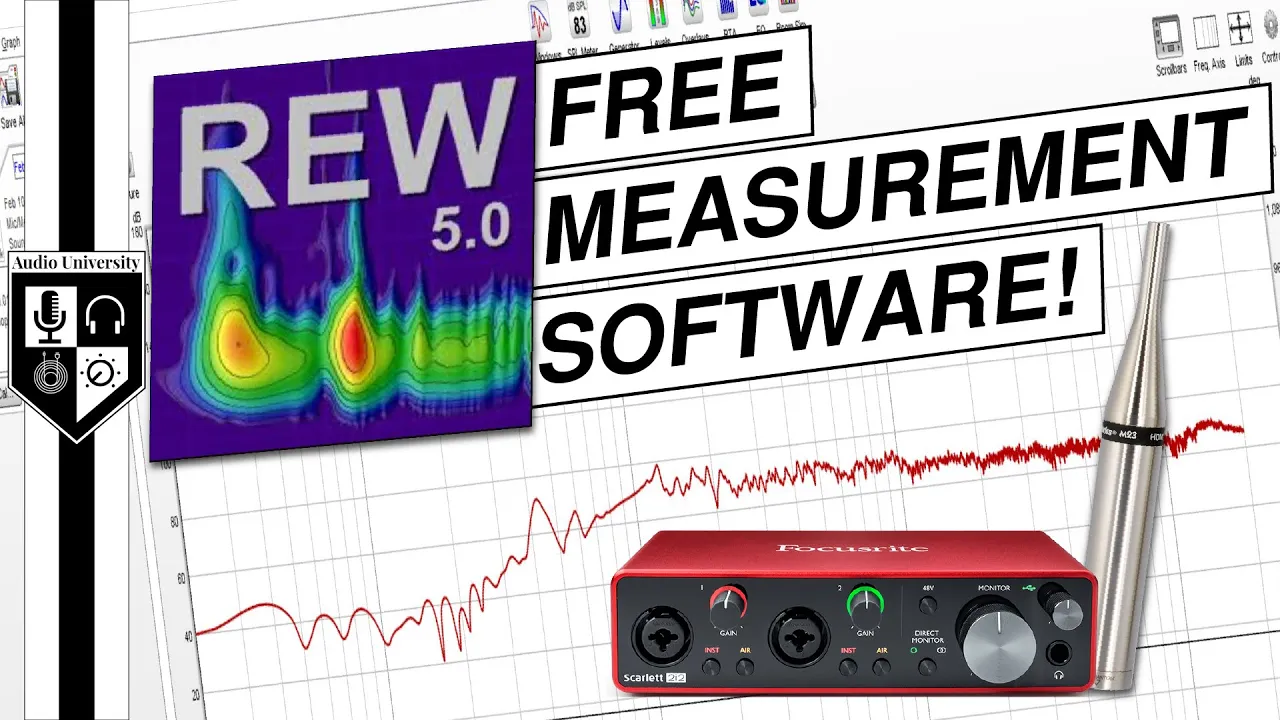
Why this video is valuable: This quick reference video breaks down how to configure your system's hardware routing in the REW measurement settings panel, showing you exactly how to direct output and input channels to prepare for a sweep.
Module 5 Knowledge Checkpoint
- Why is an omnidirectional, calibrated measurement microphone (such as the UMIK-1) required instead of a standard vocal mic?
- What is the purpose of SPL calibration in REW, and how do you use an SPL meter to set your target playback level to 75–80 dB SPL?
- Describe the step-by-step setup in REW to configure your output channels, input channels, and select the correct mic calibration file.
Module 6: Measuring, Analyzing & Tuning the Room
Overview
Taking a measurement is only half the battle; you must also know how to interpret the data. This final module covers how to analyze your room's acoustic profile using REW graphs. You will learn to read SPL curves, identify phase cancellation from comb filtering, and use waterfall graphs to measure decay times (RT60) across different frequencies.
Recommended Videos

Why this video is valuable: This comprehensive guide directly addresses the gap regarding decay time and graph analysis. It shows you how to read REW's SPL/phase plots and waterfall graphs, helping you spot muddy resonances, identify ringing frequencies, and confirm your panels are reducing decay times.
![Everything You Need To Know About Comb Filtering [with Audio Examples]](https://i.ytimg.com/vi/0wvlrBx3U4c/maxresdefault.jpg)
Why this video is valuable: This video focuses on comb filtering—a common acoustic issue where early reflections combine with direct sound to cause phase cancellations. Learning to spot these "comb" patterns in REW's SPL graph helps you confirm where you need extra absorption.
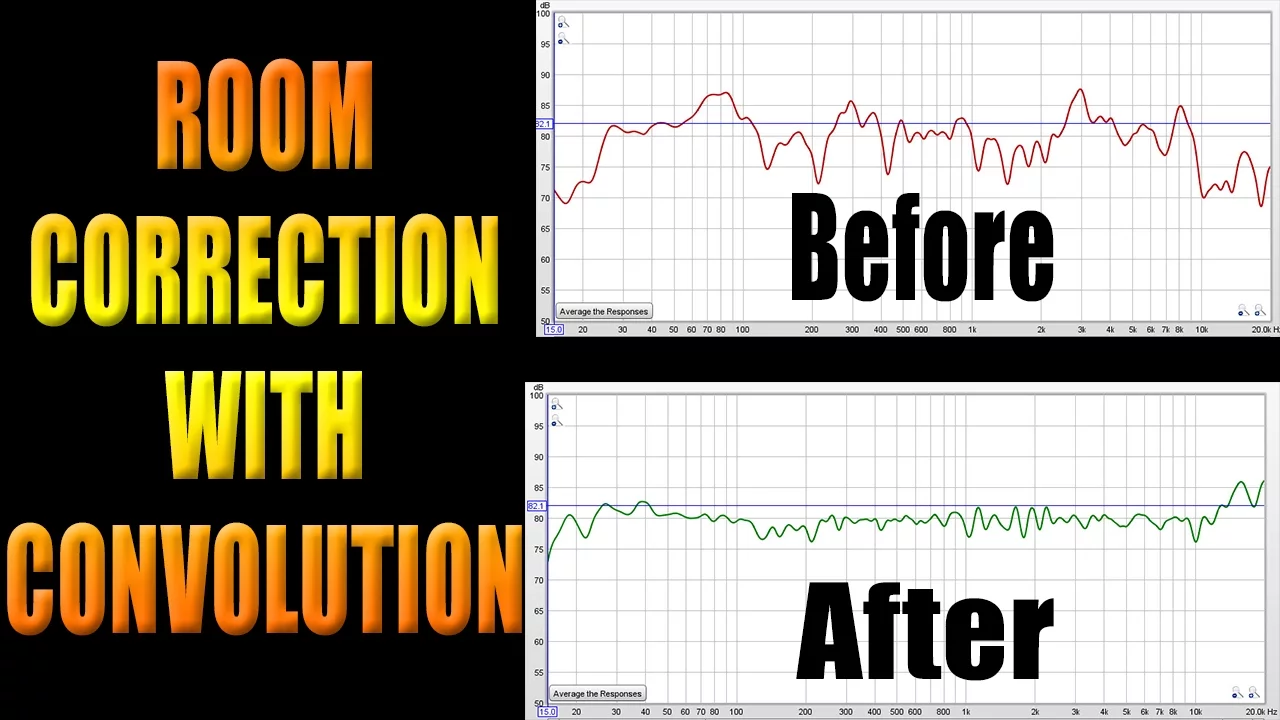
Why this video is valuable: This tutorial shows you how to compare measurements before and after applying acoustic treatment, and guides you through using digital EQ correction to help flatten any remaining room response issues.
Module 6 Knowledge Checkpoint
- How do you identify a room mode versus a phase cancellation on an REW SPL frequency response graph?
- On an REW waterfall graph, what does the Z-axis represent? Explain how to identify a low-frequency "ringing" mode that requires more bass trapping.
- What is comb filtering, and how does your SPL graph change when you place panels at first reflection points?
Course Map
Key People Index
- Mitch Gallagher (Sweetwater): Long-time pro audio specialist and educator who demonstrates real-world home studio setup workflows.
- Wilson Harwood (Recording Studio Rockstars): Professional audio engineer and studio builder who popularized simplified DIY measurement hacks like the mirror trick.
- Luke Hendrickson: Renowned church and worship mix engineer specializing in stereo field optimization and early reflection control.
- Belinda Carr: Material scientist and architectural construction reviewer who provides extensive technical comparisons of mineral wool versus fiberglass insulation.
Final Self-Assessment
- Acoustic Theory Mastery: You can confidently explain the difference between soundproofing and acoustic treatment, and identify how axial room modes are calculated.
- Insulation Selection: You have chosen a core material (e.g., Rockwool or rigid fiberglass) with the proper density and thickness for your acoustic targets.
- Fabric Testing: You have tested your wrapping fabric using the breath and voice tests to verify it is acoustically transparent.
- Structural Assembly: You have built square, sturdy wooden frames and mounted the insulation safely while wearing appropriate protective gear.
- Crisp Corners: You have wrapped and stapled your panels with consistent fabric tension, ensuring no bulk or bunching at the corners.
- Geometric Monitor Setup: Your monitors and listening chair form a perfect equilateral triangle, with your ears placed at 38% of the room's depth.
- Reflection Point Identification: You have marked and covered all first reflection points on your walls and ceiling using the mirror trick.
- REW Calibration: Your measurement microphone is set up at your listening position at ear height, and your software is calibrated to a safe, accurate SPL level.
- Frequency Response & Waterfall Analysis: You can perform sweeps, read the resulting SPL curves, spot comb filtering issues, and identify ringing modes on waterfall graphs.
- Acoustic Verification: You have compared your before-and-after REW measurements to confirm a reduction in frequency response peaks/nulls and shorter decay times.