ESP32 Hydroponics: Automation, EC, pH & Relays
Learning Goal: Design and build a closed-loop automated hydroponic cultivation chamber, controlling EC, pH, and lighting schedules using an ESP32 microcontroller and custom relays.
- Prerequisites: Basic understanding of electronics (voltage, current, resistance), familiarity with the Arduino IDE, and foundational high-school chemistry concepts (acids, bases, and ion concentration).
- Estimated Total Study Time: 44 Hours
Module 1: Hydroponic Fundamentals: Biology, EC & pH
Module Overview
To build an automated system, you must first understand the biological system you are controlling. This module establishes the chemical and biological foundations of hydroponic farming, focusing on how plant roots uptake nutrients, why electrical conductivity (EC) acts as a proxy for nutrient concentration, how pH controls nutrient availability, and how the light spectrum regulates photosynthetic pathways.
Recommended Videos
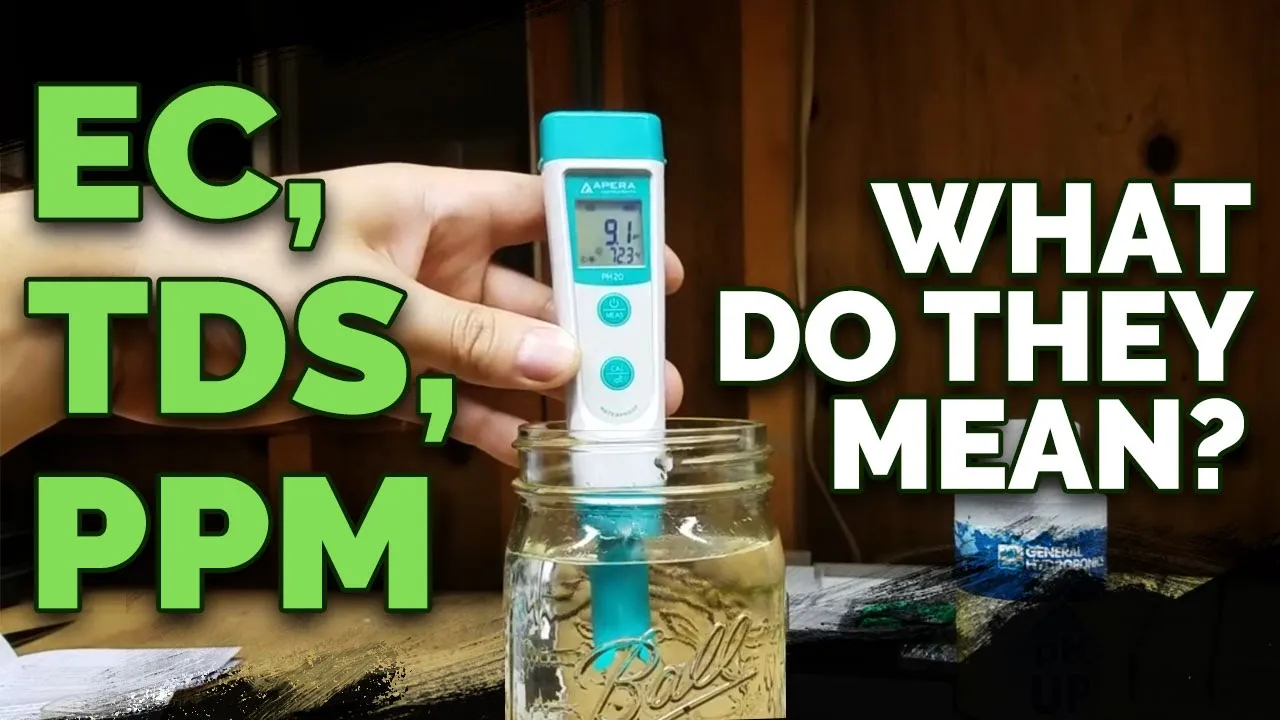
- Why this video is valuable: This video serves as the perfect foundational deep-dive, clarifying the relationship between Electrical Conductivity (EC), Total Dissolved Solids (TDS), and parts per million (PPM). It explains how to interpret these measurements to determine if your plants are "hungry" or experiencing nutrient burn, which is critical for writing automation logic.
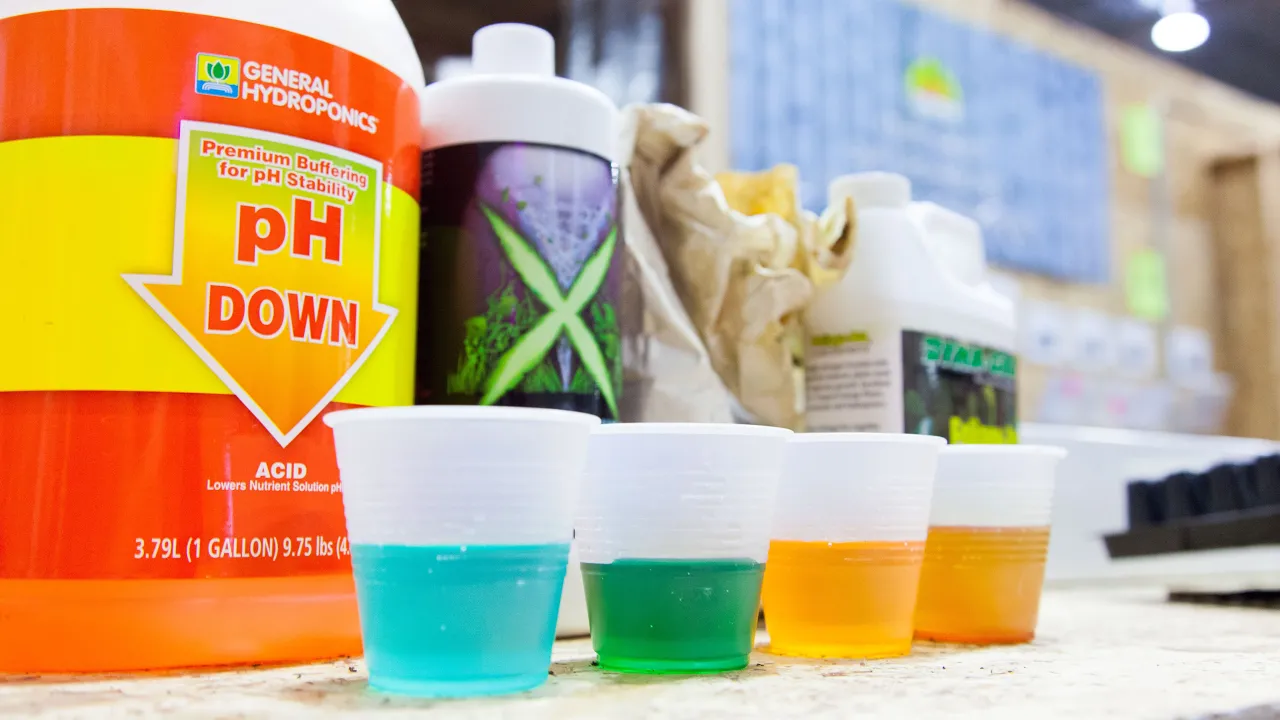
- Why this video is valuable: This short guide provides industry-standard target operating metrics for automated hydroponic reservoirs. It highlights optimal EC ranges (1.2 to 3.3 mS/cm) and explains why maintaining specific pH limits is necessary to avoid nutrient lockout.
- Why this video is valuable: This video explains the molecular-level science of water dissociation into hydronium () and hydroxide () ions. Understanding this logarithmic scaling helps engineers appreciate why automated acid/base dosing must be designed with fine precision to avoid extreme chemical swings.

- Why this video is valuable: Although brief, this video discusses light spectrum limitations, pointing out that plants require specific red spectrum wavelengths (specifically 660 nm) for optimal growth. This provides context on why you cannot use standard white domestic LEDs for your automated grow chamber.
Knowledge Checkpoint
- Explain the physical meaning of Electrical Conductivity (EC) and why it is used as a proxy for PPM/TDS.
- Describe the chemical difference between acidic, neutral, and alkaline nutrient solutions in terms of ion concentration.
- Define "nutrient lockout" and identify the pH ranges where critical macro-nutrients (Nitrogen, Phosphorus, Potassium) become unavailable.
- Describe how red light spectrums (specifically 660 nm) affect vegetative plant growth and photosynthetically active radiation (PAR).
Module 2: ESP32 Microcontroller Basics & Electronics
Module Overview
To automate a biological system, you need a computational "brain." This module transitions from biology to embedded systems, introducing the ESP32 microcontroller. You will learn about its high-performance dual-core architecture, configure the Arduino IDE development environment, and master the fundamental GPIO (General Purpose Input/Output) operations, specifically Analog-to-Digital Conversion (ADC) and Pulse Width Modulation (PWM).
Recommended Videos
- Why this video is valuable: This is a complete step-by-step setup guide for the ESP32. It covers the installation of essential USB-to-UART bridge drivers (CP210x or CH340), development board integration in the Arduino IDE, and compiling your first script to test the board's basic hardware functionalities.

- Why this video is valuable: For those transitioning from simple 8-bit platforms like the Arduino Uno to the 32-bit ESP32, this video details key hardware differences. It covers the 240MHz dual-core processing speeds, memory mapping (Flash vs RAM), and the critical 3.3V logic level constraints of the ESP32.
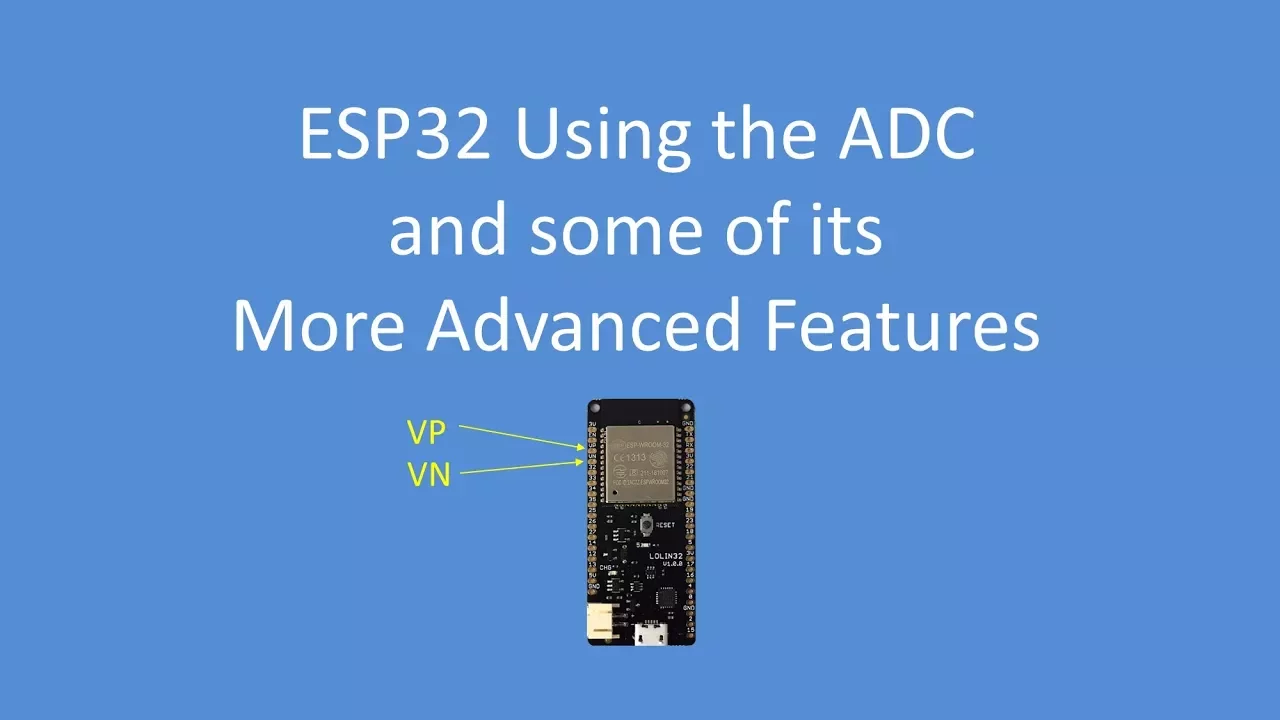
- Why this video is valuable: Since pH and EC probes output analog voltage signals, understanding the ESP32's built-in 12-bit Analog-to-Digital Converter (ADC) is critical. This technical lecture explains how to configure ADC resolution, adjust attenuation settings (0dB up to 11dB), and understand the linear range boundaries of the ESP32.
Knowledge Checkpoint
- Connect an ESP32 board to your PC, configure the Arduino IDE Board Manager, and successfully compile/flash code.
- Contrast the 3.3V logic levels of the ESP32 with traditional 5V microcontrollers and list the consequences of applying 5V directly to ESP32 pins.
- Calculate the step resolution of a 12-bit ADC ( steps) versus a standard 10-bit ADC ( steps).
- Explain how Pulse Width Modulation (PWM) duty cycles simulate analog voltages using high-frequency digital pulses.
Module 3: Sensors Calibration: Measuring pH and EC
Module Overview
An automation system is only as good as its data. pH and EC sensors act as the sensory organs of your hydroponic chamber. Because raw sensors output small analog voltages that drift over time and vary across individual units, software calibration is essential. In this module, you will learn the electrochemical working principles of glass pH electrodes, write ESP32-compatible ADC voltage-mapping algorithms, and implement multi-point calibrations.
Recommended Videos

- Why this video is valuable: Explains the physical chemistry inside a glass pH probe. It details the interaction between the internal reference electrode (silver/silver chloride wire in saturated KCl), the high-impedance glass membrane, and how the exchange of hydrogen ions generates a measurable millivolt potential difference.
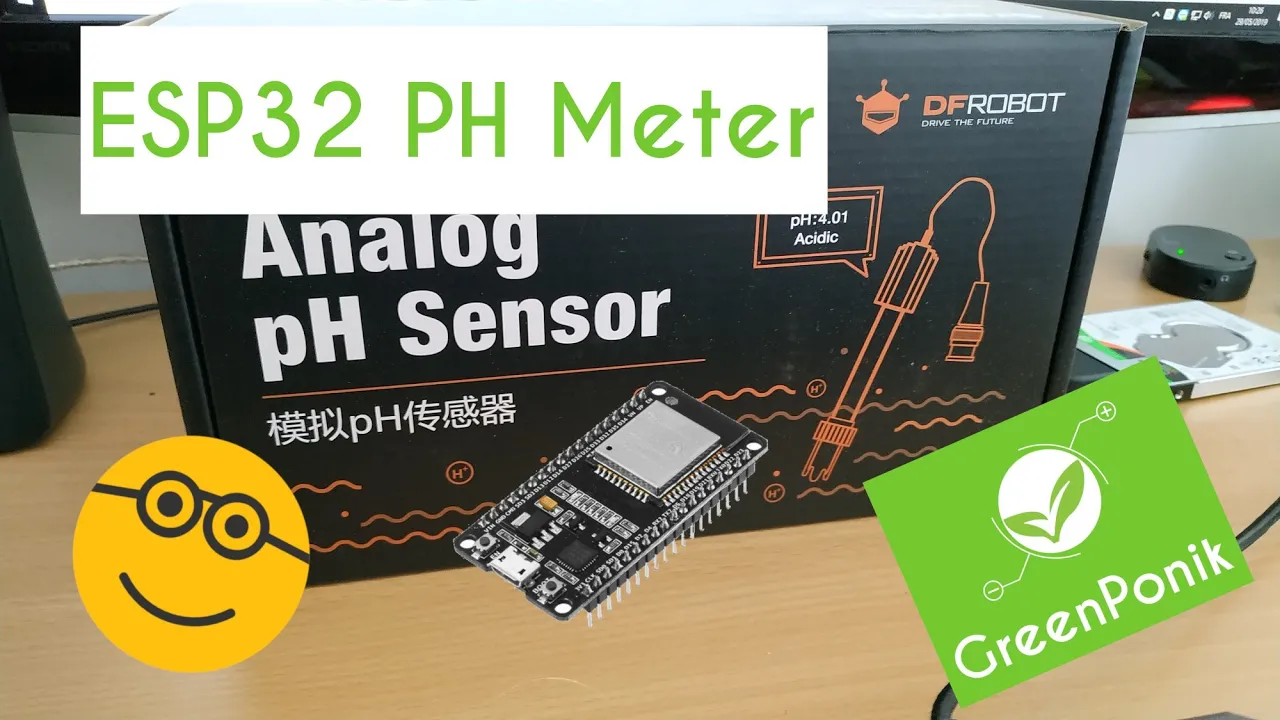
- Why this video is valuable: This is a comprehensive, practical guide on integrating a physical analog pH sensor with the ESP32. It covers the exact wiring connections, how to adapt legacy Arduino sensor libraries to compile cleanly on ESP32, and the physical calibration steps using pH 4.0 and pH 7.0 buffer fluids.
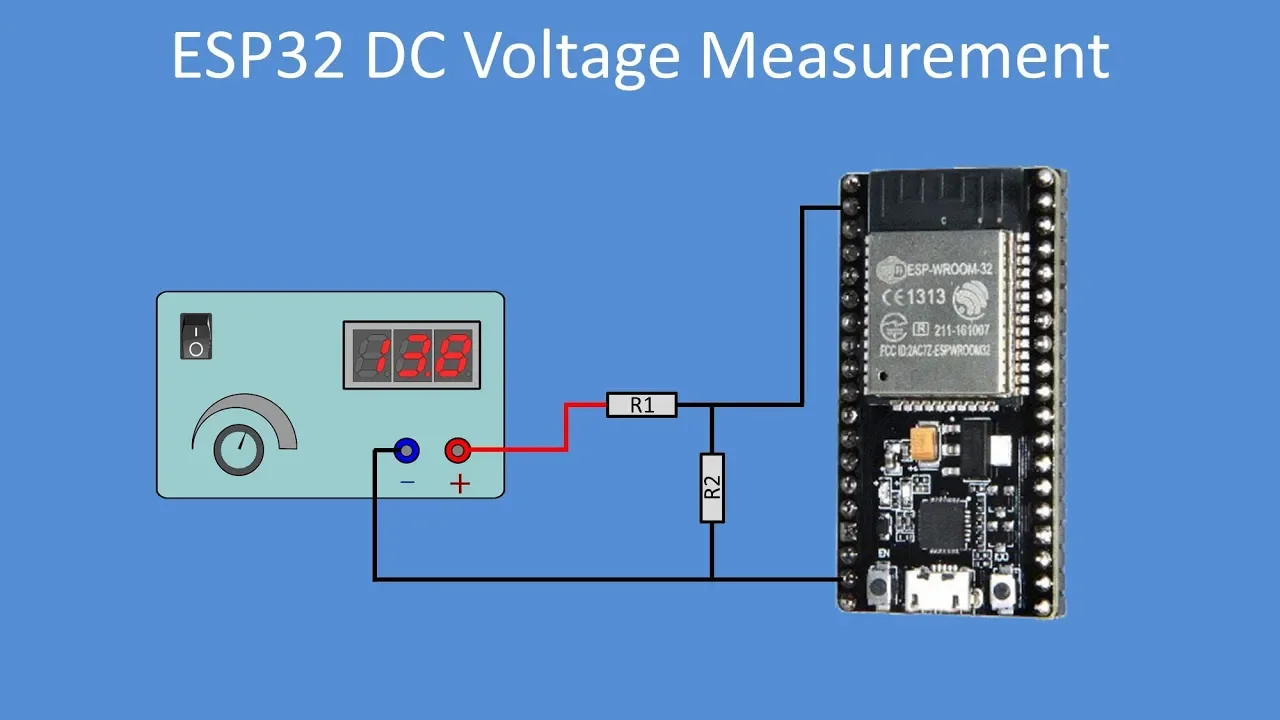
- Why this video is valuable: Demonstrates how to write custom voltage calculation formulas inside the firmware. This is essential for converting the raw integer readings returned by
analogRead()into the actual analog voltages output by your sensor signal conditioning boards.
⚠️ Educational Note: EC Sensor Calibration Gaps
While our video pool contains strong material for pH probes, there is a lack of step-by-step videos demonstrating direct ESP32 code calibration for analog EC (Electrical Conductivity) probes.
Independent Search Recommendation: To complete your implementation of the EC sensor module, search YouTube or web forums for:
"ESP32 analog EC sensor calibration K-value code"
Specifically, research how to calculate the Cell Constant () of your probe by measuring a standard calibration solution (typically or ) and implementing temperature compensation inside your ESP32 code using a temperature sensor like the DS18B20 (as EC readings fluctuate by ~2% per °C).
Knowledge Checkpoint
- Describe how hydrogen ion accumulation on a glass bulb membrane produces millivolt changes in a pH probe.
- Write a line of C++ code to convert a 12-bit analog input reading () into an actual measured voltage, accounting for ESP32's logic ceiling.
- Explain why a two-point calibration routine (using pH 7.0 for offset and pH 4.0 or 10.0 for slope/gain) is necessary for accurate long-term measurements.
- Detail how temperature variations affect electrical conductivity (EC) readings and how to mathematically compensate for it.
Module 4: Actuators, Relays, and Power Safety
Module Overview
To manipulate the physical environment, your ESP32 must interface with physical actuators. This requires driving high-current devices—such as 12V DC peristaltic dosing pumps and 110V/220V AC grow lights—using low-voltage, low-current microcontrollers. This module covers the hardware interfaces required for high-power control: electromagnetically isolated relays for AC mains and solid-state MOSFETs with PWM for fine DC pump speed control.
Recommended Videos

- Why this video is valuable: This video details the foundational purpose of relays: using a low-current trigger signal to switch high-current circuits. It walks through the pinout functions, including the control coil inputs and the load switches.
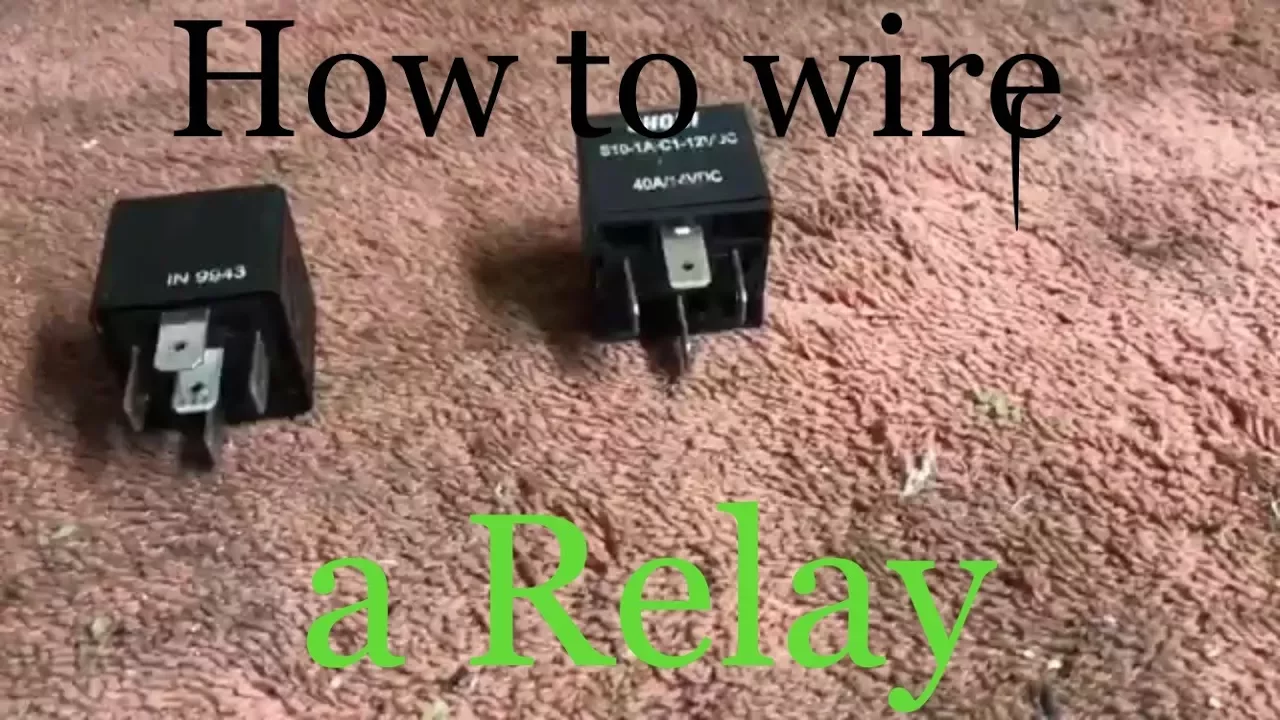
- Why this video is valuable: A deep-dive detailing the mechanical internal actions of relays. This video clearly explains the terminal layouts of standard relays, showing how to wire up the Common (COM), Normally Open (NO), and Normally Closed (NC) contacts.
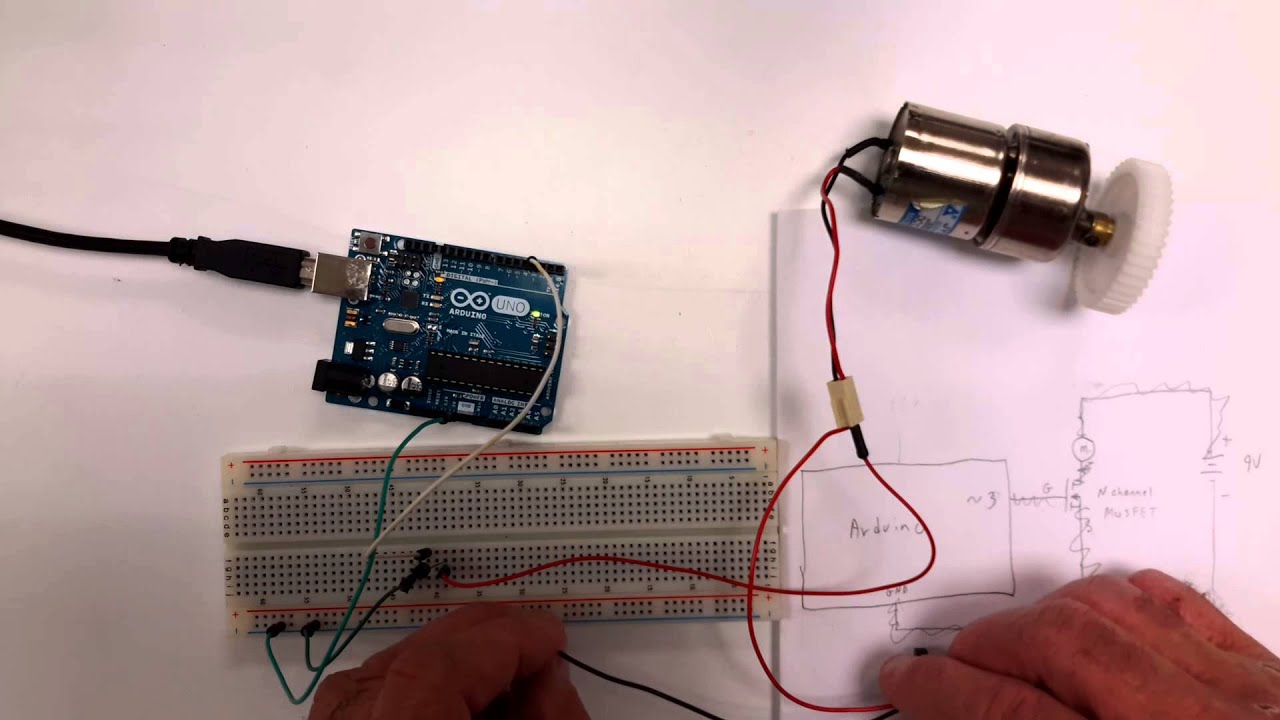
- Why this video is valuable: Relays are mechanical and wear out if switched rapidly. For precise chemical dosing, we need variable speed control on our peristaltic pumps. This tutorial shows how to interface an N-Channel MOSFET with a microcontroller, using PWM to dial in exact liquid flow rates.
- Why this video is valuable: Demonstrates the functional installation of 12V DC peristaltic pumps. It details how the internal rollers compress a silicon tube to draw and push fluids without any mechanical components touching the liquids, preventing chemical contamination of the nutrient reservoir.
- Why this video is valuable: Because grow lights often run on high-voltage AC mains power, electrical safety is paramount. This video explains the concepts of mains electricity, wire color coding (Live, Neutral, and Earth), and the essential role of fuses and grounding in preventing shocks.
Knowledge Checkpoint
- Draw a wiring schematic showing how to connect an ESP32 GPIO pin to a relay module to control an AC-powered grow light.
- Explain the functional electrical difference between the Normally Open (NO) and Normally Closed (NC) terminals of a relay.
- Explain why a flyback diode is necessary when driving inductive loads like DC motors or relay coils.
- Describe how a logic-level N-Channel MOSFET uses gate voltage to switch a high-current load.
Module 5: Closed-Loop Control, Dosing Logic & Hysteresis
Module Overview
With sensors reporting readings and pumps ready for actuation, we now implement the feedback logic that binds them together. Closed-loop control systems use real-time sensor feedback to make immediate actuator decisions. In this module, you will learn to implement a practical control algorithm known as "hysteresis" (or bang-bang control) to manage your nutrient levels and pH. This logic prevents sensor noise from repeatedly triggering your relays, protecting your physical hardware from rapid wear.
Recommended Videos
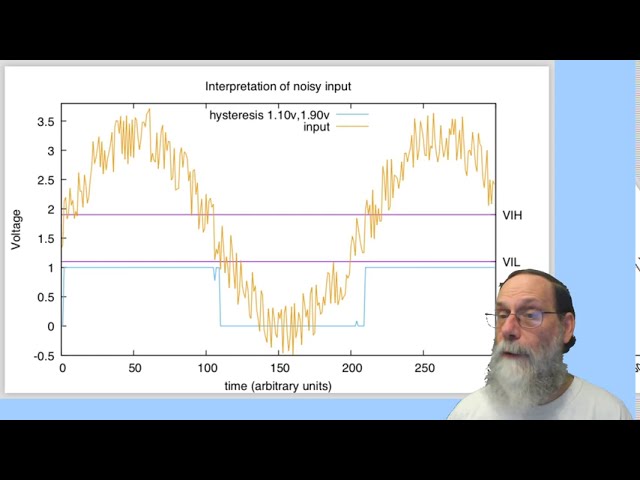
- Why this video is valuable: This is a clear academic lecture on the mathematics and logic of hysteresis. It explains how using two distinct control thresholds (high and low bounds) instead of a single target value prevents rapid actuator switching (chattering) caused by noisy sensor inputs.
- Why this video is valuable: This video provides a practical, real-world demonstration of hysteresis in temperature-based control loops. It shows how configuring a delay mechanism prevents fans/pumps from continually ramping up and down due to minor sensor oscillations.

- Why this video is valuable: Automated hydroponic systems require reliable scheduling for lighting and water cycles. This video demonstrates how to interface a DS3231 Real-Time Clock (RTC) module with an ESP32 to maintain accurate local time, allowing you to trigger grow light relay schedules independently of Wi-Fi access.
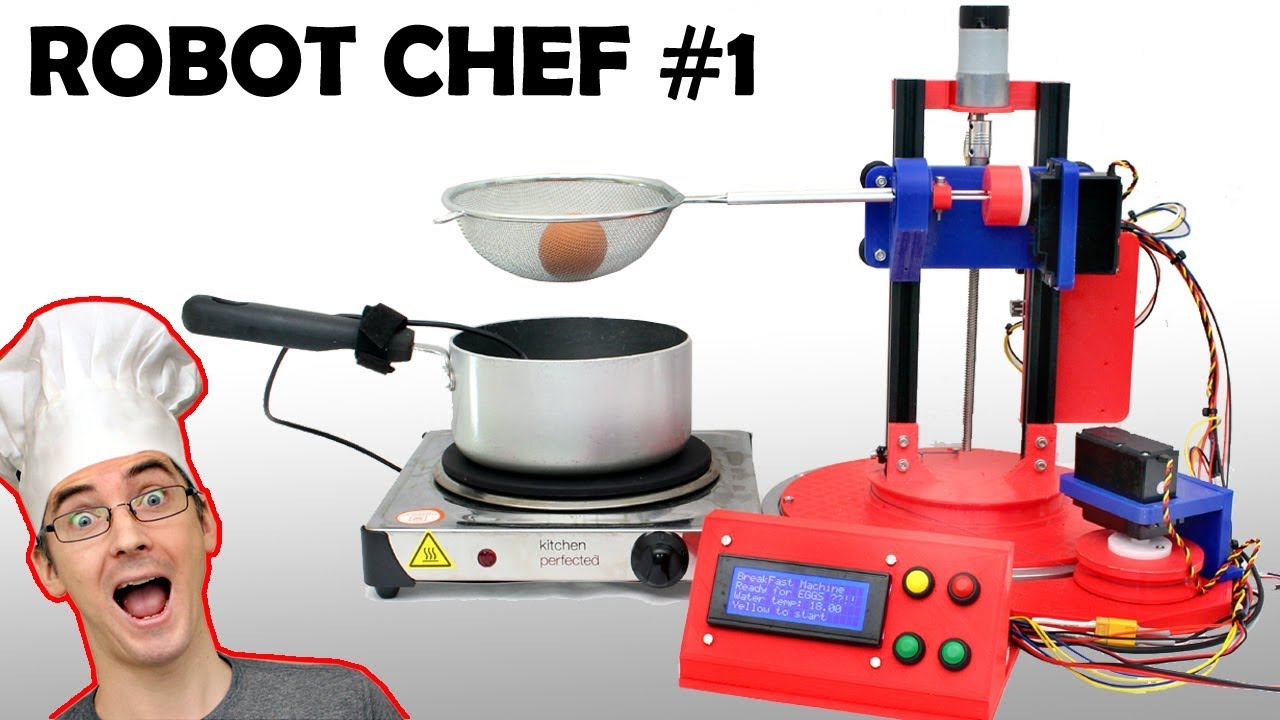
- Why this video is valuable: Illustrates how to implement finite state machine (FSM) programming logic. By breaking down your automation sequence into explicit integer states (e.g., State 0: Measuring; State 1: Dosing; State 2: Mixing/Waiting), you can structure clean, non-blocking code.
⚠️ Educational Note: Dosing Loop Implementation
Dosing concentrated chemicals (such as pH Down phosphoric acid or liquid plant fertilizers) into a water reservoir is a slow chemical process. If you dose continuously, your sensors will read values that are too high or too low before the chemicals mix throughout the reservoir, causing extreme overshoots (e.g., locking out your plants with a pH of 3.0).
To implement a safe dosing loop, structure your State Machine with a "Duty Cycle":
- MEASURE state: Read pH or EC over several seconds and calculate an average.
- DECIDE state: If the reading crosses your hysteresis threshold, enter the DOSING state.
- DOSE state: Turn on your peristaltic pump for a brief, fixed duration (e.g., 2 seconds).
- DELAY/MIX state: Turn off the pump and wait for a long duration (e.g., 5 minutes) to let the water circulation pump thoroughly mix the solution before taking another measurement.
Independent Search Recommendation: To research optimized code implementations, search online for:
"Arduino automated pH dosing pump state machine non-blocking"
Knowledge Checkpoint
- Sketch a control diagram showing how hysteresis prevents rapid relay switching when a sensor signal hovers around a single target threshold.
- Write a simple C++
if/elsestatement implementing a hysteresis band (e.g., turn on pump when pH > 6.5, turn off when pH < 5.8). - Define why a long delay/mix time is required between dosing pulses of concentrated fertilizers or pH adjustments.
- Explain how a Finite State Machine prevents an ESP32 program from freezing during mixing delays compared to using
delay()commands.
Module 6: System Assembly, Noise Mitigation & Integration
Module Overview
The final step is translating your bench prototypes into a robust, integrated grow chamber. In this module, you will design custom enclosures, organize wiring paths, and resolve the most common hardware challenge in automated liquid electronics: electrical/RF noise and ground loop interference. When water pumps and sensors sit in the same conductive water tank, electrical leakage can skew your pH and EC sensor readings.
Recommended Videos

- Why this video is valuable: This video explains how ground loop interference occurs in liquid monitoring systems. It shows how minor voltage differences between the water tank's earth ground and the analyzer's ground cause currents to flow through your probes, resulting in unstable readings.

- Why this video is valuable: Explains how electromagnetic interference (EMI) generated by wireless communication (like the ESP32's active Wi-Fi radio) can inject noise into high-impedance analog sensor traces, creating false sensor readings.

- Why this video is valuable: To protect your ESP32 controller from humidity and spills, you must build a robust enclosure. This guide covers the engineering principles of designing custom 3D-printed enclosures, with a focus on cable management, wall thickness, and mounting options.
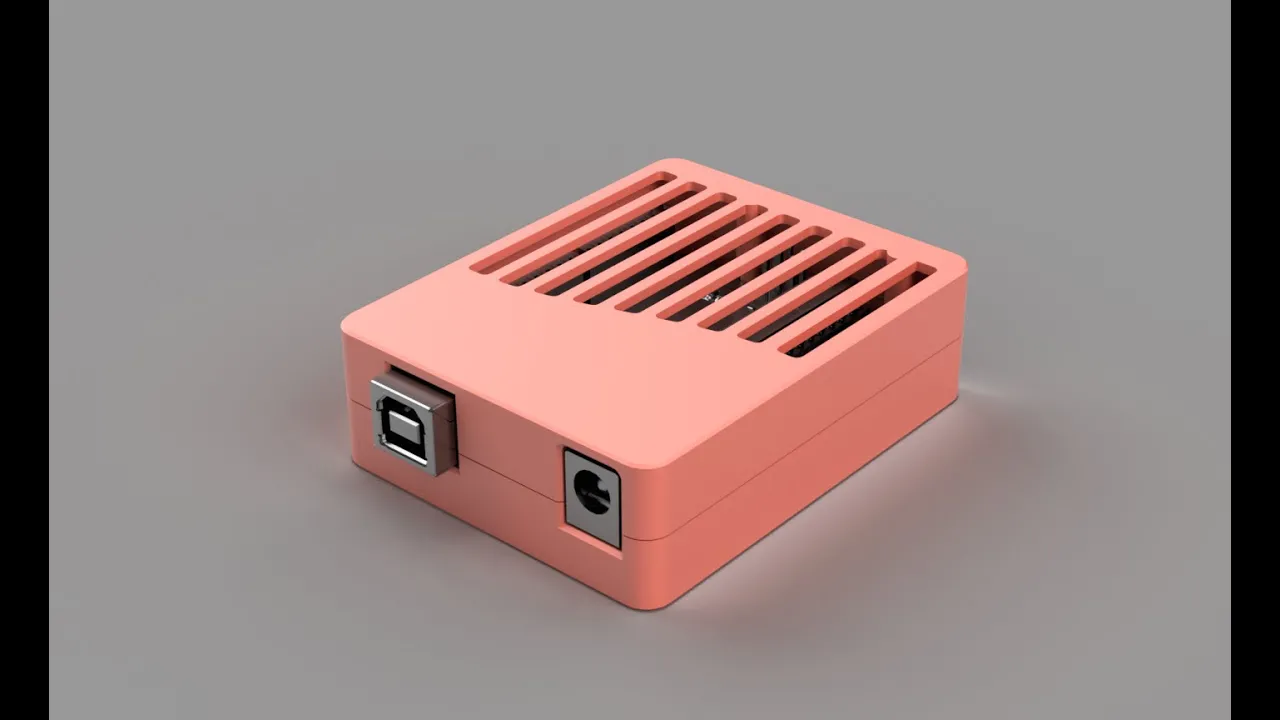
- Why this video is valuable: A step-by-step CAD modeling walkthrough using Autodesk Fusion 360 to construct a physical electronics case. It covers measuring hardware dimensions, positioning custom cutouts for connectors, and modeling physical mounting tabs.
⚠️ Educational Note: Ground Loops & Noise Mitigation
When you run 12V DC water pumps or AC aerators inside your nutrient tank, electric charge can leak into the water. Because pH probes are high-impedance sensors that measure tiny microvolt potentials, this leakage current will disrupt your sensor readings, causing them to jump erratically whenever the pumps turn on.
To resolve this in your system, implement these mitigation steps:
- Electrical Isolation: Use an analog galvanic isolator module (such as an optocoupler-isolated or magnetically-isolated or analog signal carrier board) to isolate your pH/EC sensor boards from the ESP32's power supply rails.
- Alternative Dosing Logic (Software Isolation): If galvanic isolation hardware is unavailable, modify your ESP32's State Machine logic to temporarily cut power to all pumps and aerators when taking a sensor reading. Have your code turn off the water pump, wait 3 seconds for the water to settle, read the pH and EC values, and then turn the pumps back on.
- Shielded Cables: Wrap sensor wires in braided copper shielding and ground the shield at only one end to block RF noise from your grow light ballast or ESP32 Wi-Fi antenna.
Knowledge Checkpoint
- Define a "ground loop" and explain how it distorts analog sensor signals in water reservoirs containing active AC/DC pumps.
- Propose two methods to eliminate sensor noise: one using physical hardware isolation and one using software control logic.
- Design an enclosure layout that physically separates high-voltage AC mains lines from low-voltage DC sensor traces to prevent electromagnetic interference (EMI).
- Define the steps to export a CAD-modeled electrical enclosure to a sliced G-code file for 3D printing.
Course Map
This flowchart maps the progression of skills from biological foundations to the final physical system integration:
Key People Index
- Dale Martens — Hydroponic grower and horticultural researcher featured in Module 1, specializing in how narrow LED light spectrums trigger specific photosynthetic processes.
- G6EJD (Technical Educator) — Embedded software engineer and author of the ESP32 technical notes in Modules 2 & 3, specializing in optimizing internal ADC calibration curves and resolution.
- James Bruton — Robotics engineer and educator featured in Module 5, specializing in structuring clean, non-blocking finite state machines (FSM) for system controllers.
Final Self-Assessment
Complete this comprehensive self-assessment to verify that your automated hydroponic chamber is safely and correctly built:
- Sensor Integration: Your pH and EC probes are connected to the ESP32 via isolated circuits and print stable analog voltage outputs in the Serial Monitor.
- Dual-Point pH Calibration: Your firmware has a calibration function that stores offset values at pH 7.0 and slope factors at pH 4.0.
- Temperature Compensation: Your EC measurements dynamically compensate for temperature fluctuations using real-time liquid temperature sensor inputs.
- MOSFET Pump Control: You can control your 12V peristaltic dosing pumps at variable speeds using ESP32 PWM signals.
- AC Relay Safety: High-voltage AC grow lights are controlled through an optically isolated relay, with all high-voltage lines enclosed in a dry, fuse-protected terminal block.
- Hysteresis Logic: Your automation loop uses high and low control bounds (rather than a single target point) to prevent pumps from cycling rapidly.
- Dosing Duty Cycle: Your dosing loop limits pump runs to brief intervals (e.g., 2 seconds) and pauses long enough (e.g., 5 minutes) for the reservoir to mix before checking values again.
- RTC Schedulers: Your grow lights turn on and off based on a DS3231 Real-Time Clock, keeping schedules accurate even during power outages.
- Ground Loop Protection: Your analog sensors return steady, identical readings regardless of whether the water circulation pumps are running or turned off.
- Custom Enclosure: All electronics, including the ESP32 and relay boards, are housed in a splash-proof enclosure with secure, organized cable pathways.